Building SerenityOS for the First Time
We’ve all heard of the big three operating systems: Windows, macOS, and Linux. You can technically group ChromeOS in there with Linux, but Lord knows Google has done what they can to make it feel distinctively not-Linux. We’ve even talked about other systems like Haiku and FreeBSD in the past, but this week I’m taking some time to get to know another newcomer to the desktop operating system family known as SerenityOS.
According to their website, “SerenityOS is a love letter to '90s user interfaces with a custom Unix-like core. It flatters with sincerity by stealing beautiful ideas from various other systems. Roughly speaking, the goal is a marriage between the aesthetic of late-1990s productivity software and the power-user accessibility of late-2000s *nix. This is a system by us, for us, based on the things we like.” I’ll be real with you, I love everything about that description.
I’ve been watching the development of Serenity for several months now, and it’s been genuinely impressive just how far the team has progressed in that short amount of time! Yet even though I've been interested in the project, I haven’t tried it out yet. You see, typically when you want to try out a Linux bistro, or some other OS, you’ll start by grabbing the ISO image to flash it to a bootable drive or to use with a VM. With Serenity on the other hand, “There are no ISO images. This project does not cater to non-technical users.” Well this week, it was time to do the work of compiling everything from the source code.
A Lazy Start that Made More Work
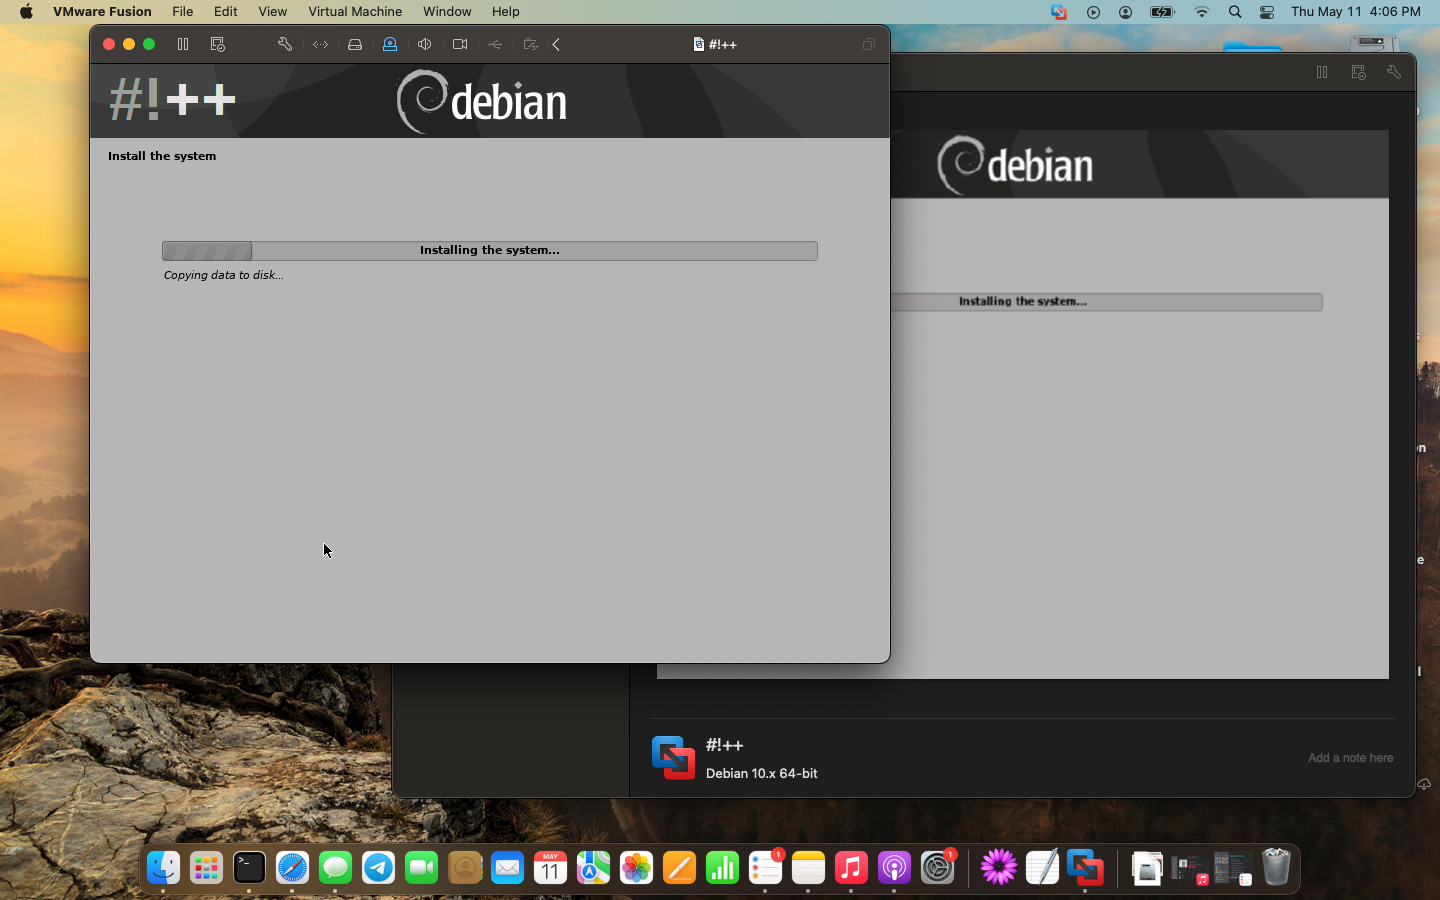
According to Serenity’s build instructions the easiest way to install Serenity is in a virtual machine using QEMU running on Ubuntu or Debian. Now I had a Linux machine tucked away in my closet, but I didn’t feel like getting up to go get it so I grabbed my 2012 MacBook Pro and spun up a VM running a Debian-based Linux distro known as CrunchbangPlusPlus (henceforth, #!++). It’s one of two spiritual successors of a dead distro that I used to love called Crunchbang Linux. I chose it because it uses the OpenBox window manager and is very lightweight compared to a traditional desktop environment. Since I wanted to run a VM inside of another VM, the smaller the guest footprint is, the better.
Once #!++ was up and running I went through the usual steps of updating the repositories and upgrading the installed software — and installing Neofetch, as you do. Next up was to install the dependencies required to build SerenityOS.
sudo apt install build-essential cmake curl libmpfr-dev libmpc-dev libgmp-dev e2fsprogs ninja-build qemu-system-gui qemu-system-x86 qemu-utils ccache rsync unzip texinfo libssl-dev
The whole process took a couple of minutes, then it was time to install GCC, the GNU Compiler Collection. Having just run my updates there shouldn’t have really been a need to update the repos again, but that’s what the build instructions said to do, so it didn’t hurt to do it again.
sudo apt update && sudo apt install gcc-12 g++-12
Unfortunately the command errored out. An Unable to locate package error simply means that it isn’t in the repositories. There are a number of ways to fix this problem including updating the repos which we already did, updating the sources file with a repo that has it, adding a PPA if one is available, or building the package from source. According to the output, I’d guess the problem has to do with the signature verification from the #!++ repositories causing apt to revert to the older packages. A quick apt search gcc confirmed that the repo only contained GCC-9 and 10 instead of version 12 which was needed. I could have fixed it, but I decided that it was easier to just get off my lazy butt and get my Ubuntu machine.


Take 2
With my Dell Latitude 3330 and a tasty cup of Guatemalan coffee in hand, the process started over.
After updating my repos I repeated the steps above and got GCC-12 installed without issue, verifying that QEMU 6.2 was installed along the way.


Next up was to clone the GitHub repository for SerenityOS.
git clone https://github.com/SerenityOS/serenity
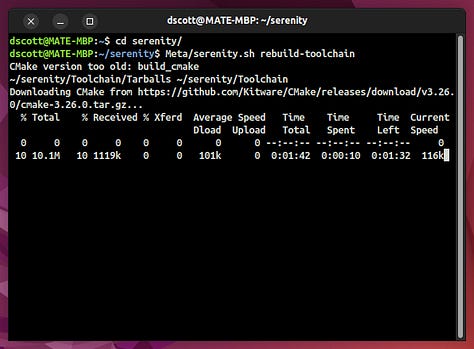
This dropped the source files into my home directory, so I moved into it and started rebuilding the toolchain. This process took a couple of hours to complete.
cd ~/serenity && Meta/serenity.sh rebuild-toolchain


Building the Operating System
Once the toolchain part was finally done it was time to run the script to build the OS itself.
Meta/serenity.sh run


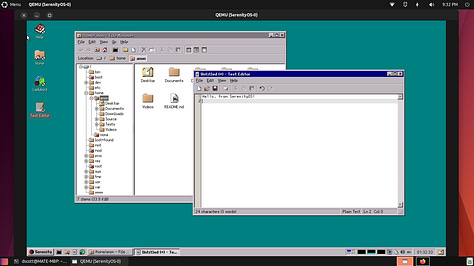
Just like the toolchain, this part took a long time to complete on this old laptop, but once it finished QEMU launched directly into the SerenityOS desktop in all of its 90s-esque glory.
First Impressions
First and foremost, building the system was a lot easier than I thought it was going to be and now I wish I’d been trying it out months ago!
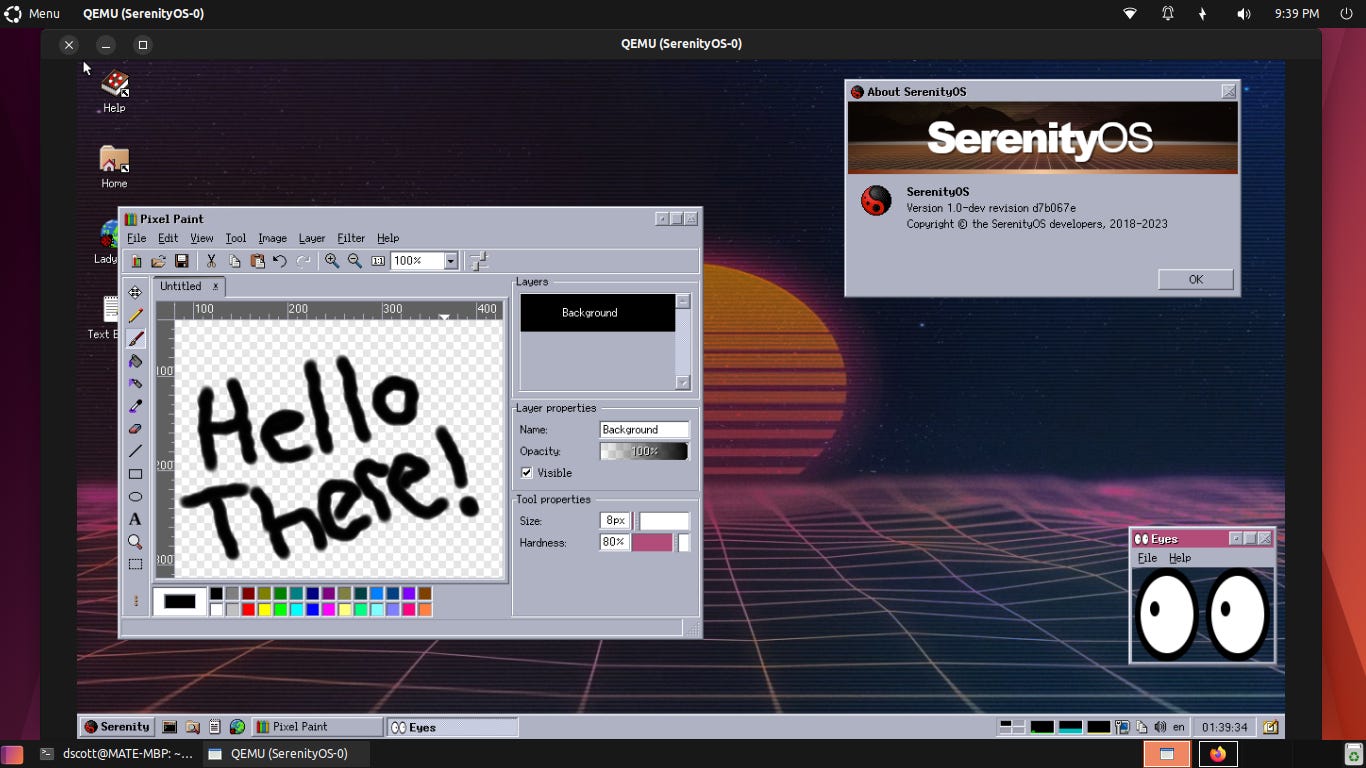
I really like the desktop experience of Serenity. The team really nailed their goal of recreating that late-90s Windows and late-00s Unix-like look and feel. The panel on the bottom is definitely reminisce of the old Windows 9x/Classic taskbar, and the window UI reminds me a lot of Windows 98. And lest you think this is a Windows-clone in the vein of ReactOS, you need only open a terminal to be reminded of it’s Unix-y underbelly.
The default OS comes with a limited number of applications installed, but there are a number of ports available to install by building them on the host machine and opening them in the Serenity VM, however I’ve not had the time to sit down and play with these yet. If that’s something you’re interested in I’d recommend checking out this article by Bryan Lunduke.
Desktop Stylings
One thing I did take some time to check out was the customization options for the desktop. While modern Windows users are blessed with the ability to choose a light or dark mode and a single accent color, Classic Windows — Windows 3, 95, 98, Me, and the NT line up to Windows 2000 — was a highly customizable system. You could change the colors for each part of the desktop, adjust gradients on the title bars, invert colors and go with high contrast themes, adjust text and button sizes, and that was all in the older systems before Active Desktop was even introduced!


In Serenity, there are quite a few theme options to choose from.
Of note to me were: Dark, Cupertino, Silver, Sunshine, Redmond, and Redmond 2000.


I found myself oddly drawn to the Sun Solaris inspired theme called Sunshine and decided to go with it along with a vaporware-styled sunset wallpaper.
The Ladybird Web Experience
Another cool thing about Serenity is Ladybird — the native web browser that has been built from scratch by the development team. Rather than porting Firefox or Chromium or something like Gnome Web (aka Epiphany) like most systems would, Serenity decided to create a new web browser that is its own thing, and that is pretty sweet.
As you’d expect, it fits right in with the desktop paradigm they were going for. Anyone who remembers using old school Internet Explorer or Netscape Navigator back in the late 90s would agree that this is exactly what it was like back then! Of course, for a modern browser to be useful it needs to work with the modern web, so I tried a few things.


First of all, every web page took a long time to load. It could be the browser, or it could have been the VM lagging, but I suspect it has more to do with where I was sitting in my house as my wifi struggles there and I didn’t think it through before sitting down to test it out.
Google worked, though it defaulted to the mobile version which is pretty common when using old systems these days. Taking a look at Serenity’s website in a new tab reveals a classic blunder: the tabs belong below the bookmarks toolbar! You may disagree, but I’m sorry, you’re just wrong and my mind cannot be changed.
Of course I had to check out The Retro Millennial. Just like so many older browsers the landing page loads mostly-fine, but that’s as far as it goes. The X button doesn’t work, nor does the “No Thanks” option. Substack, it would seem is dead in the water with Ladybird right now.
Of course, that doesn’t mean that the modern web is out of reach. FrogFind and 68k.news work flawlessly and save the day once again!
Final Thoughts
Overall I think Serenity is a really great system. It’s also the first system to get me this excited in a very, VERY long time. With lead developer
going full time into working on Serenity I'm sure we'll only see a greater increase in usability as time goes on. I'm really hopeful for hardware support sometime in the next few years so I can try it out on one of my laptops. I personally think it would be so cool to be able to run Serenity as my daily drive someday.


