Game Boy Game Won't Save. Let's Fix It.
Disclaimer: I am glad to announce that I have set up an Amazon Associates account, so I will be linking to tools and supplies in this post if you want to attempt this repair yourself. This article contains affiliate links so if you want to pick them up you’ll also be helping the blog out.
I’ve mentioned several times in various articles and podcast episodes that I am a Pokemon fan — mostly of the older games, but a fan nonetheless. One tradition I have is that I still play through one of the early games about once a year. I usually stick with my old favorite, Red, but I have all three versions of the first generation games (Red, Blue, and Yellow) as well as the first two second generation games (Gold and Silver).
What causes games to lose their save files?
Old cartridge-based games are quite different than the disc-based and flash card-based games we know today. Modern game consoles, dating back to the first PlayStation, boot into a basic operating system and load the games from their media just like you would do with a CD-ROM game on PC. Game cards — like what the Nintendo DS, 3DS, and Switch use — work a little different but generally have the same processes. The main difference is that those games usually have a solid-state save chip allowing you to store game data directly on the card. Again, this is not absolute, and some games work differently, but as a general rule this is how it works.
Old school game cartridges — think NES, SNES, N64, Game Boy, Genesis, etc. — are closer in design to modern game cards, but they are still different. The way those older consoles work is quite simple. The console has no operating system of its own and instead boots directly from the ROM chip on the cartridge. It’s actually quite similar — if I remember correctly — to the way you have to use a boot disk for an old Apple II or Macintosh.
The way that save games worked on cartridge based games varied game by game. Some games, like Tetris, didn’t have a save function at all. Others, like certain N64 games utilized a memory card that plugged into the back of the controller, and some carts had a non-volatile memory chip. Most games, however, utilized a small coin-cell battery to power their memory chip. These chips were volatile, which means when the battery dies, and it stops getting power, all data is lost. And that’s what happened here.
The Situation
I was going to play through Red again the other day but when I powered it on I found my old save data was gone. I’ve actually been waiting for it to happen but it’s been 24 years since that battery was put on there so I can’t complain about that battery life. Next, I decided that maybe I’d go with a second gen game instead since I don’t play those as much as the first gen. I popped in Gold, and found the same thing. Again, it’s not surprising this happened. I actually had it happen with Silver a few years back and just had to take it over to my local retro game shop and they fixed it right up.
While I could just take these games in to get repaired, I’ve really been wanting to learn to solder and to get into board-level repair for vintage computers and consoles so I grabbed a donor motherboard from a dead PC and started practicing. After botching a few surface-mount and pass through extractions, I figured it out and I had successfully removed and reattached several capacitors.
I felt like I was ready to try my hand at replacing my game batteries. I started out with my copy of Final Fantasy Legend 3. I like the game, but honestly I really didn’t want to damage my Pokemon games so if I was going to mess up I figured that would be a better way to go. Once it was replaced, it was time for the main event.
Confirming the Dead Save Battery
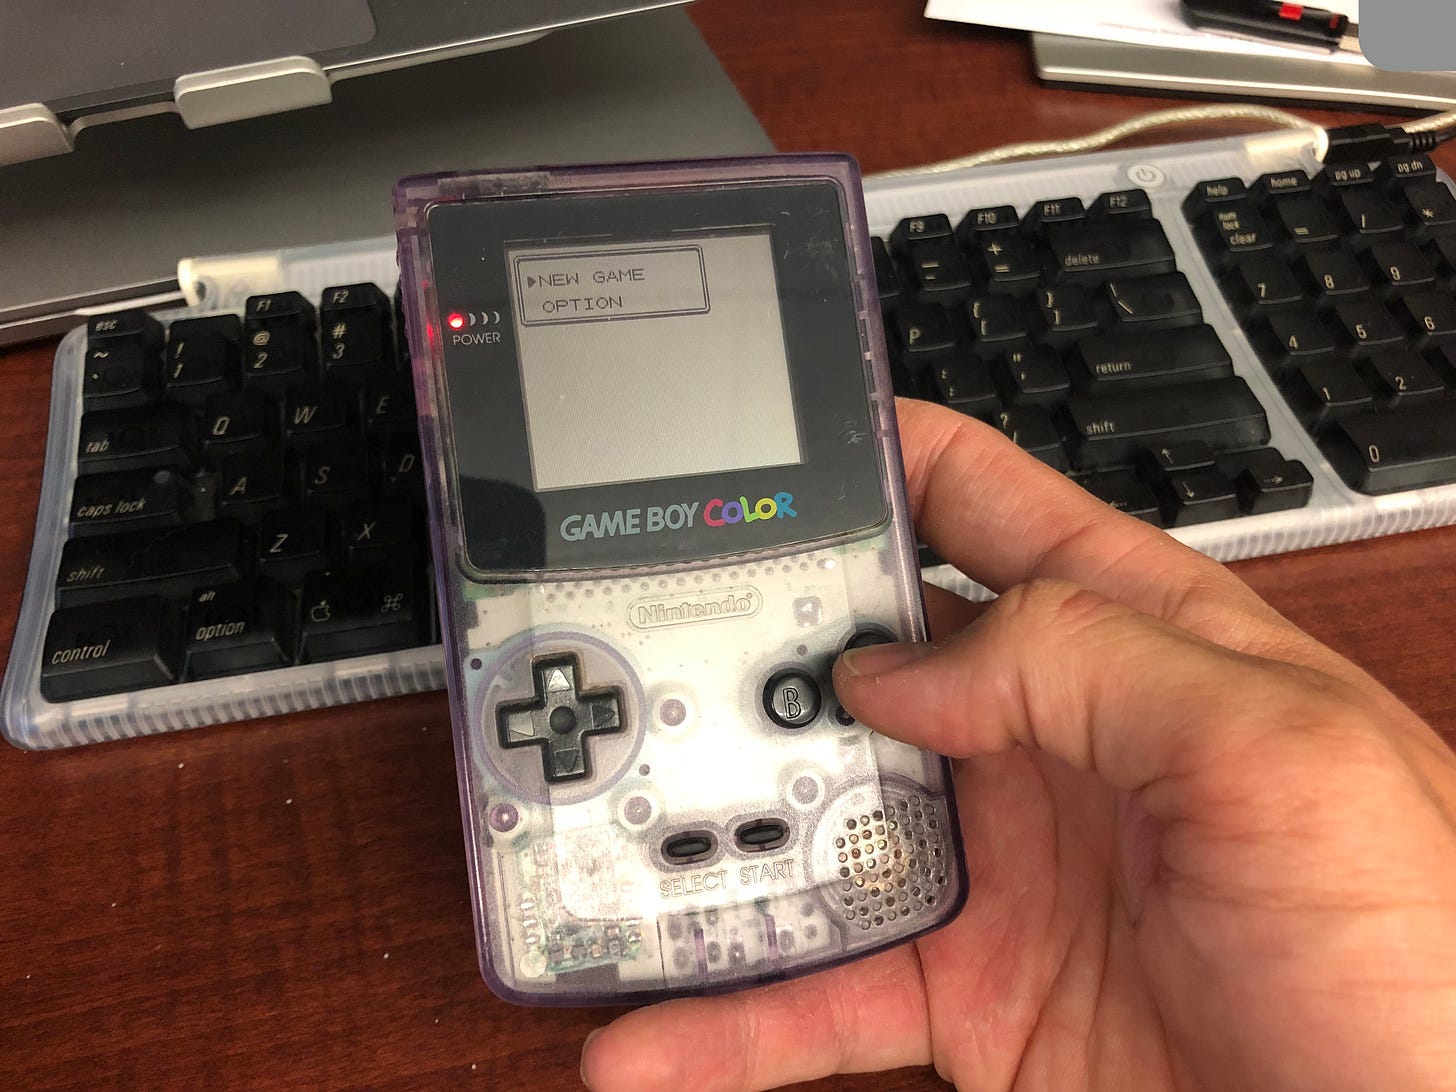
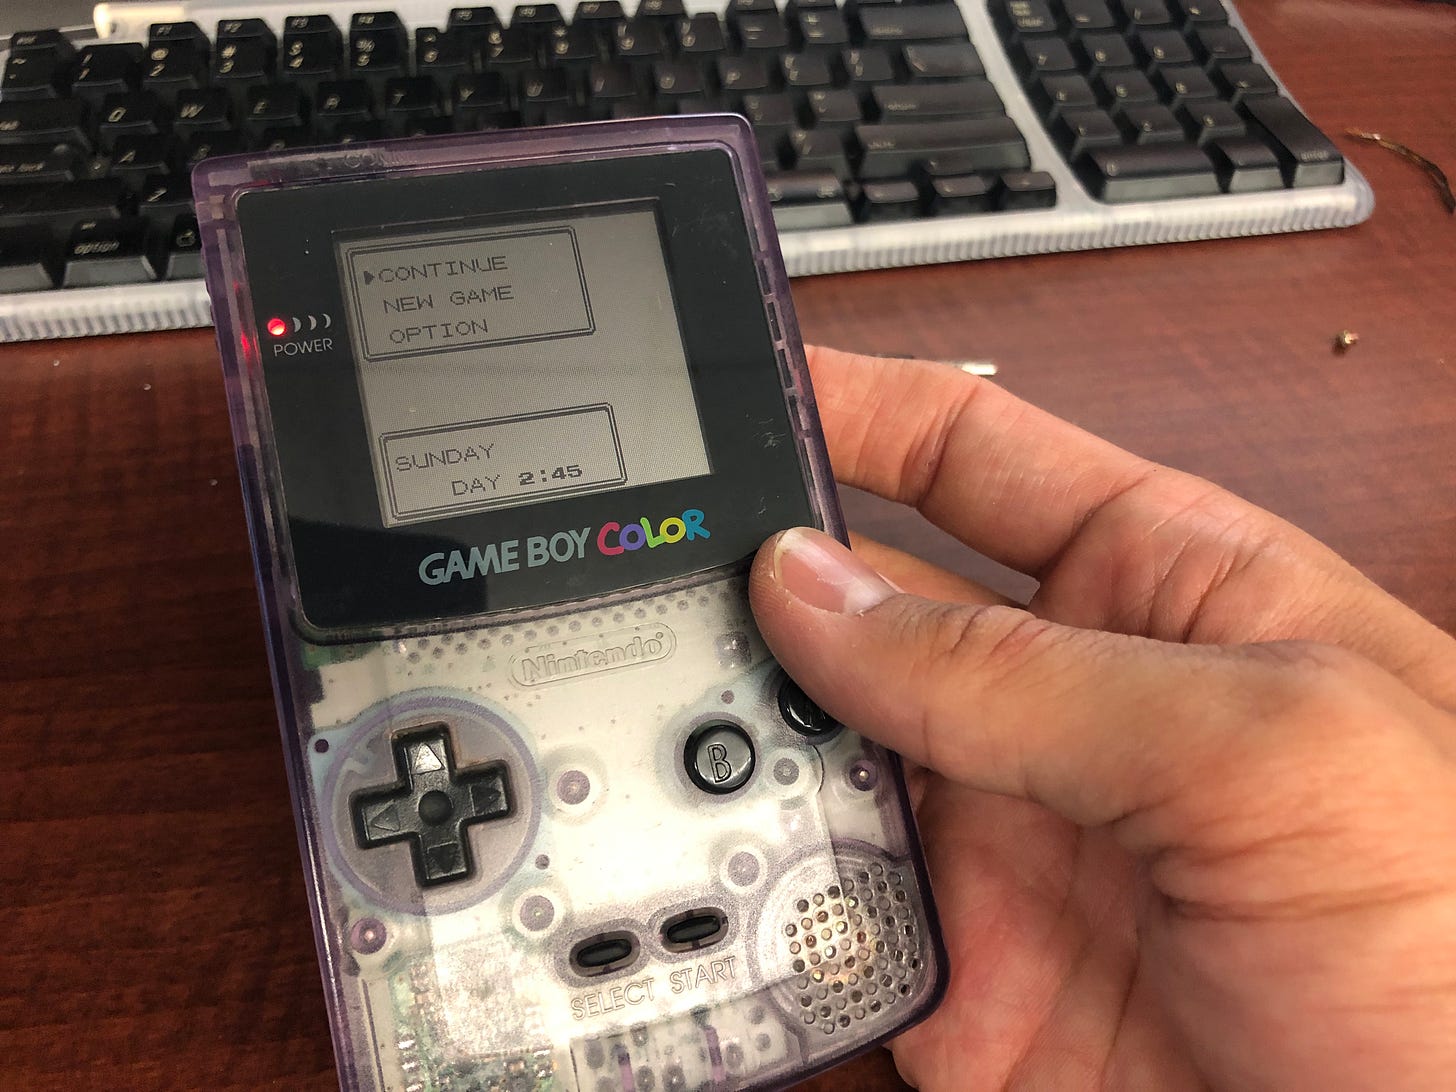
You can test the voltage of your save battery with a multimeter, but I couldn’t find mine, so I just went with the visual test. Powering on the Game Boy brought me to the Pokemon Gold title screen.
As you can see, there is no Continue option available indicating the game has no save file. Selecting New Game I went through the initial setup.
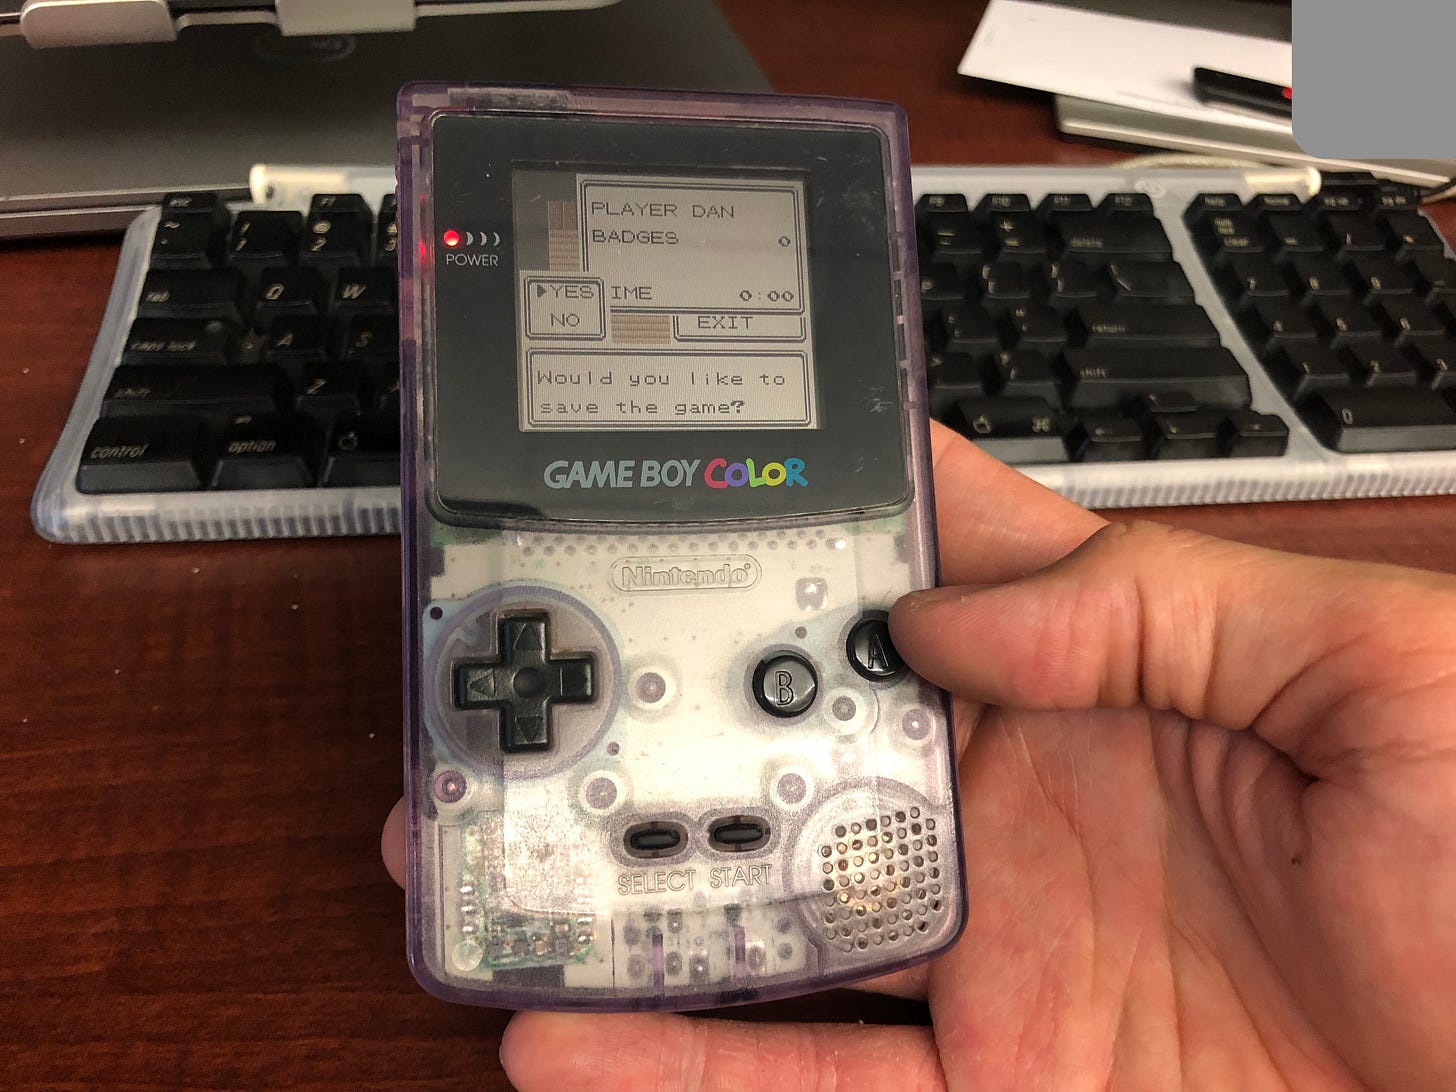
Once the game drops you into your character’s bedroom you can go ahead and save.
Once the game successfully saved I powered off the console and removed the cartridge for 10 seconds. Removing the cartridge fully removes the game from any board-level power coming from the Game Boy. Leaving it in can briefly preserve the save file, but it won’t last powered off for very long. As you can see the save file was gone once again, confirming the battery is dead (or at least low enough that it can’t work anymore).
Replacing the Battery
I removed the cartridge from the console and flipped it around. The small screw on the bottom is the only thing that needs to be removed in order to gain access to the PCB inside. It uses a proprietary screw head called a game bit. You can get special screwdrivers for these, or even removable driver bits for them on Amazon, Newegg, or whatever other online retailer you like.
The smaller 3.8 mm bit opens up Game Boy, Game Boy Color, and Game Boy Advance games, while the larger 4.8 mm bit will open NES, SNES, N64, Genesis and the like.
Once the screw is removed, slide down the front of the cartridge shell and lift it away.
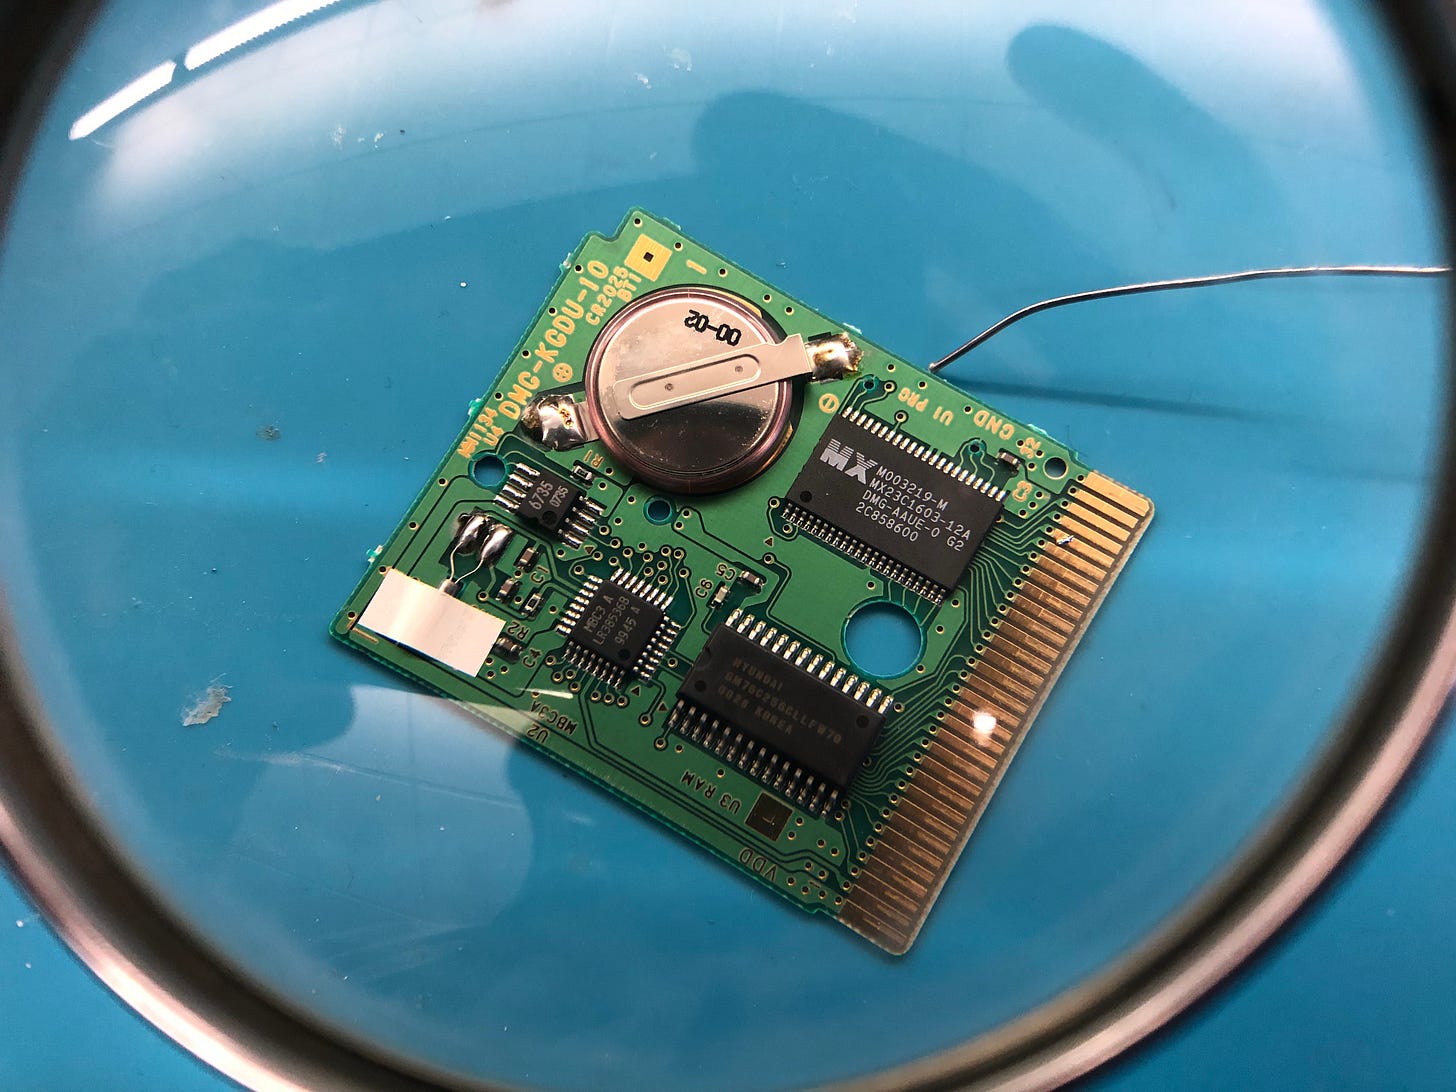
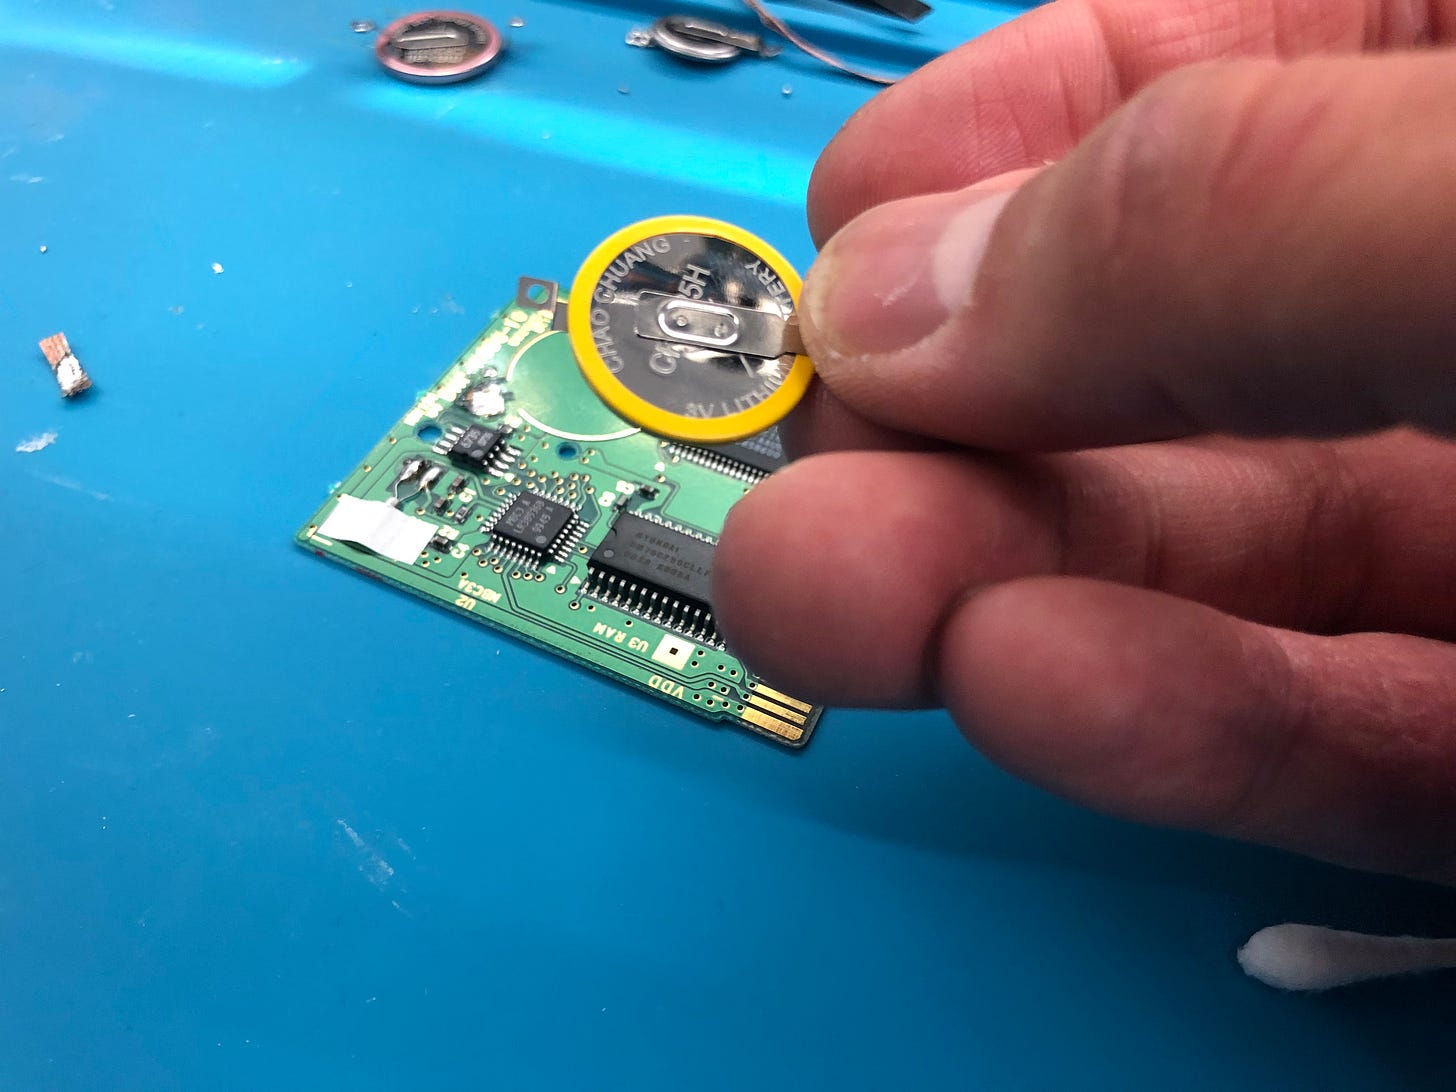
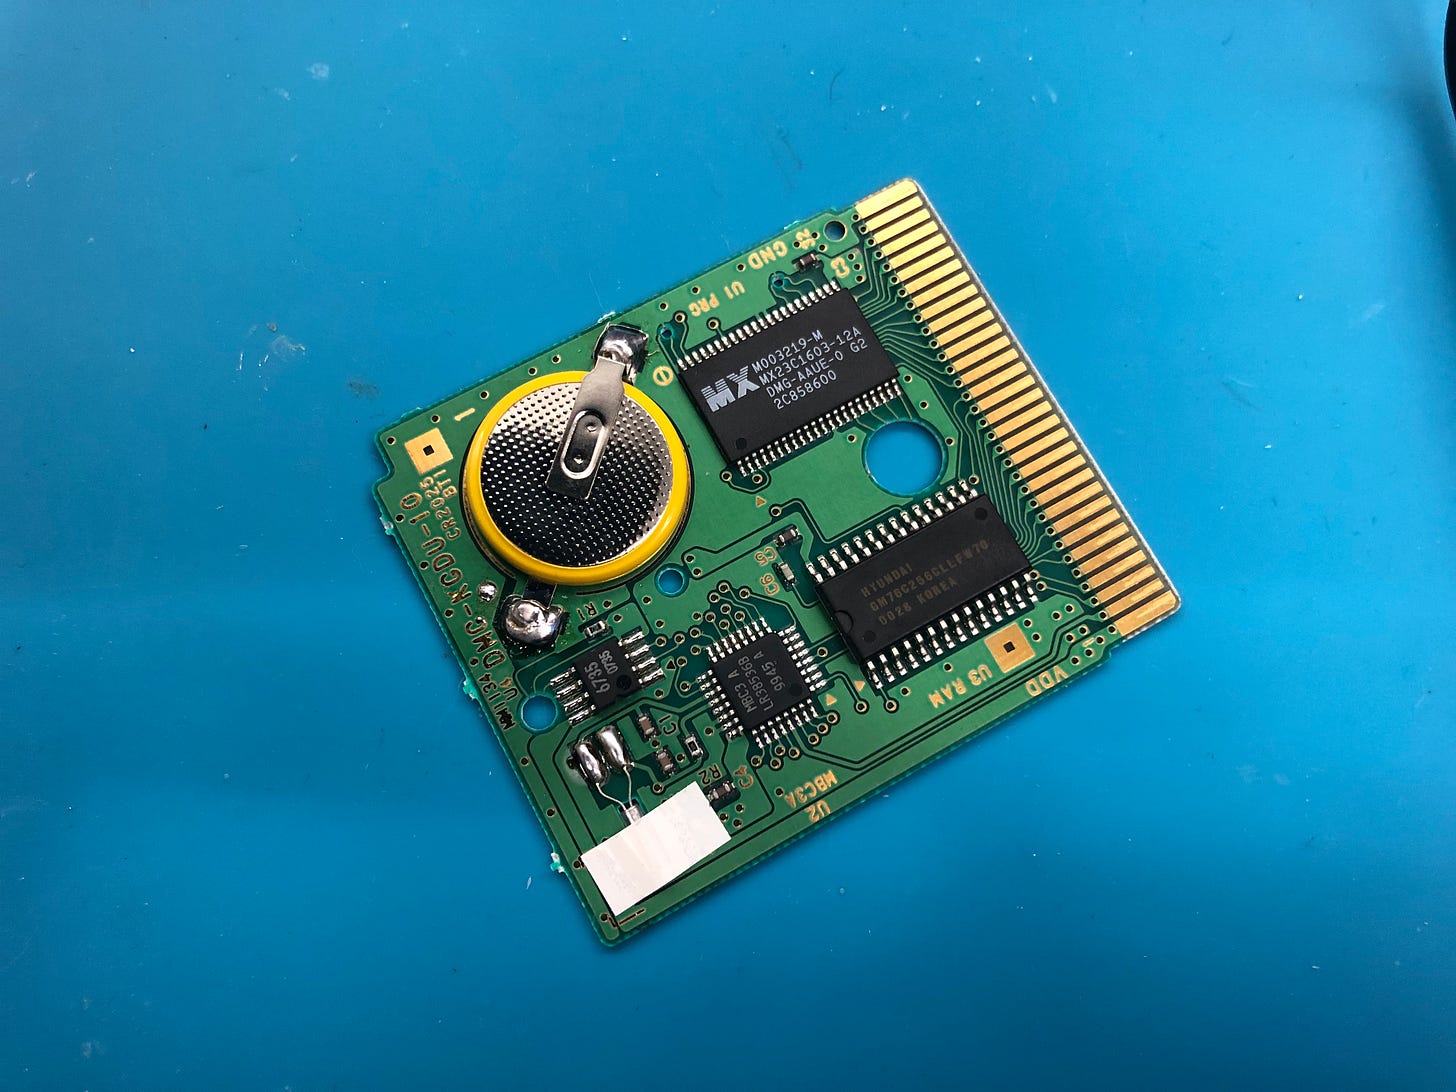
Inside we find the game’s PCB. The big silver circle in the corner is the battery. Game Boy, Game Boy Color, and Game Boy Advance games use a CR2025 coin cell batteries, but these game batteries have metal contacts attached to their positive and negative sides that go to the solder pads so I had to order some more on Amazon. I got a pack of 12 batteries that came with a couple of game bit driver bits for roughly $12 at the time, so they’re super affordable.
I’ve seen people online who will break the contacts from the battery and throw in a watch battery instead to avoid having to solder anything. This may work, but what I will say is this. Doing this can damage the board, and if the electrical tape being used to hold the contacts to the new battery fails and they lose contact, your save game is lost again. Don’t do it. Besides, those watch batteries tend to be more expensive than the game batteries from what I’ve seen, so just go for the ones that are designed for the job at hand.
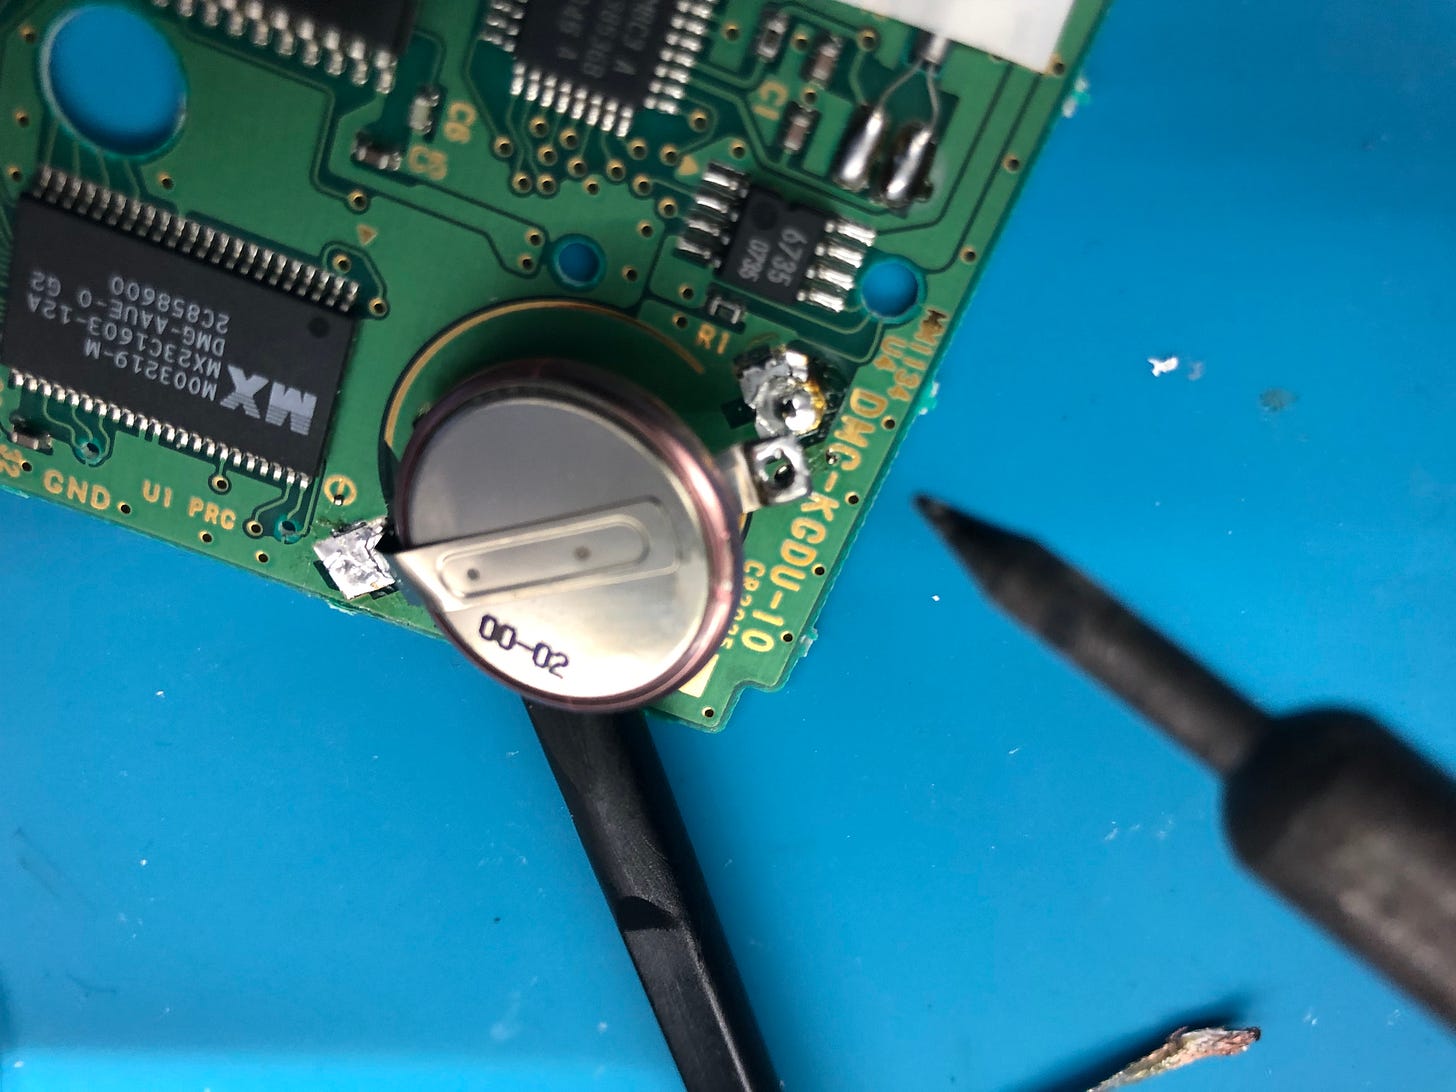
Placing the game under a magnifying glass we can see more detail. Note the + and - indicators on the PCB notating which contact should go to which solder pad.
After tinning the tip of the soldering iron, I added some fresh solder to the battery contacts. This should help the old solder flow a bit better when heated up making it easier to remove it.
I decided to use a solder sucker to get most of the old solder off, but I did go back with some solder braid to clean up the pads afterward.
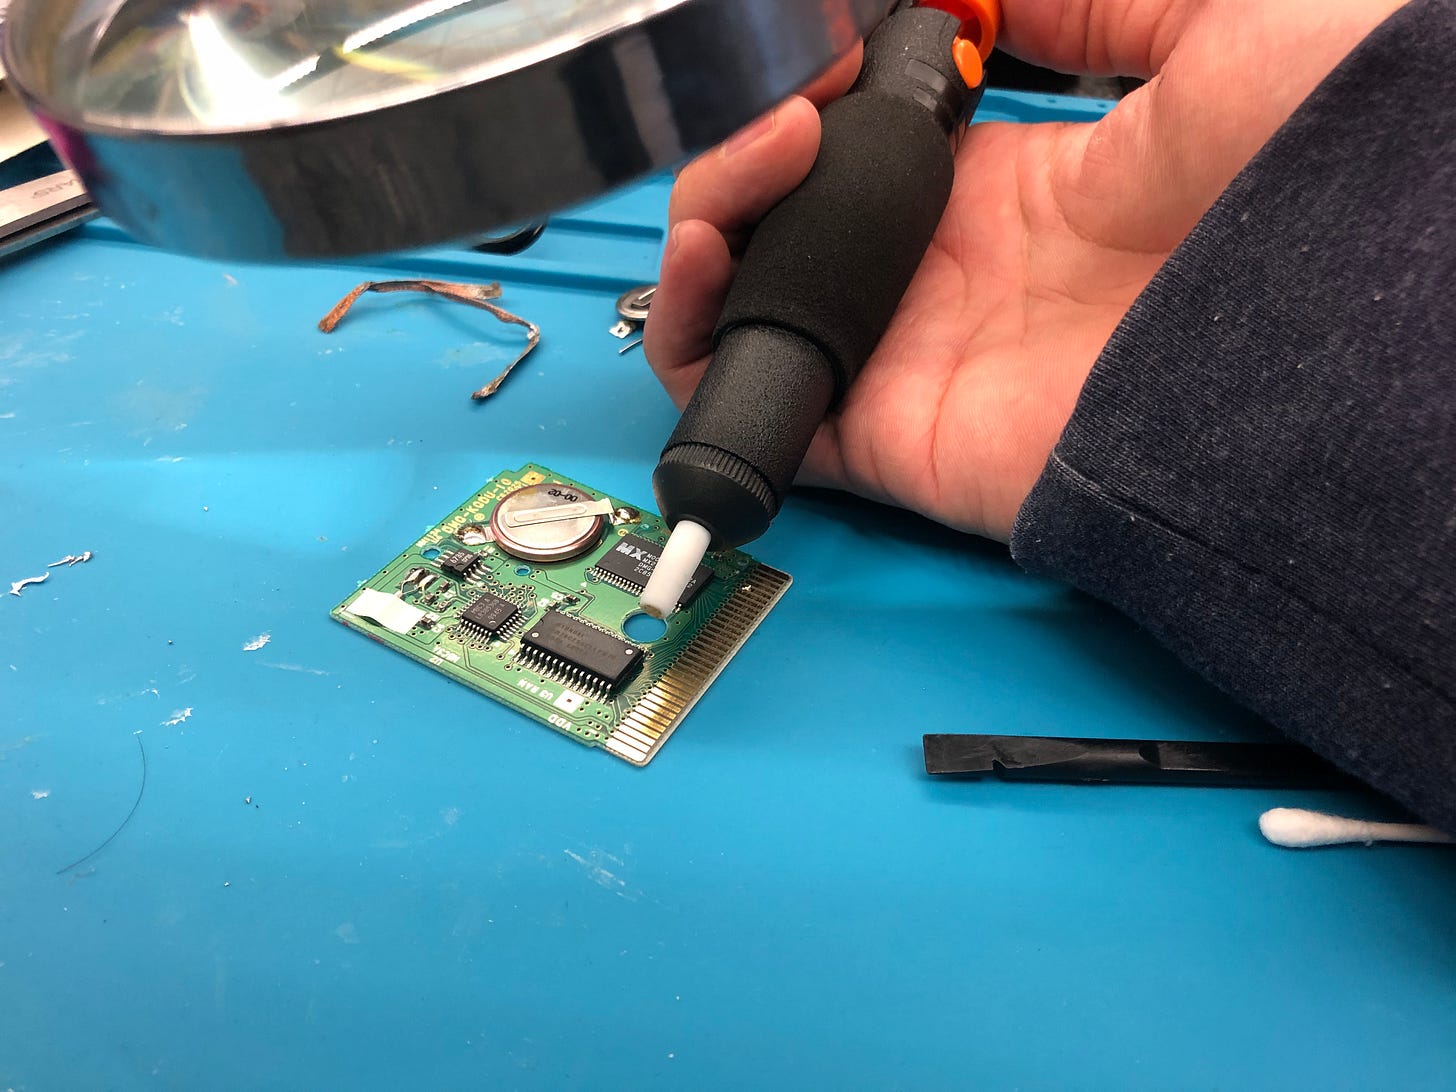
Once most of the solder was gone, I applied a little upward pressure with a plastic spudger while applying heat to the remaining solder to gently lift the contact from the pad. I did the same to the other side and the battery popped off. Then I cleaned the remaining solder off with the braid.
Confirming the side of the battery with the writing on it was the positive side.
I applied some flux to the solder joints and tinned them by applying a little bit of solder to them before positioning the battery into place. From there, I was able to reflow the solder and the battery contacts dropped into it. I wiped down the board with a cotton swab with some isopropyl alcohol and she cleaned up nicely.
The Final Test
I booted up the game, went through the setup, saved my game and then turned it off. I removed the cart for 10 seconds before turning it back on, and as you can see my save file is still intact. Mission accomplished.
Final Thoughts
Not a perfect soldering job, but not terrible either. Honestly, I think it would have gone a lot smoother with a better soldering station. I was using the little one we have at work and it honestly wasn’t very good. It only had two settings: low and high, and the low setting never got hot enough to melt the solder. The high setting, on the other hand, was too hot and I was concerned it was going to damage the board.
I still have several more Game Boy games, and a bunch of SNES and N64 games that need this done, so for those I think it’ll be wise to invest in my own station. As I’m just starting out I’m looking at something like the Weller WLC-100. It’s an entry level station, but I’ve heard good things about it, and I like the design. Yes, I know that’s not a great reason to pick on station over the other, but it is what it is.


