Earlier in the week I shared an article with all of the cool retro finds I stumbled upon recently. Among the lot was a 2006 white MacBook that I was able to rescue from the recycle center. Now my first Mac I ever owned was a 2009 white unibody MacBook. It belonged to my wife’s grandfather before he passed away and when my Lenovo IdeaPad died, that old MacBook carried me through my last year of my bachelors degree. The next year someone wanted it and offered me their 2012 MacBook Pro — yes, the one you’ve seen here many times — in exchange. Clearly I took the deal, but to be honest I regretted the decision. I really loved that little plastic machine and wished I could get it back.
Fast forward to August of 2022. A lady I work with came to me and asked if I could help her get a hard drive out of her old Mac so she could safely dispose of it. I told her I would be happy to help, but did ask her what she was planning to do with the laptop itself. She said she was going to throw it away and after she learned that I like to use old Macs she offered it to me in exchange for the labor.
Step 1: Cleaning, drive replacement, and restoration
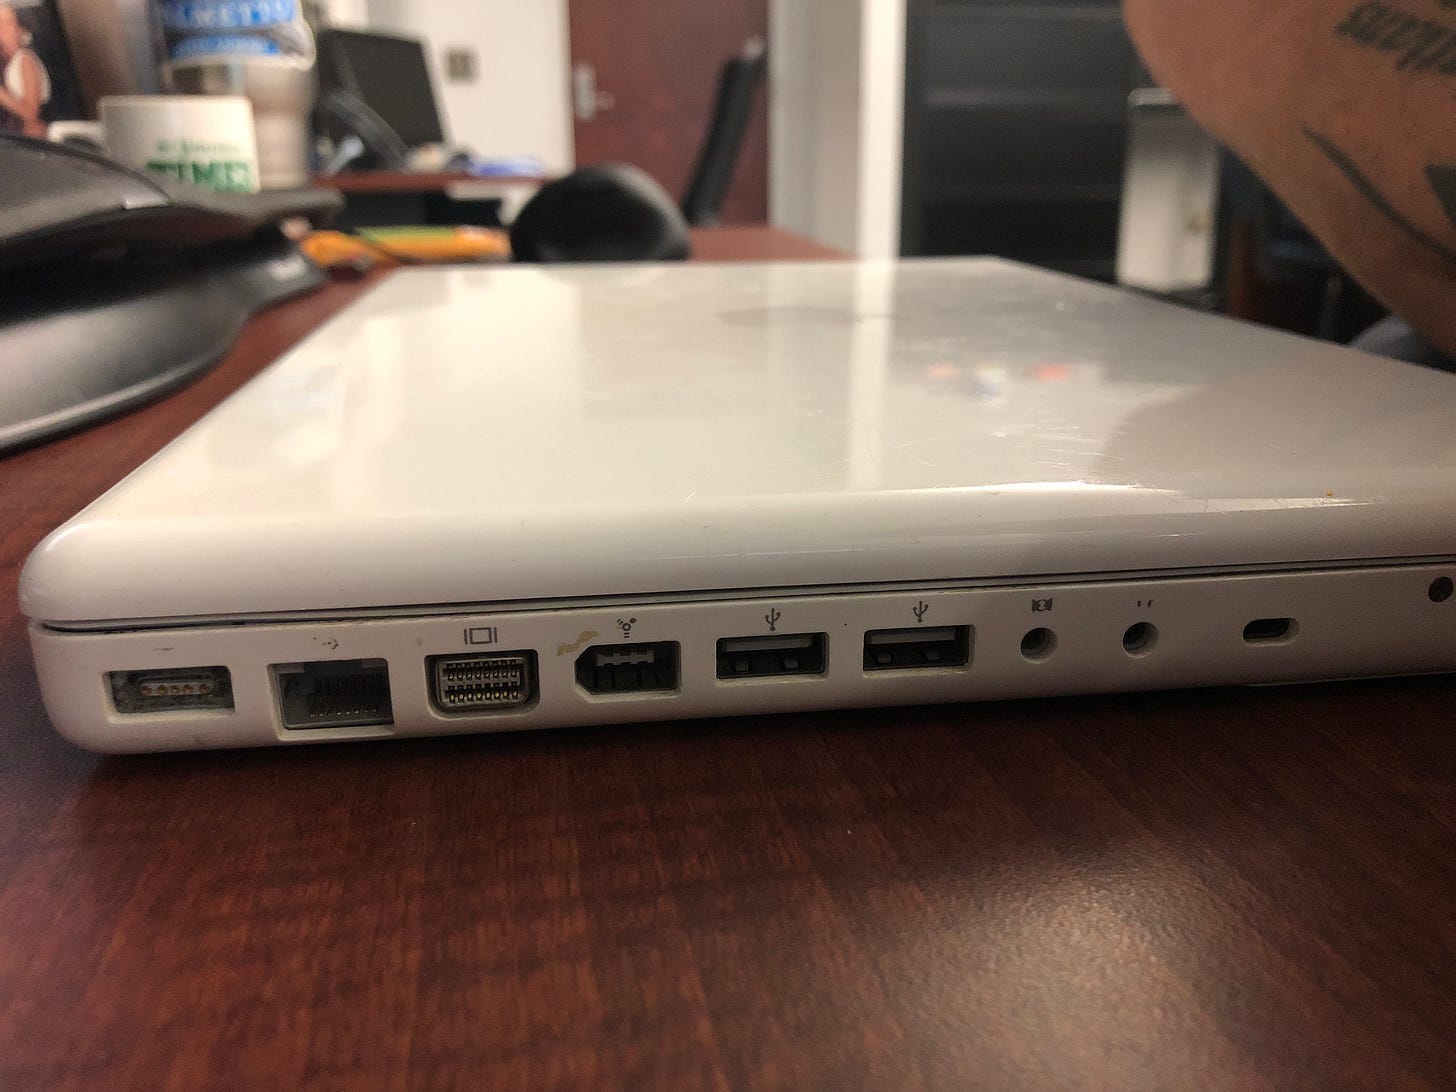
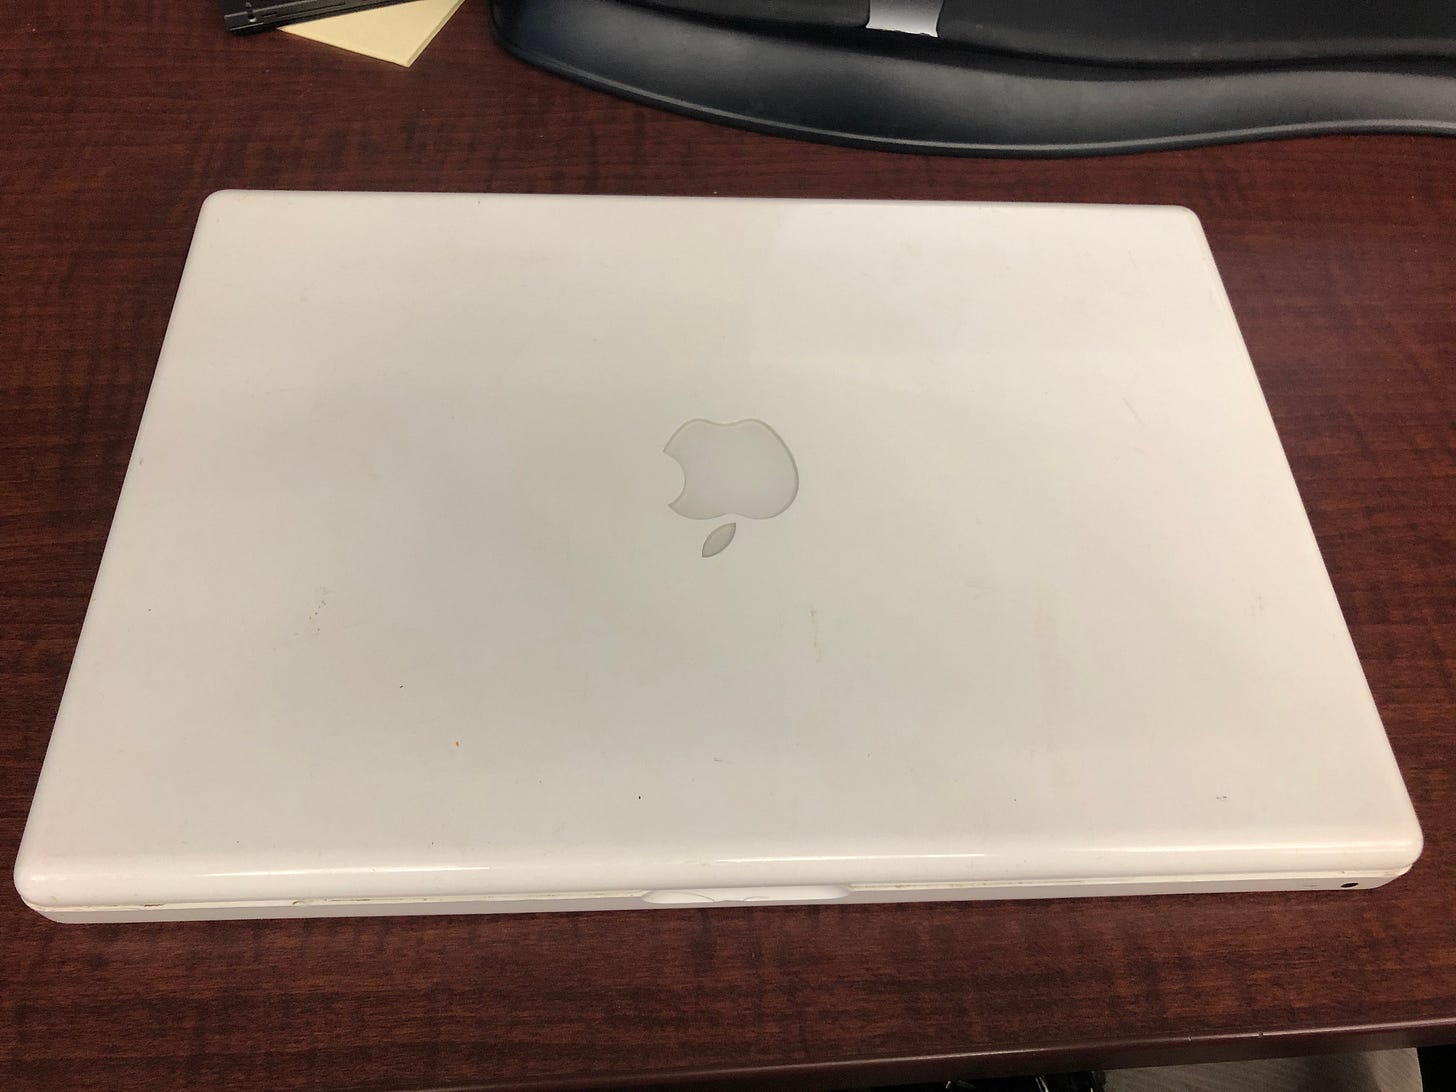
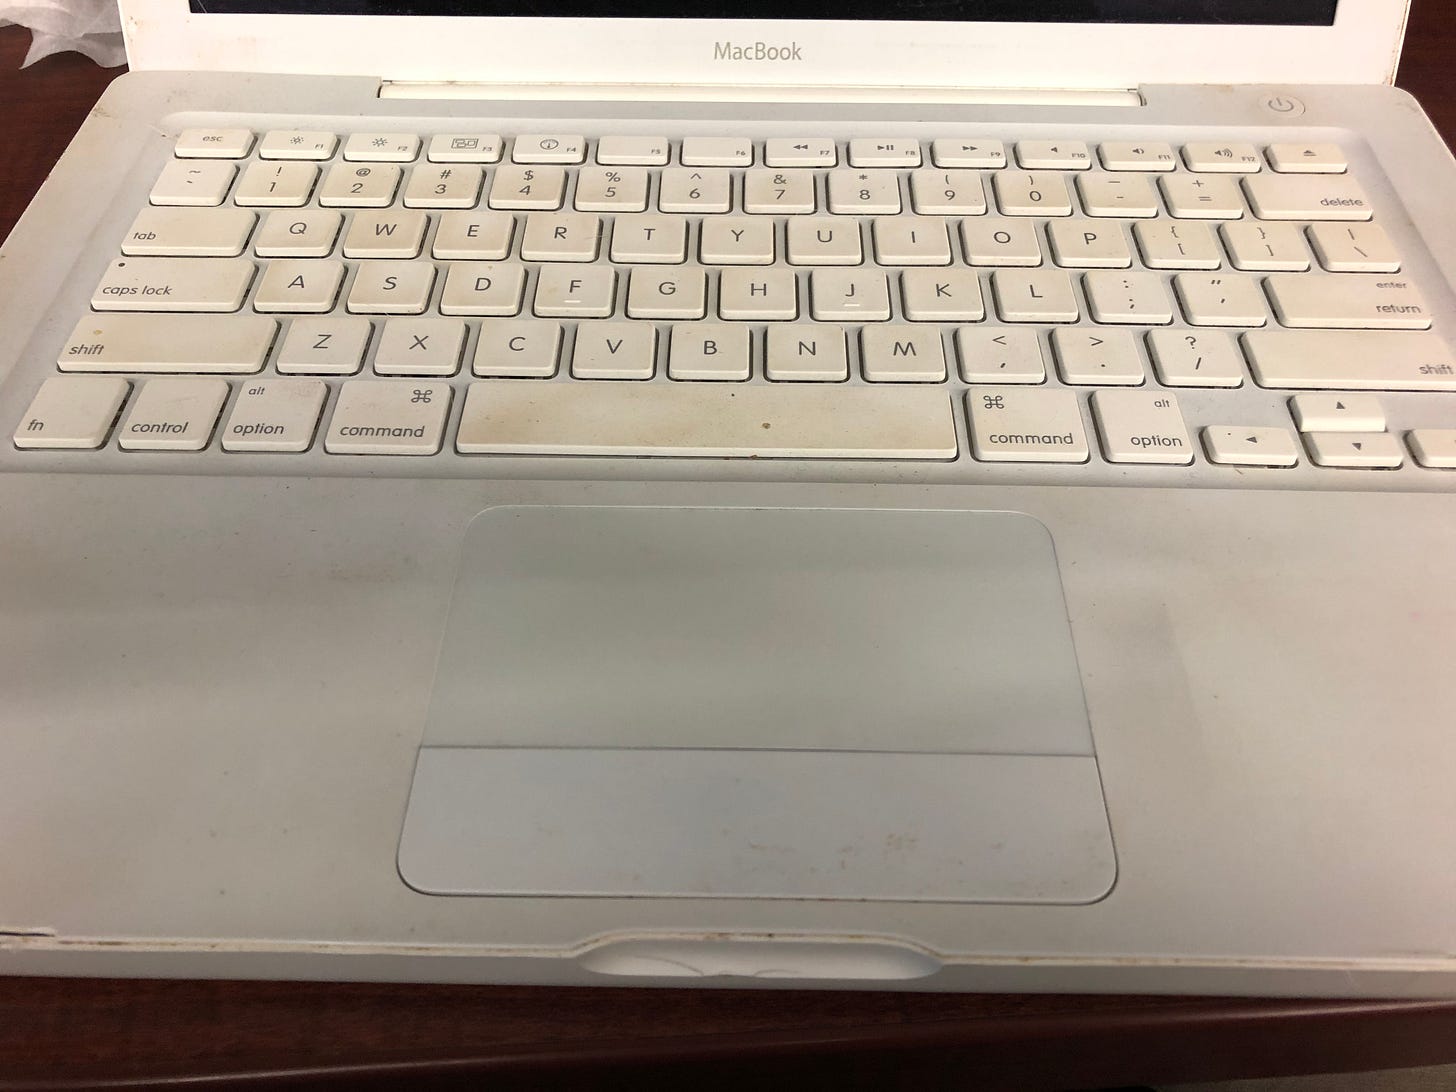
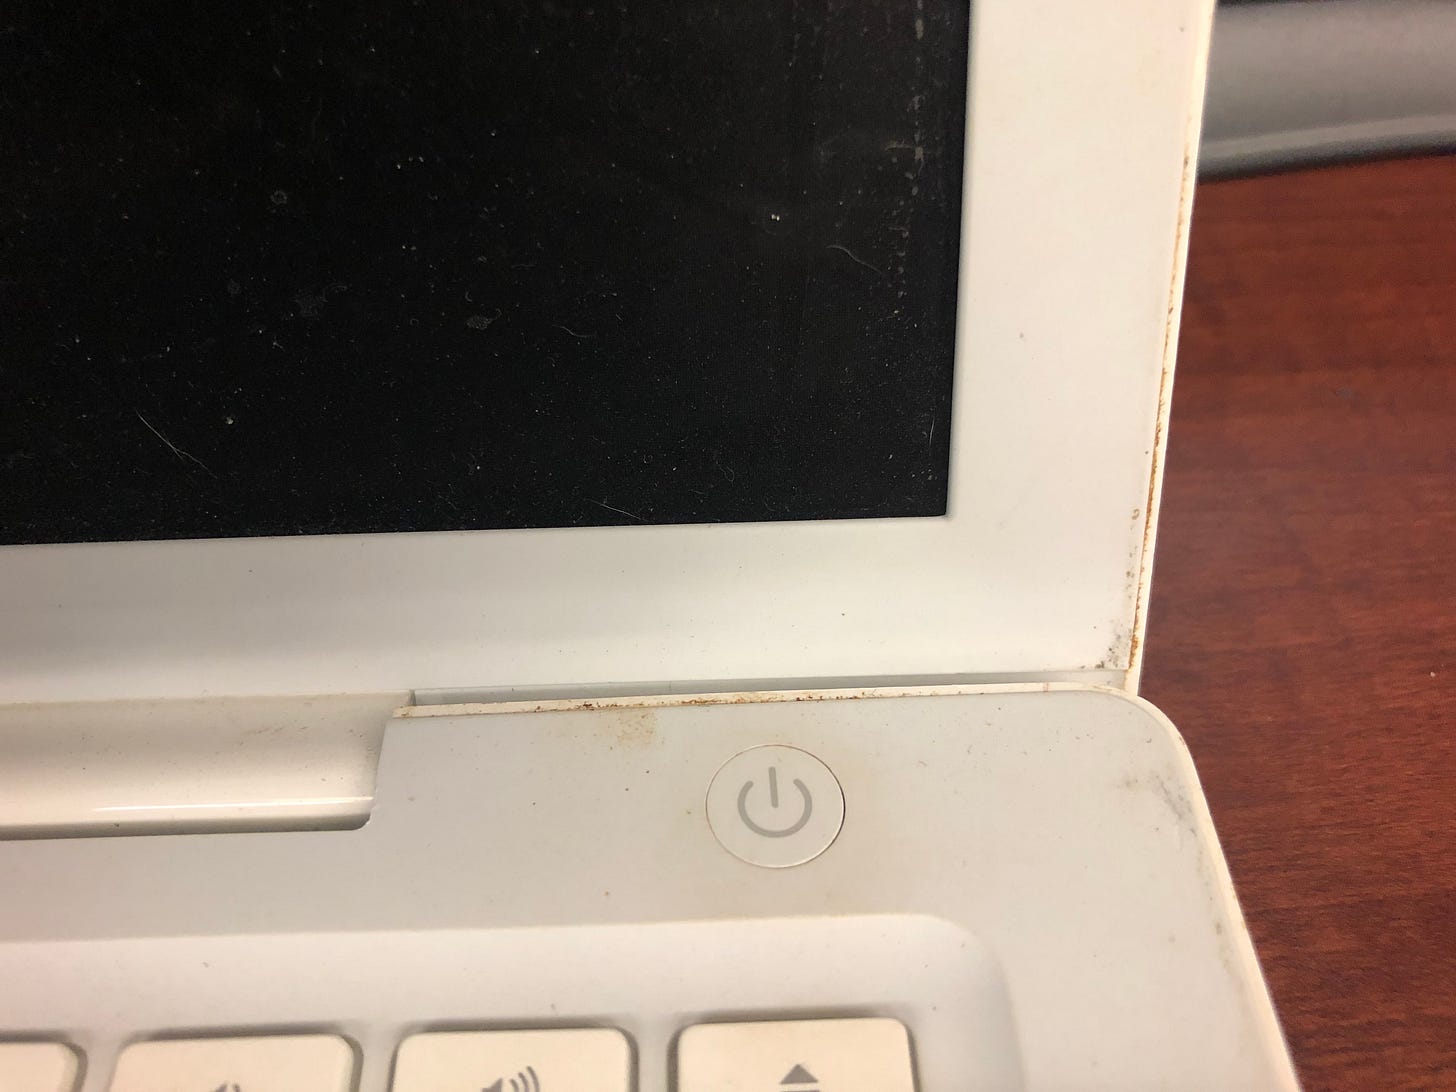
When I got the laptop it was quite dirty with some dirt and grime that had been built up over the years. It doesn’t show up super well in the pictures, but the top of the machine had quite a few smudges on it. You can see it a bit better from the side around the ports and around where the lid closes.
The bottom of the machine was, not surprisingly, in much worse shape. You can see most of the dirt that has collected on the polycarbonate shell and the rubber feet.
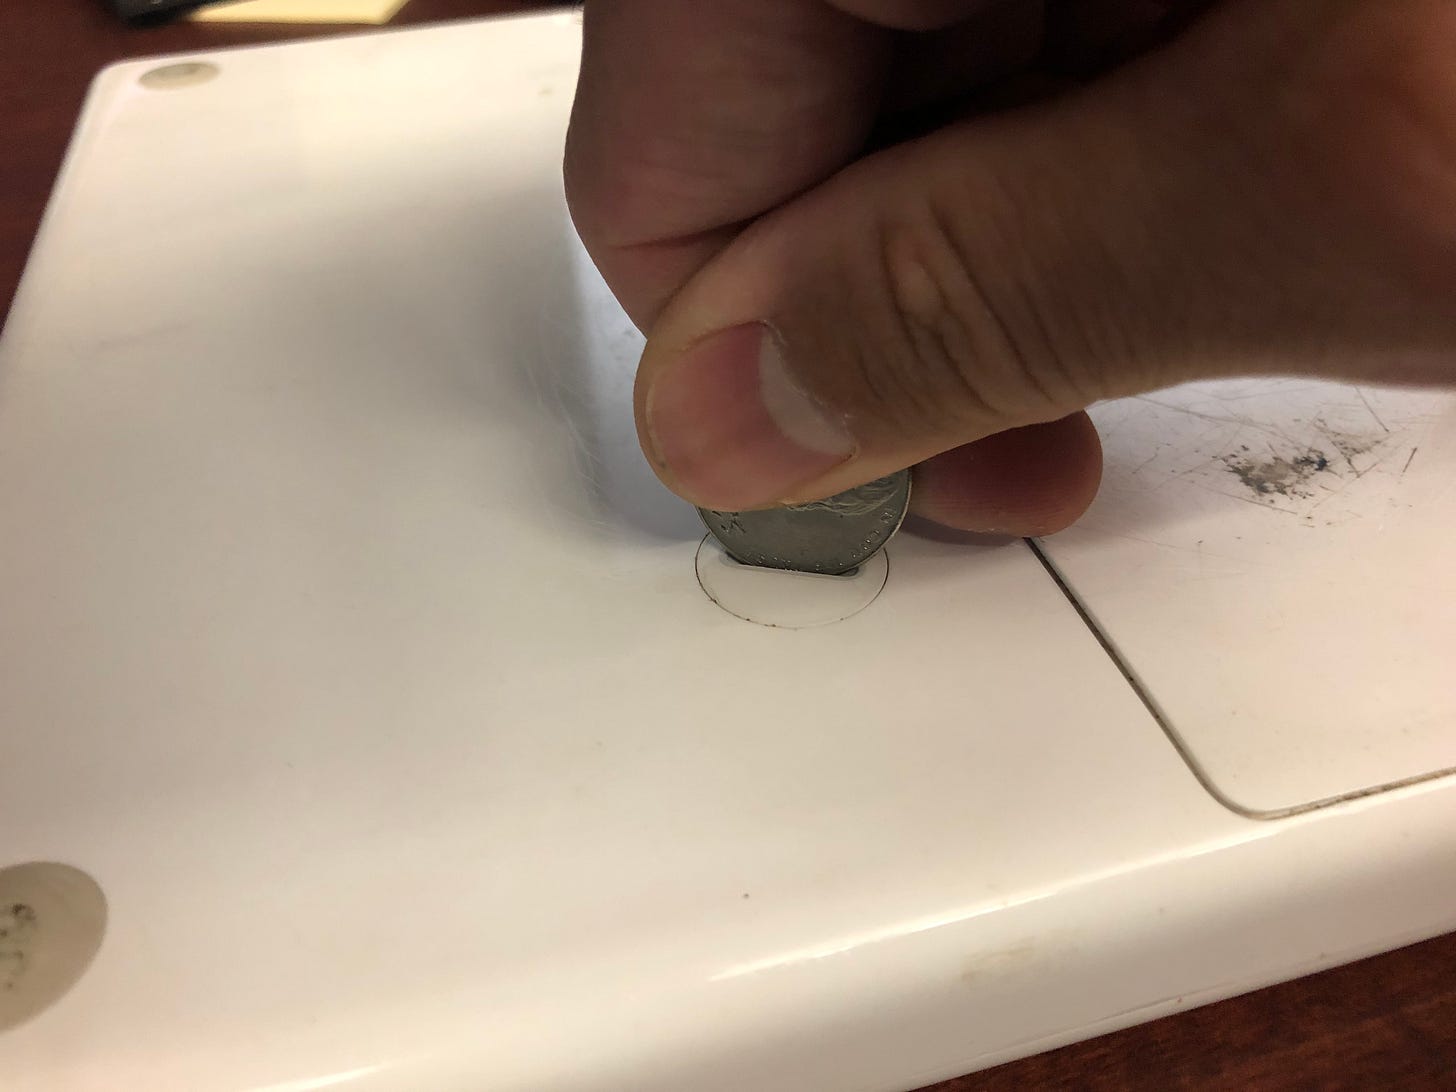
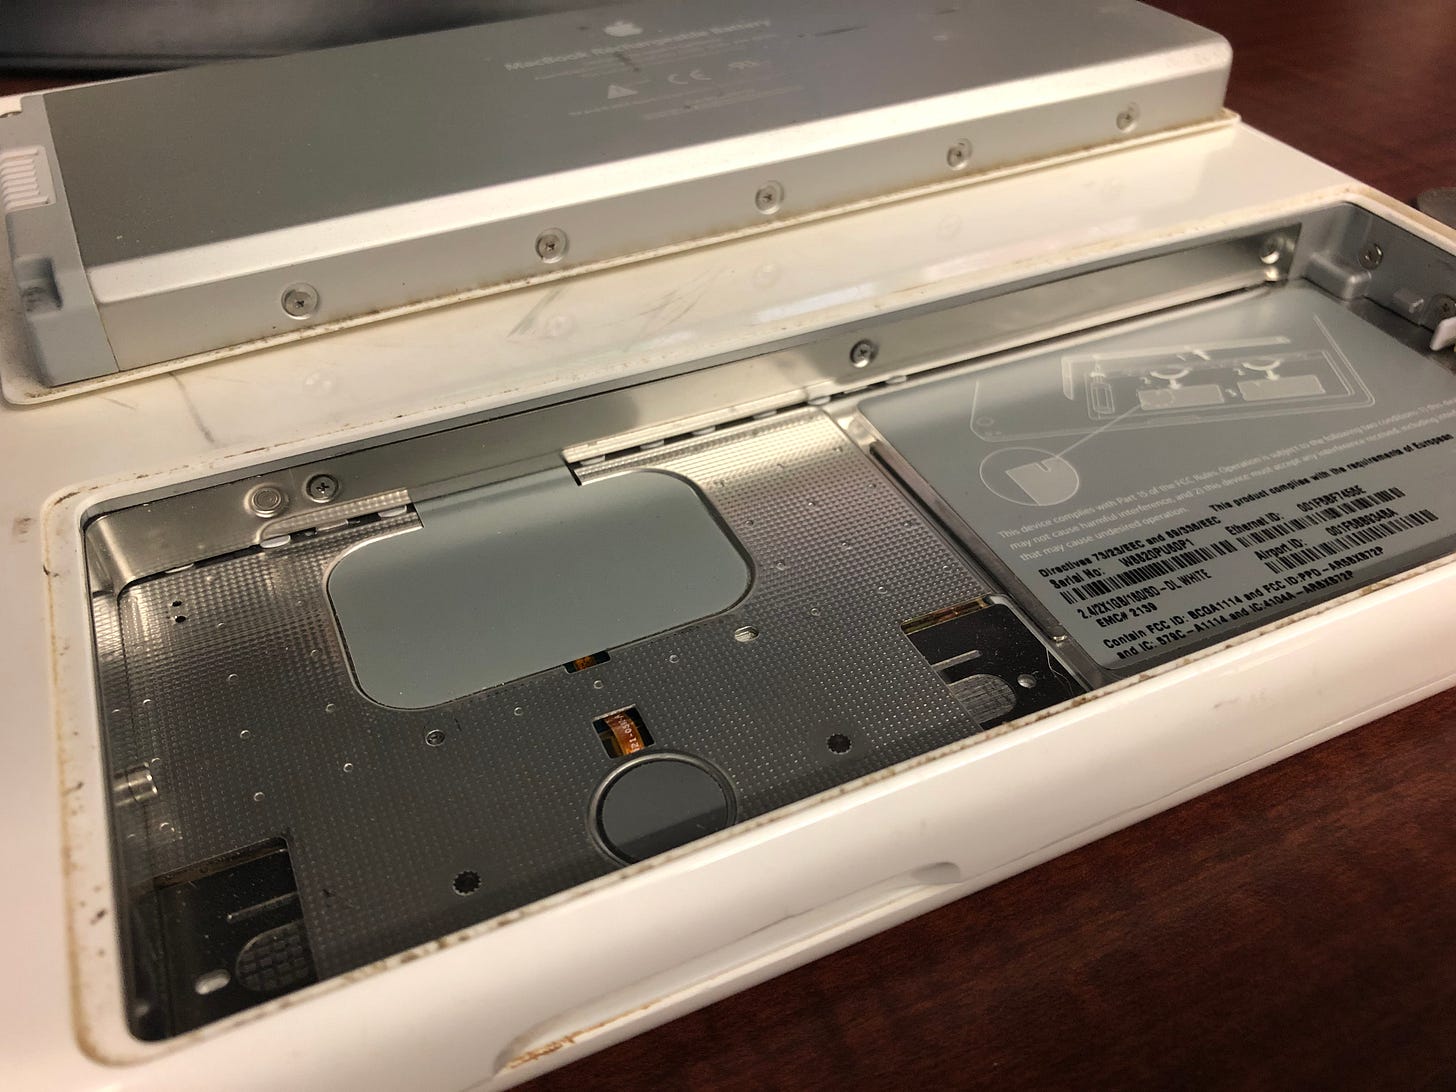
Before getting started on cleaning the laptop, I decided I would go ahead and get the old hard drive out to return to it’s owner, and get a new drive installed. Accessing the hard drive on these old MacBooks was incredibly easy. Note the little circle and slot next to the battery compartment. These laptops were designed to allow users to easily access some of the inner components with a coin and a single phillips head screwdriver.
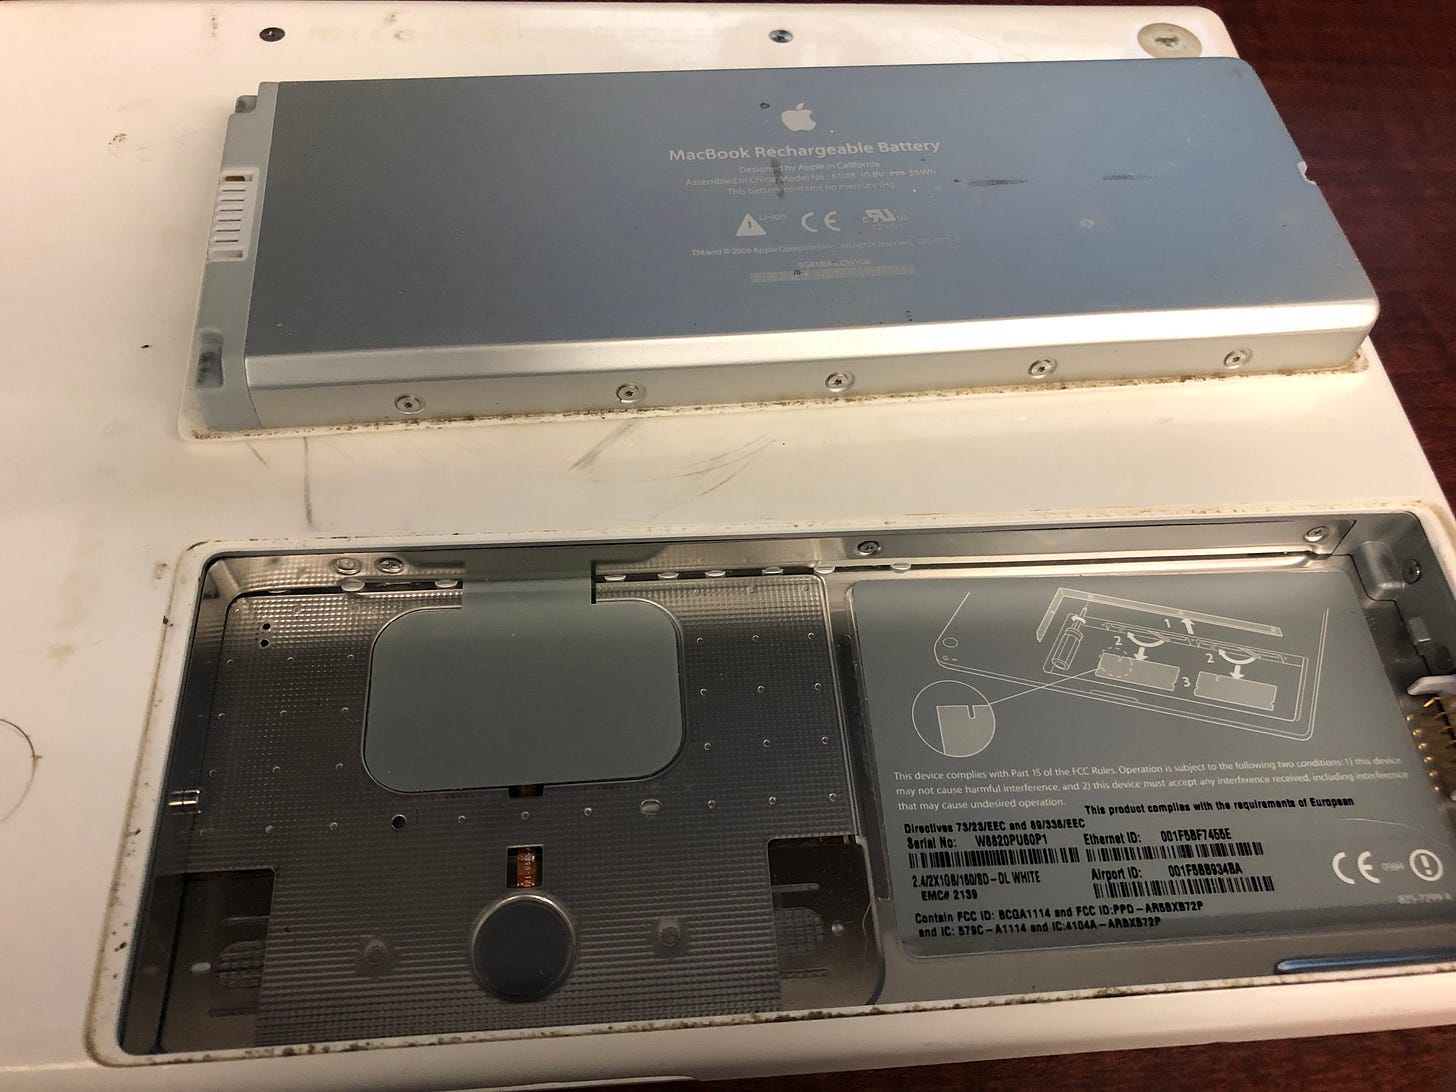
Once unlocked, the batter is easily removed. This battery is completely dead, but I was able to find a replacement on Amazon for about $25 USD. I’ll be picking one of these up in the near future. For now, this unit will just have to sit plugged in to work.
According to the little diagram printed on the battery compartment, there are just three screws that need to be removed to gain access to the RAM and hard drive.
Once the screws were out, I just had to gently pull the L-shaped bracket out.
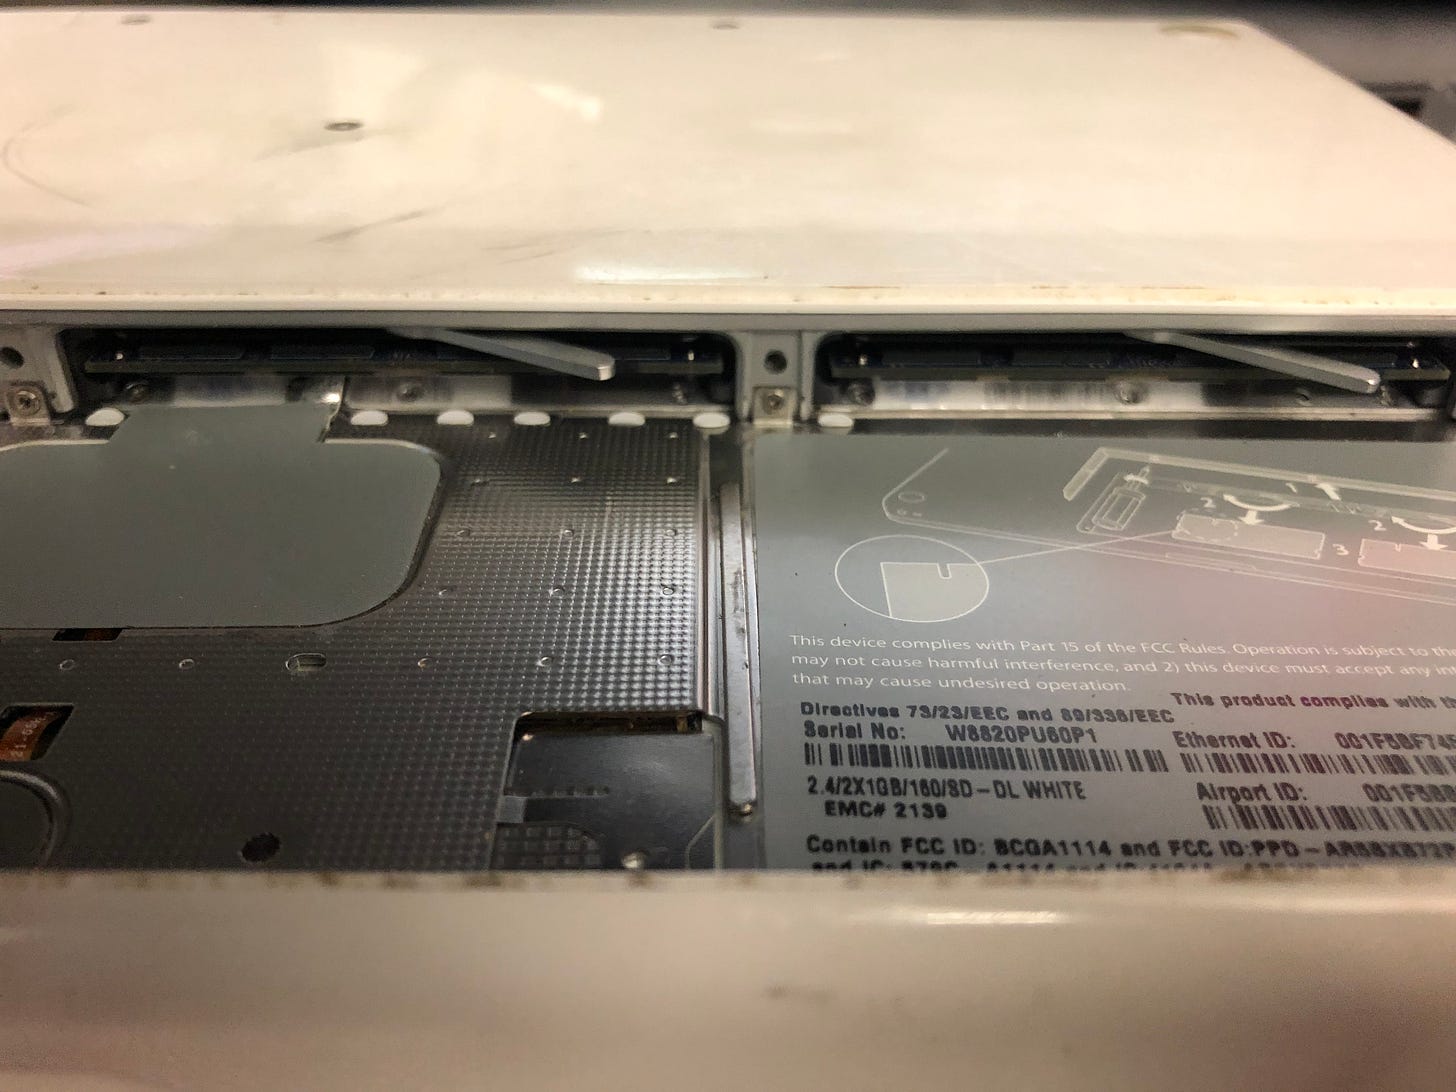
Looking head on the first thing I saw was the RAM slots. This machine came to me with the “maximum” of 2 GB of memory. I say it like that because like most other Mac’s with user upgradeable components there is an official maximum and an actual maximum. For example, in my 2012 MacBook Pro the official max is 8 GB DDR4 memory; however the actual max is 16 GB. The 2007 iMac that I recently swapped the hard drive in has an official max of 4 GB, DDR2 memory, but it actually maxes out at 6 GB. For this machine, from what I’ve seen, the official maximum is 2 GB of DDR2 memory but it should be able to run with 4 GB. That upgrade will happen later.
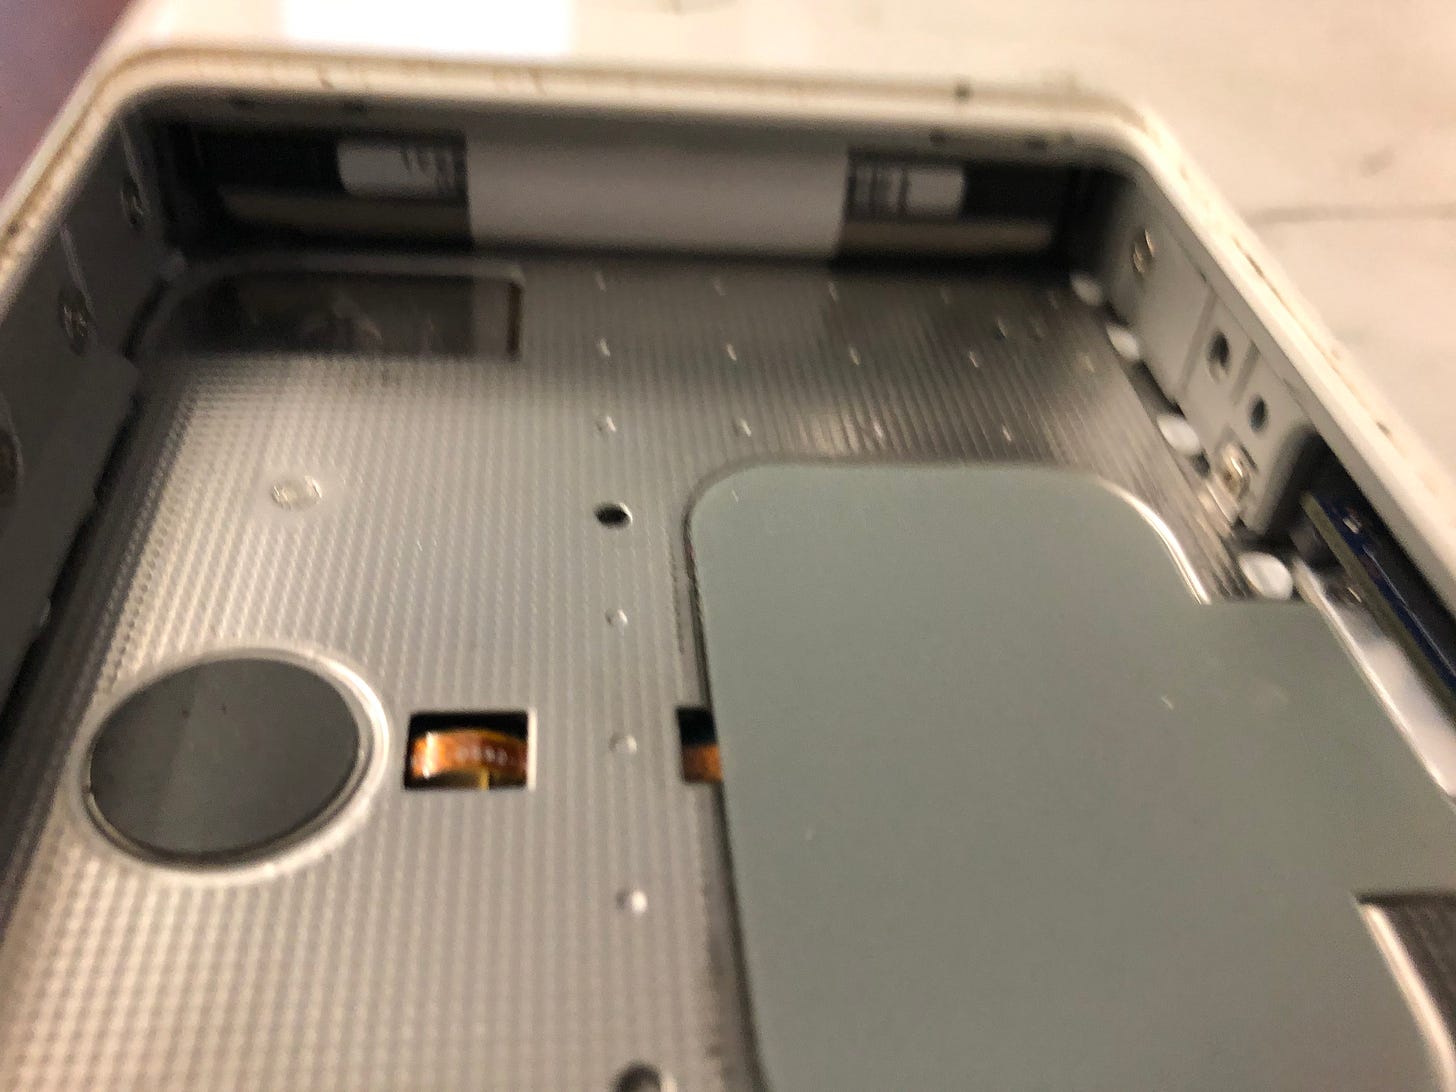
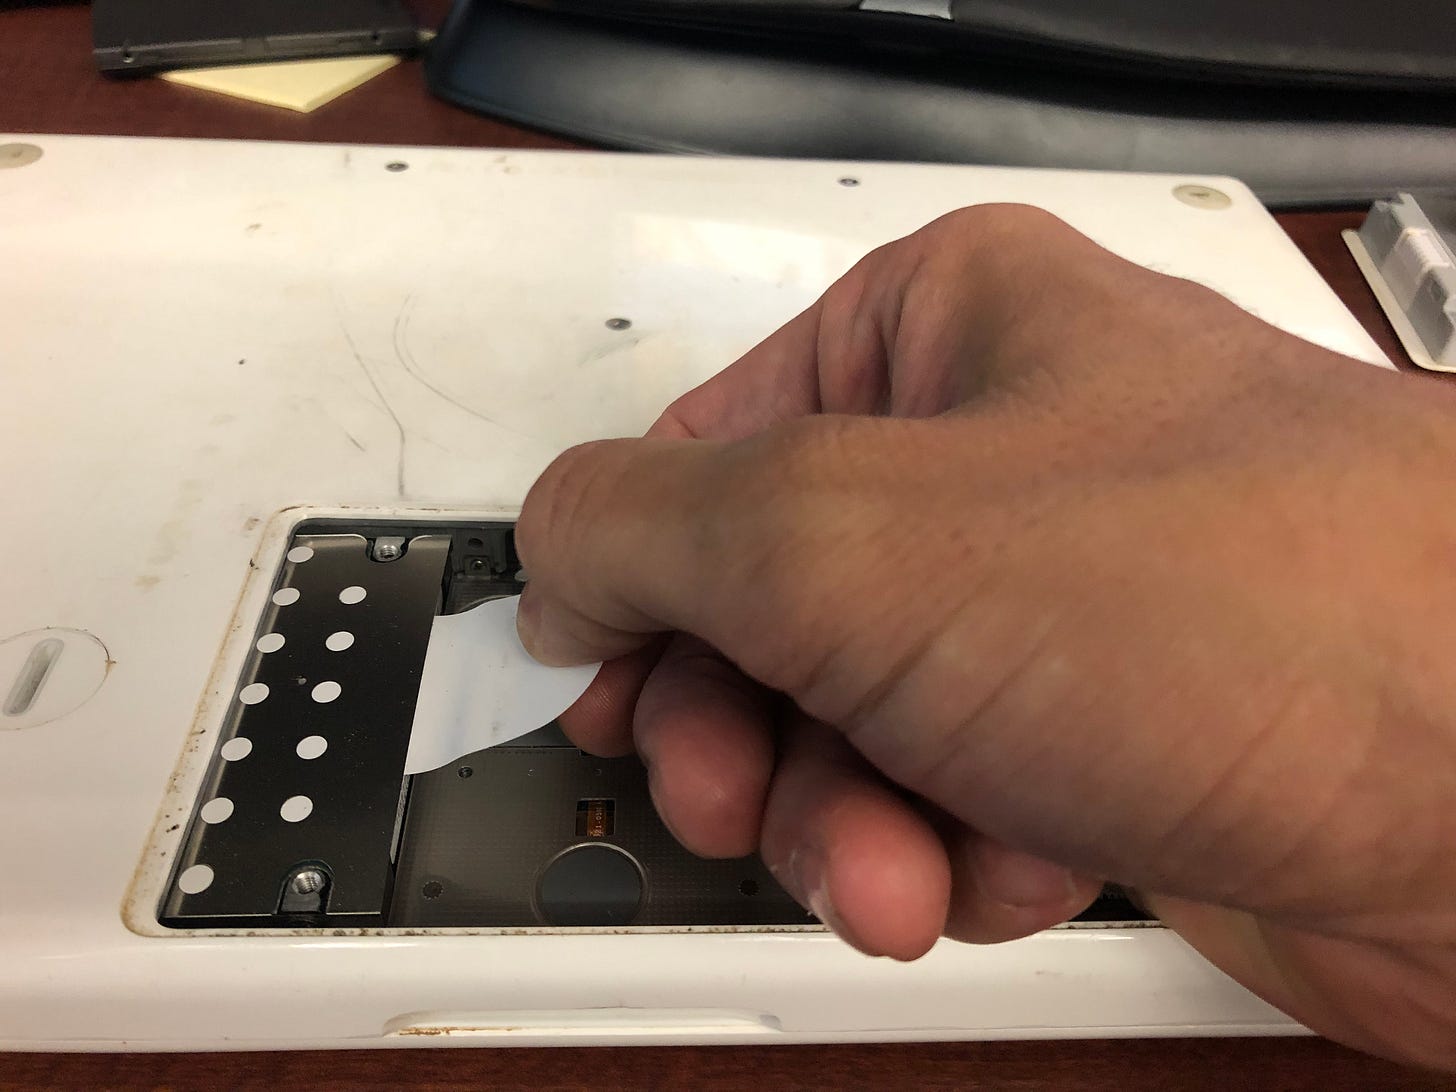
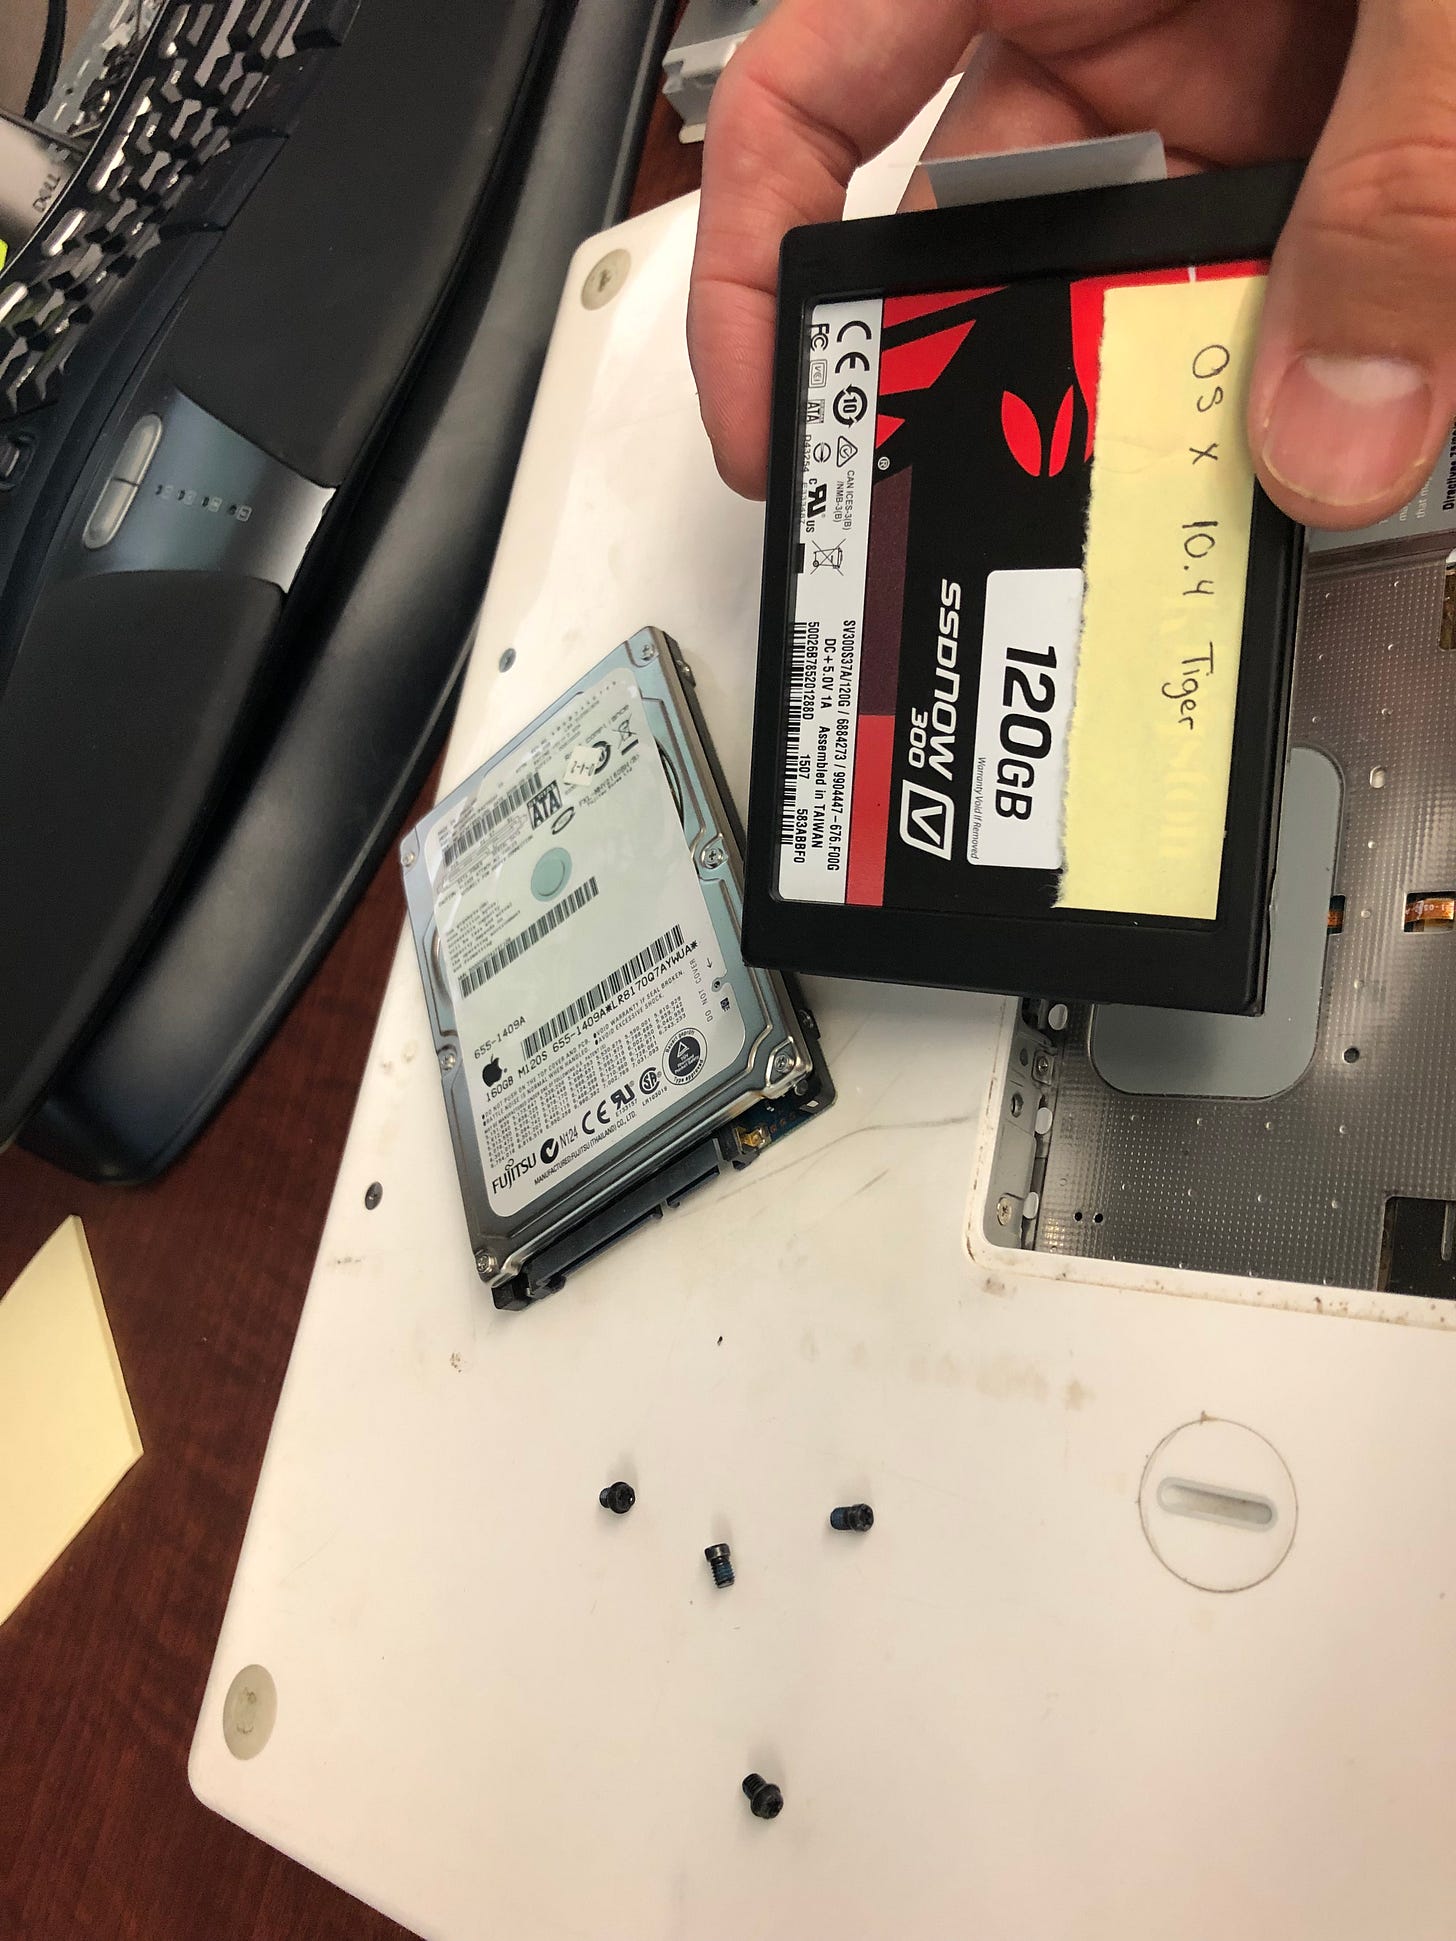
Looking to the left, under the little coin lock thing, is where we find the SATA hard drive. It has a small white plastic tab that can be used to remove the drive.
With the drive removed I needed to replace it with my own hard drive. I have plenty of 2.5 inch hard drives, but why do that when we can upgrade this thing to an SSD and give it a nice little speed boost?
Now this machine was able to run quite a few versions of OS X — up to Yosemite or El Capitan if I’m not mistaken — but it originally shipped withj one of my favorite versions of OS X: 10.4 Tiger. Thankfully, I already had a drive with Tiger installed, so I just threw it in there.
I forgot to take a photo putting the SSD into the laptop, but I figure you all get the point of what I did there, so let’s move on to cleaning her up.
There are many options for cleaning laptops and other electronics, but I happened to have a ton of these alcohol wipes laying around so that’s what I went with.
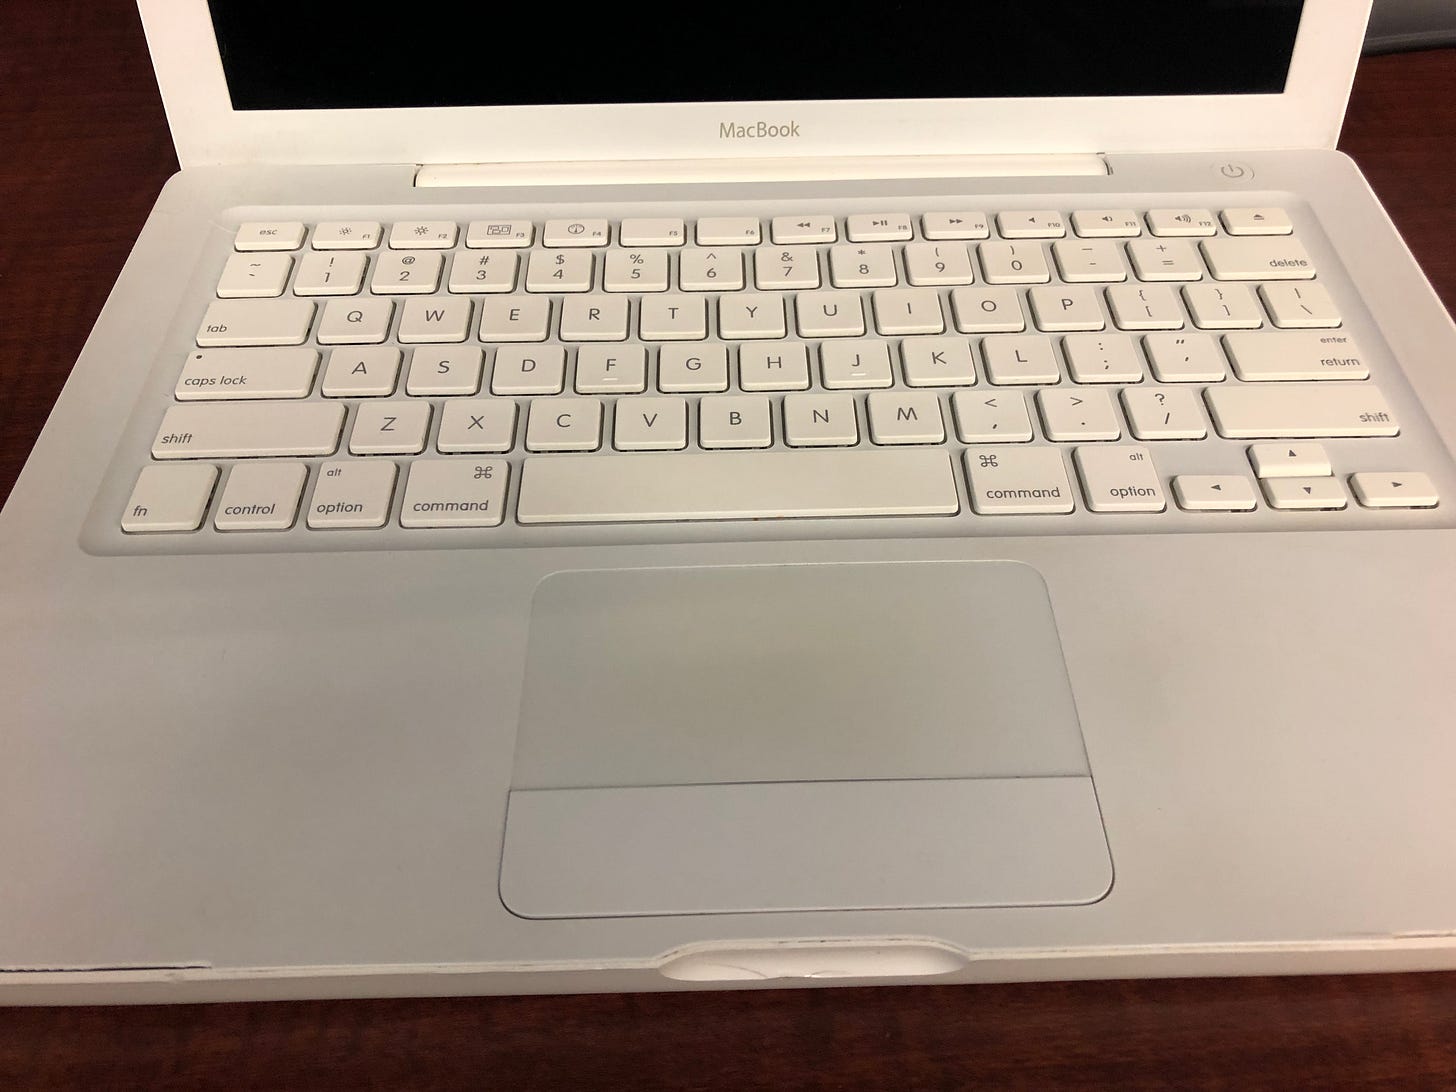
I won’t bore you with in progress photos, so just refer to the earlier “before” photos, and here are the “after” photos. She cleaned up nice if I say so!
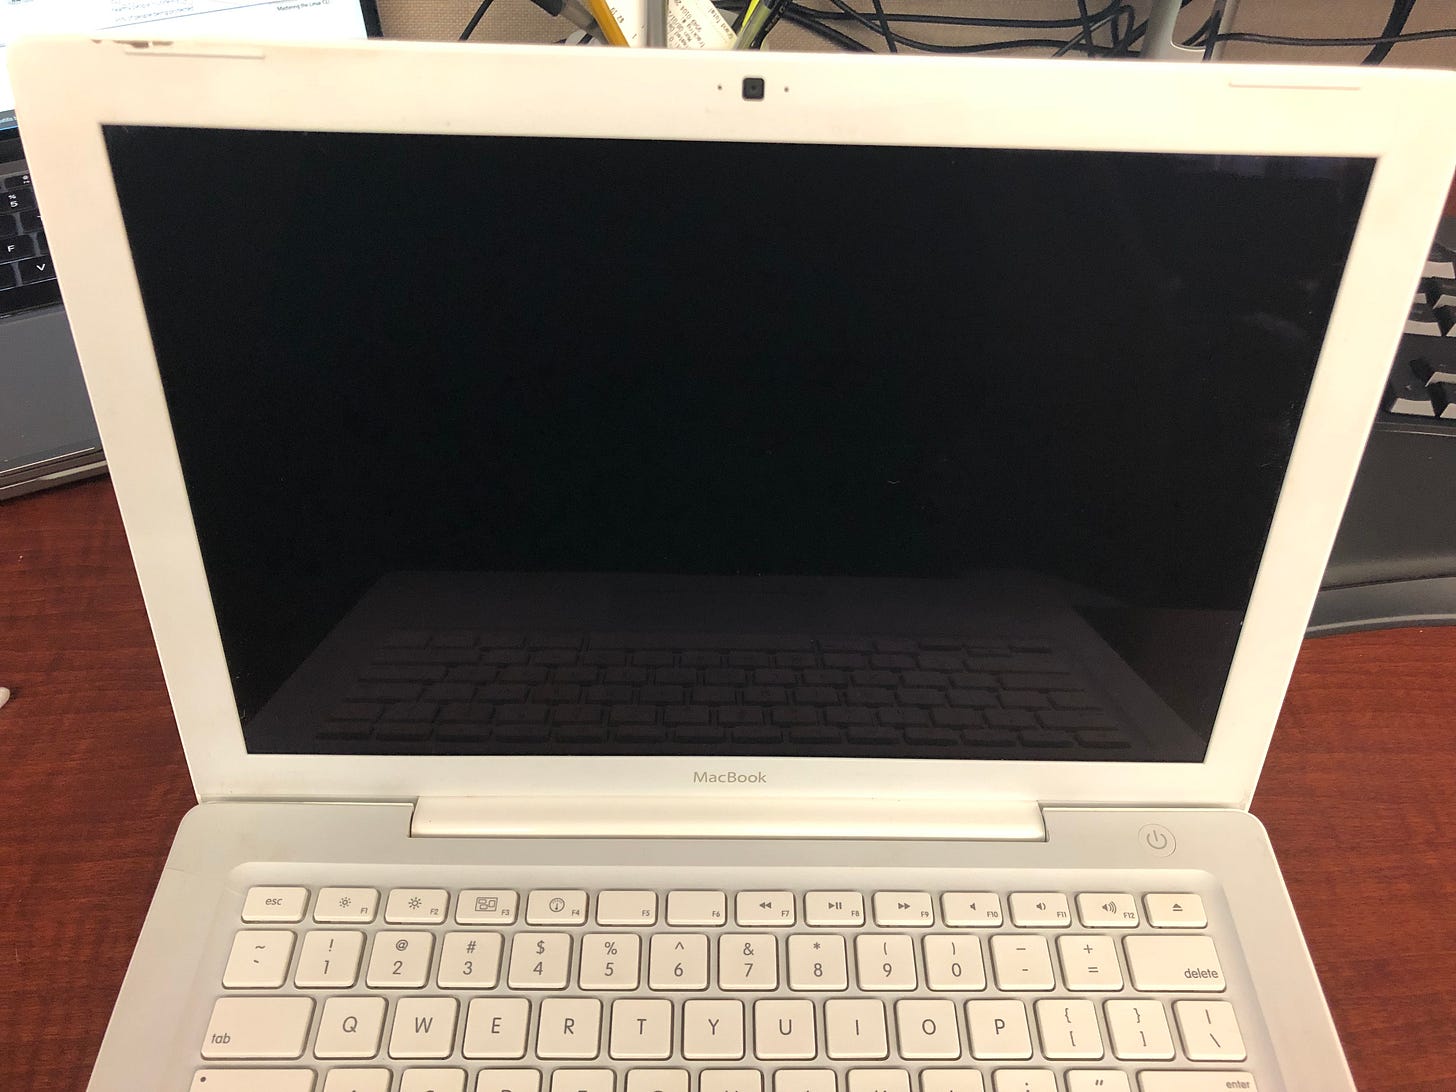
The screen and keyboard deck were both pretty gnarly with dust, fingerprints and grime.
With a little elbow grease, canned air, and a spudger I was able to get this thing looking almost like new.
Next up was the moment of truth. To this point I hadn’t thought to power it on so I wasn’t even sure it would work, but thankfully plugging in the MagSafe connector we got a green indicator light. I pressed the power button and Tiger booted up in a matter of seconds.
I pressed the power button and Tiger booted up in a matter of seconds. Launching About This Mac gives us the first indication of what this thing is running with:
A 2.4 GHz Intel Core 2 Duo
2 GB 667 MHz DDR2 memory
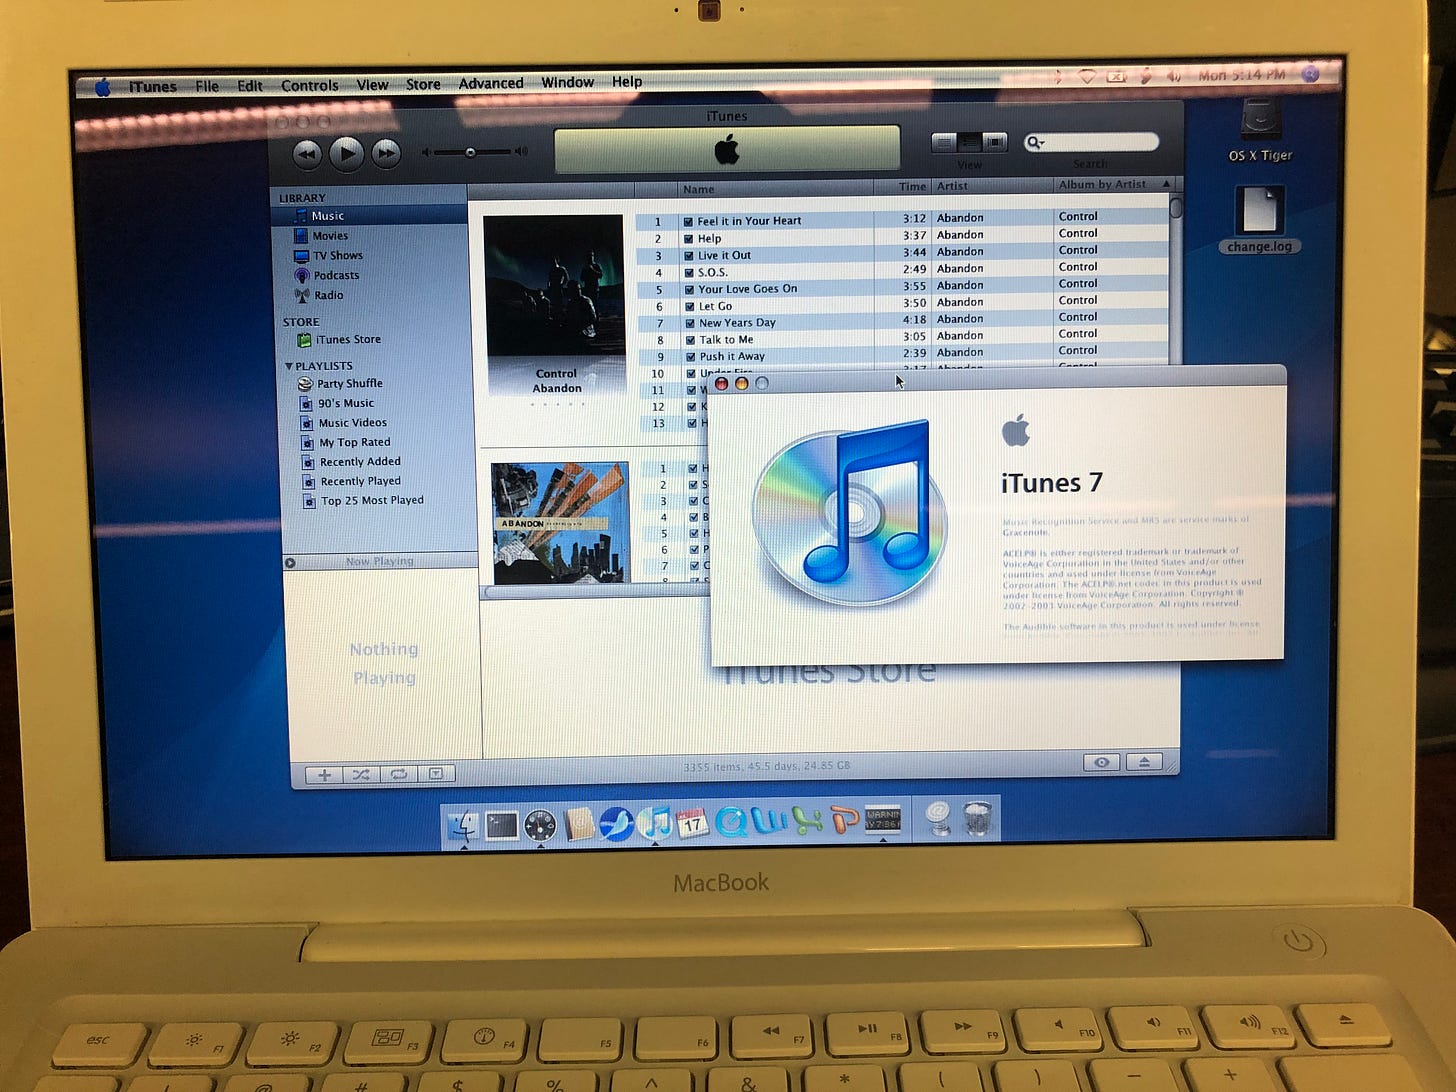
Since I’d run this SSD in my Mac Pro before I converted that machine into a home server it still had my files on it, including a portion of my music library running beautifully in iTunes version 7!
For writing and other productivity needs I have Microsoft Office for Mac 2004.
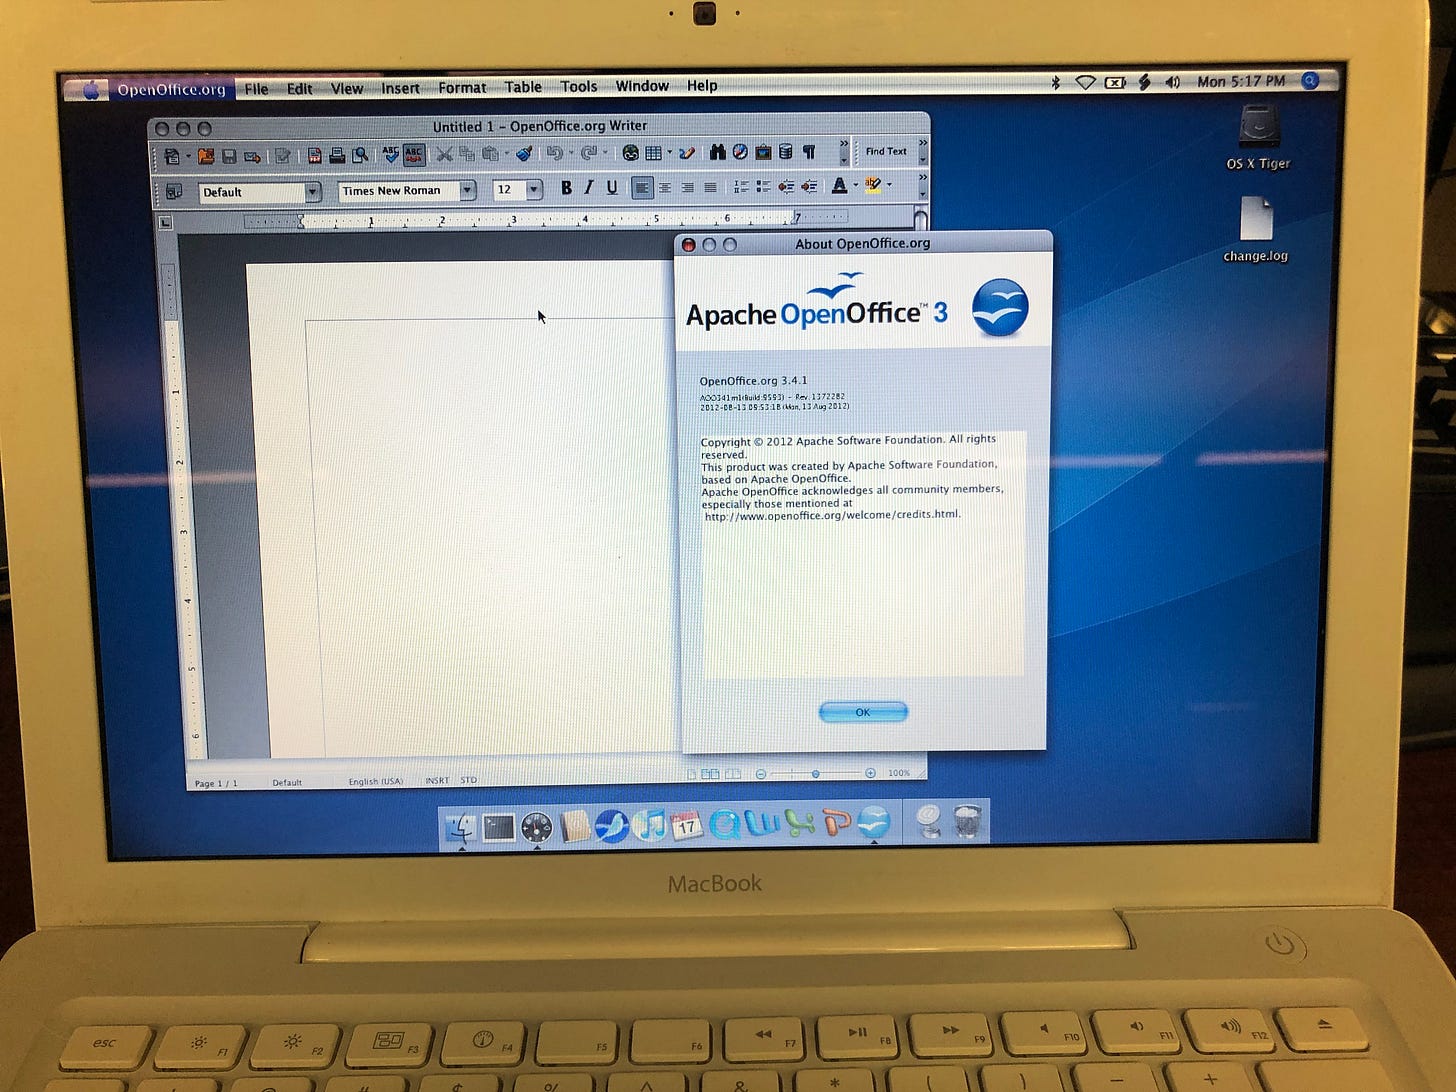
Alternatively I also installed OpenOffice 3 for opening and converting files from AppleWorks 6 on my OS 9 machine.
Next up I was curious to see if I would still be able to get any software updates in 2022, and to my surprise there was one waiting for me. Weird.
With the Front Row Update installed everything else seemed to be in working order.
Next Steps
With this vintage MacBook cleaned and restored, there are a few more things I’m planning to get it settled as my retro battlestation:
Wrap up the hardware upgrades with the maximum 4 GB of RAM and a new battery
Install Windows XP alongside OS X Tiger
Possibly install a retro-looking modern Linux operating system because… why not?
If there are things you’d like to see me try with this machine be sure to let me know!













My favorite Macintosh laptop was the 12” G4. It took me through college and into my professional career. At some point, I got rid of it… which I very much regret. Maybe one day I’ll happen into one as you did.