Let's Refresh the Thermal Paste on a 2005 Dell Laptop
The Return of the Latitude D810!
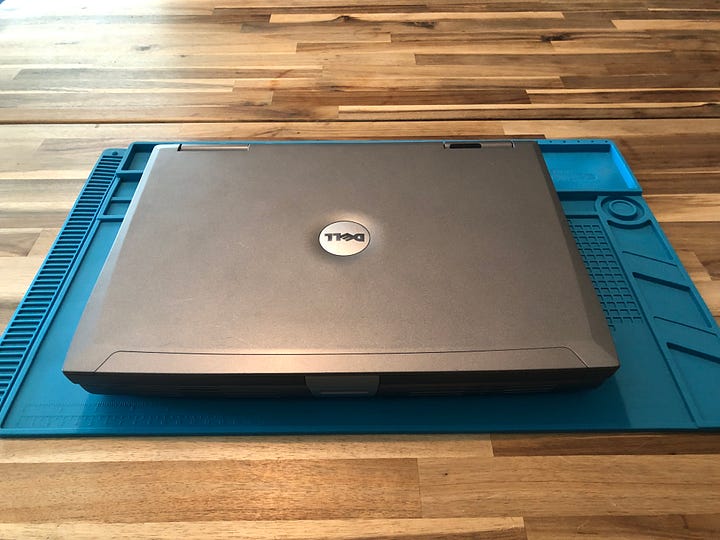
It’s been quite a while since we got our hands dirty around here and did some sort of hardware repair or maintenance, so let’s rectify that. Today we have here a Dell Latitude D810 from 2005. It was originally built for Windows XP and it runs it quite well, but I already had several XP machines so this beauty is my dedicated Windows 2000 device. I’ve used it for 2000 for about a year now and it runs wonderfully, but it does run a little hot so it’s time for a thermal paste refresh.
First and foremost, note the access panels on the bottom of the laptop. I really miss how easy manufacturers used to make it to work on and upgrade service these things. In addition to the thermals, I also needed to replace the CMOS battery which is conveniently accessible under a little door under the battery.
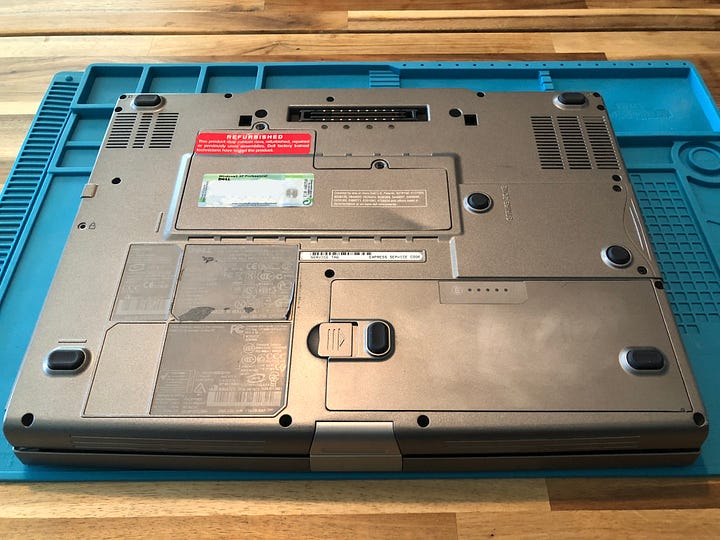
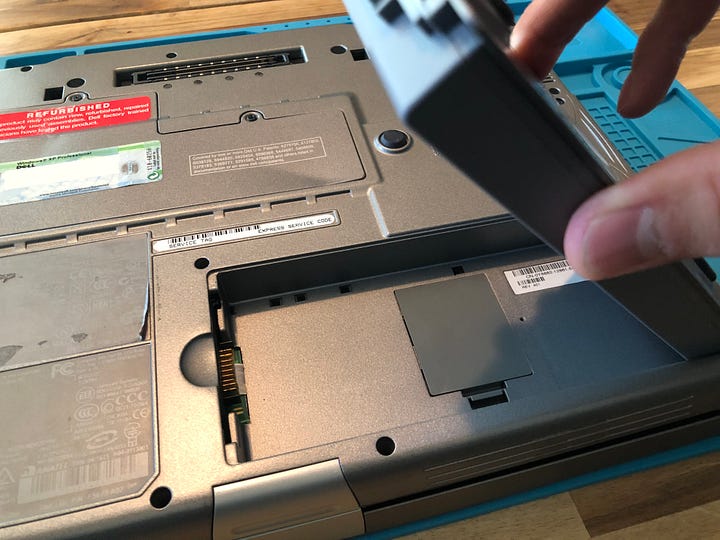
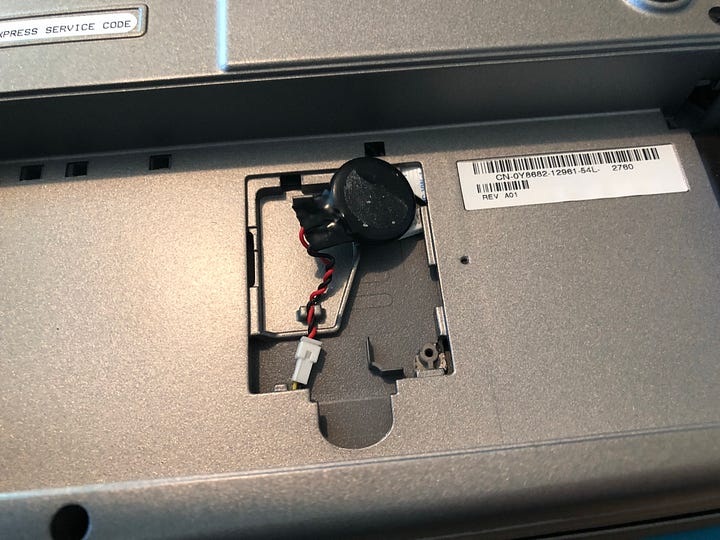
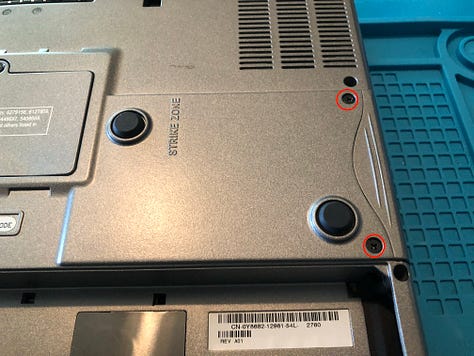
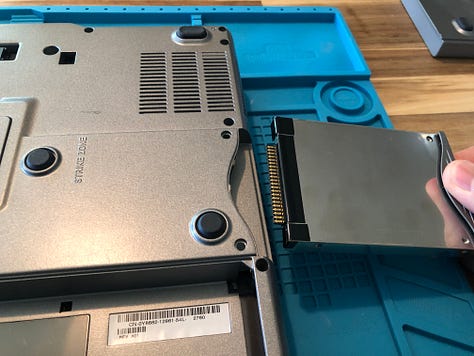
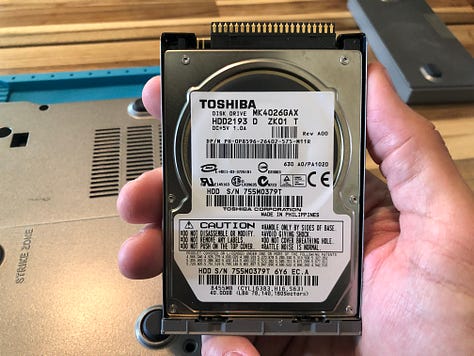
With the CMOS battery replaced, it’s time to start stripping down the machine to get to the CPU. Start by removing the two screws holding the hard drive in place and remove the drive.
Next, remove the four screws on the top corner of the device which will release the display from the base of the machine. Using a plastic spudger to avoid scratching the plastic, gently pry up the top piece with the power and volume controls. Once removed, disconnect the LCD cable and wireless antennae. Also, something I forgot to do until later was to unplug the power to the wireless cord. Once disconnected, the display assembly will simply slide up and separate from the base.
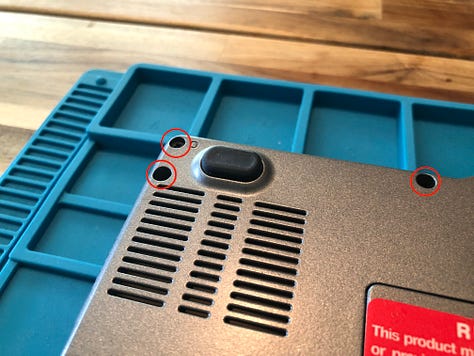
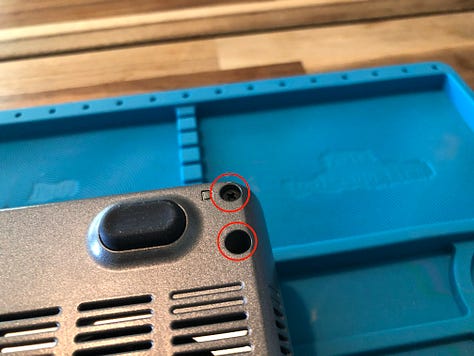
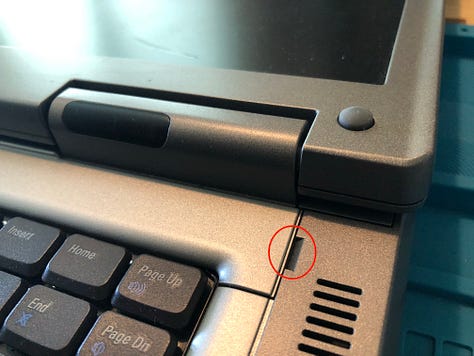
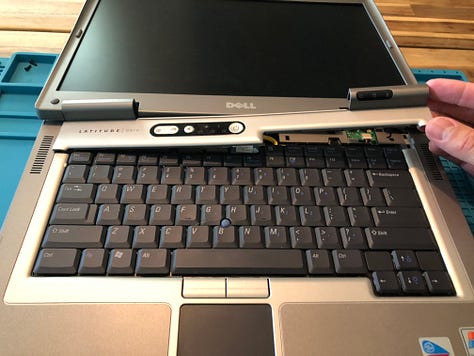
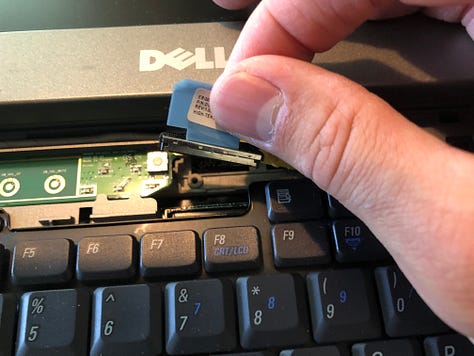
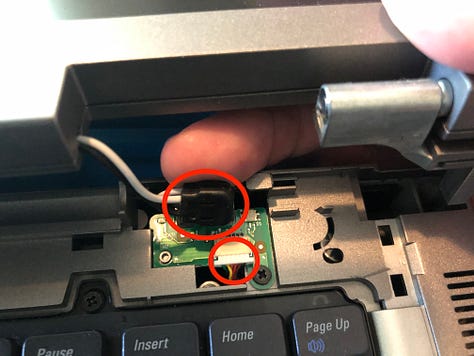
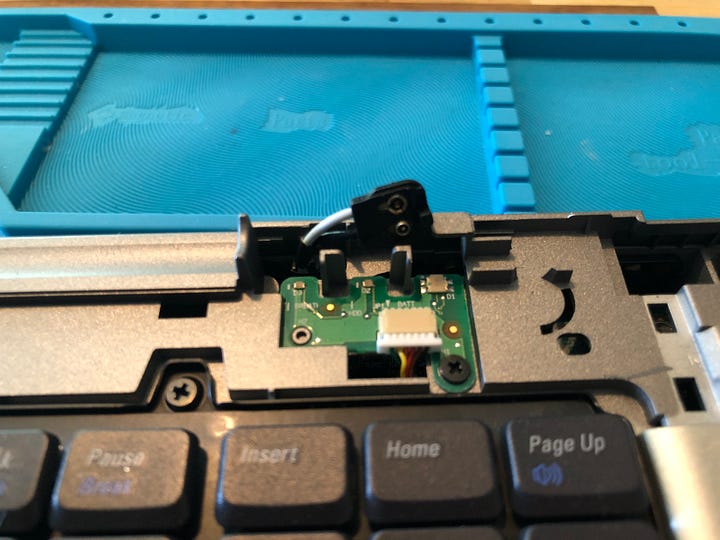
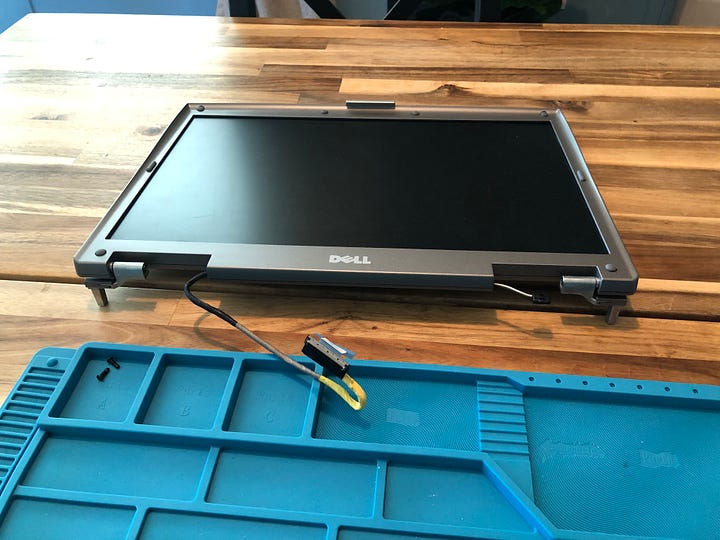
Next, remove the two keyboard screws, then use a spudger or a small flat-head screwdriver to pop the keyboard out of place. Disconnect the keyboard ribbon cable and set the keyboard aside.
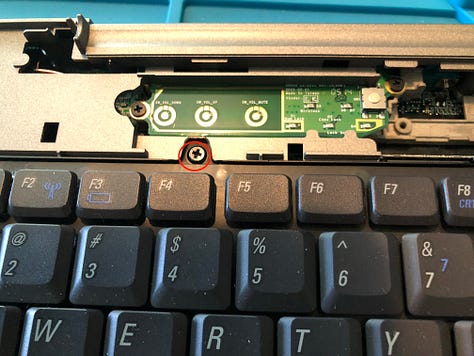
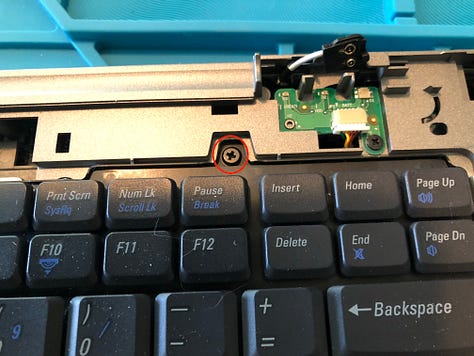
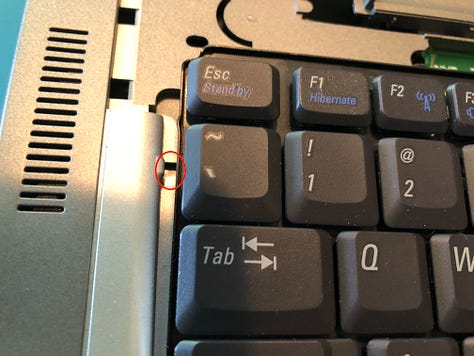
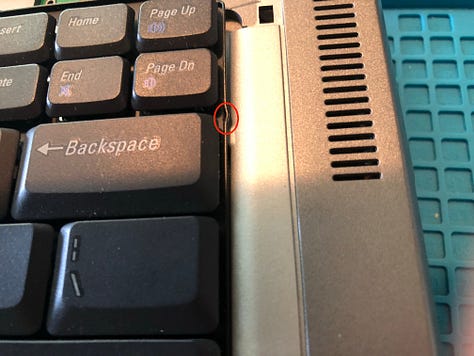
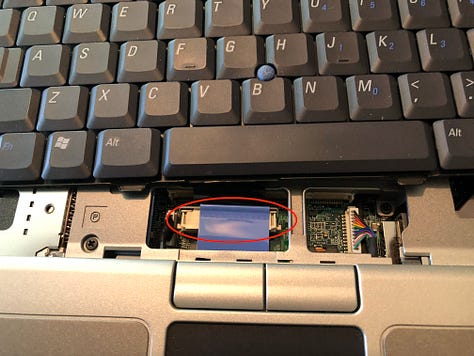
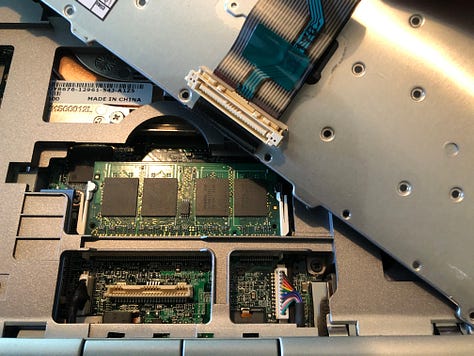
With the keyboard removed we can prepare to remove the palm rest assembly. Using a small phillips screwdriver, remove the four screws marked with a P on the plastic. Be sure to disconnect the trackpad and the power cable for the wireless card — also, it was at this point that I realized I didn’t actually need to disconnect it at the card itself, but oh well. Once all that is done, the palm rest simply snapped apart and lifted up.
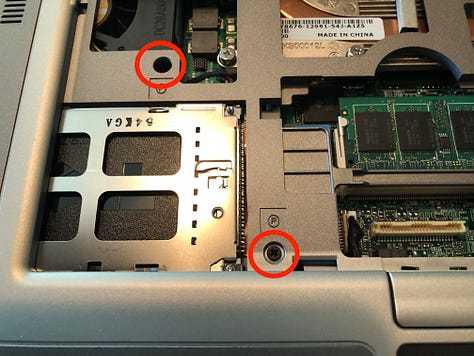
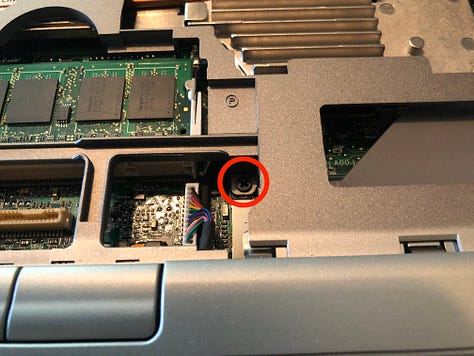
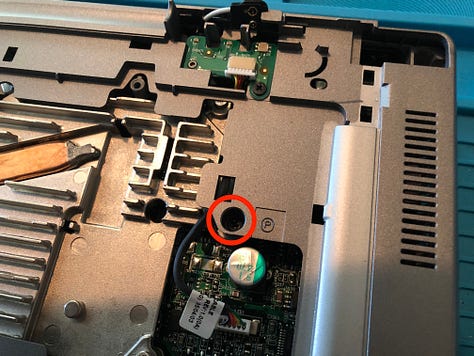
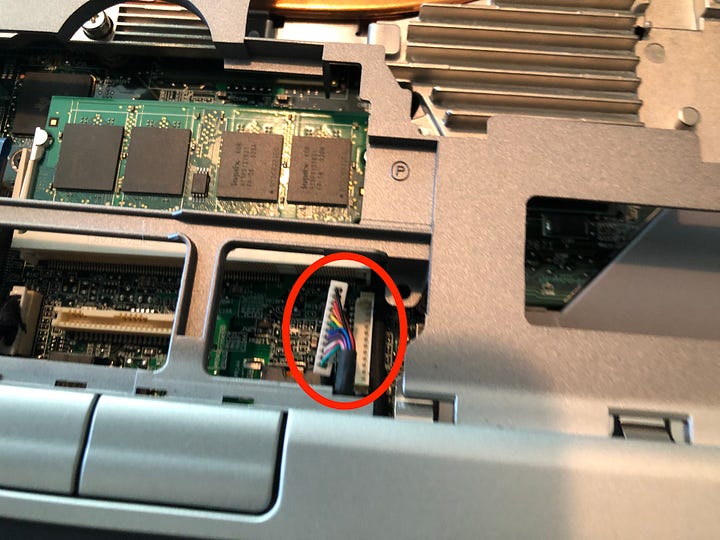
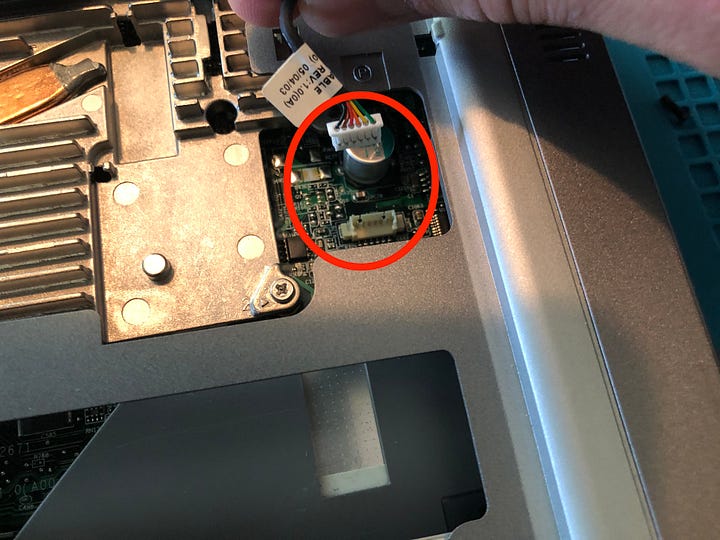
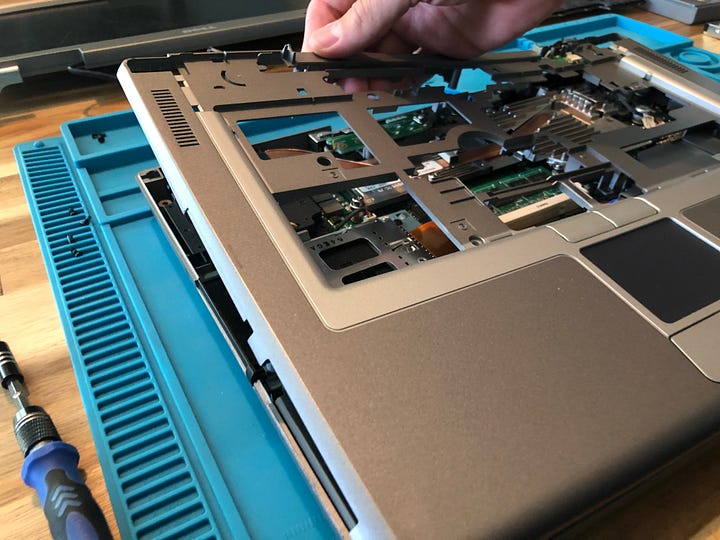
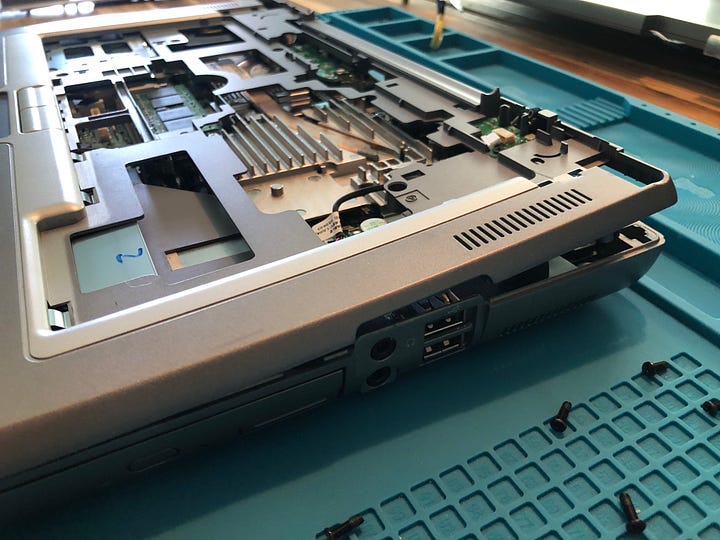
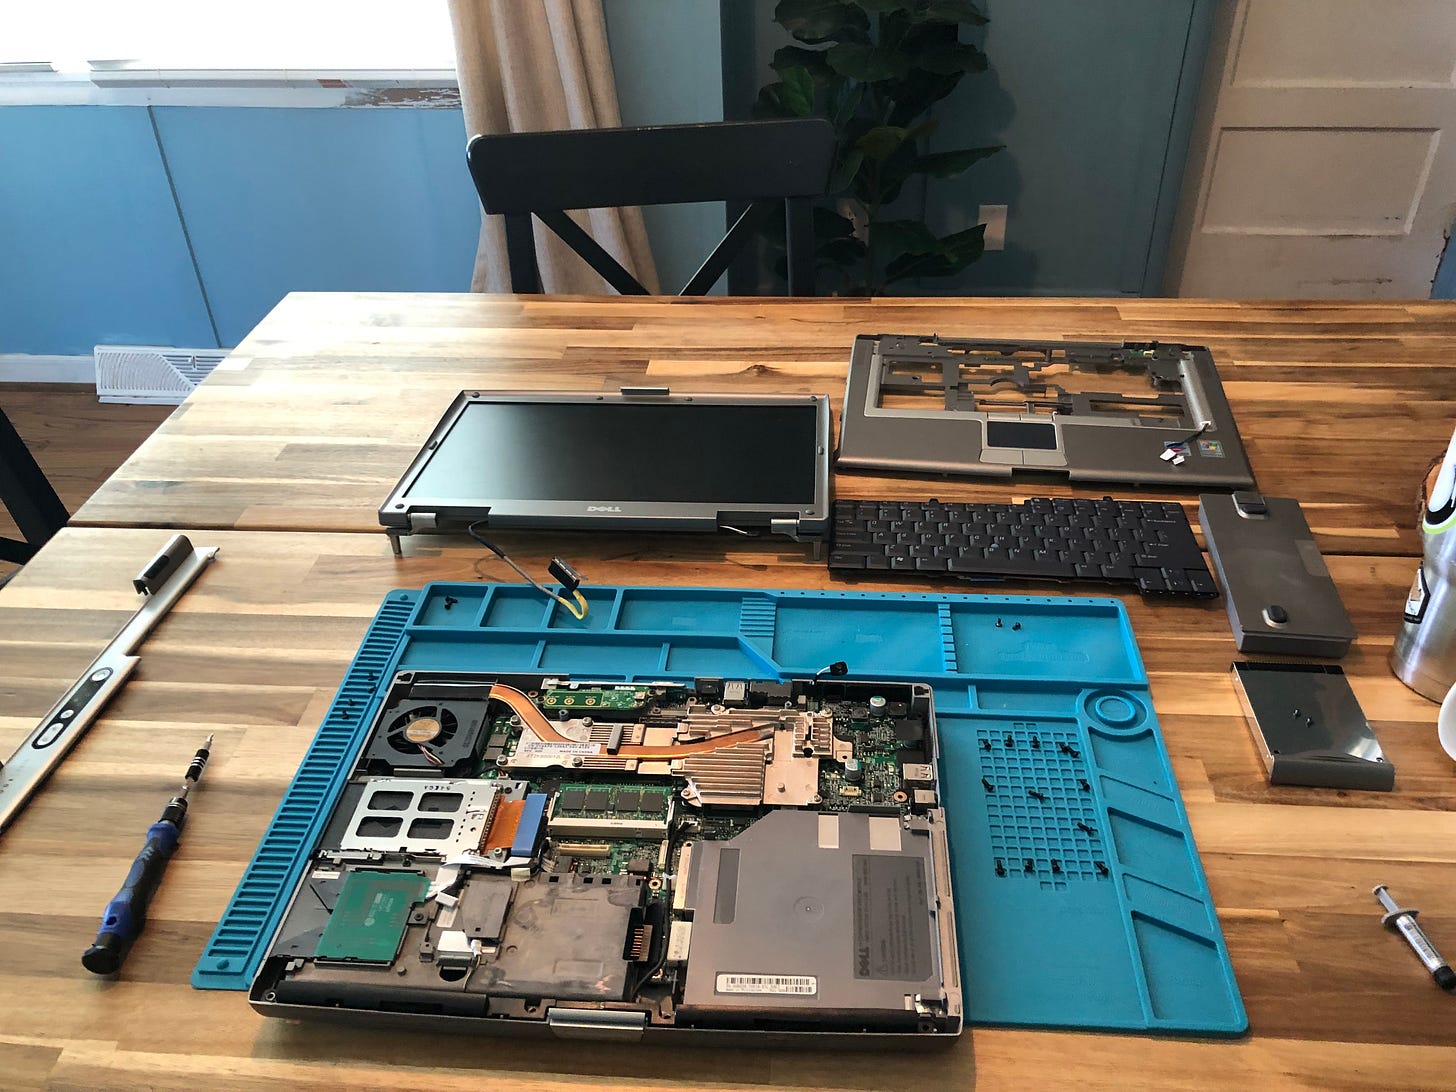
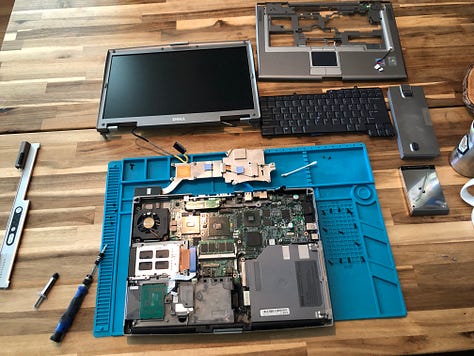
The progress so far.
With the internals revealed, we can move on to removing the heat sinks and piping. Four captive screws hold down the heat sinks on the CPU and the graphics chip. I used a cotton swab and some 91% isopropyl alcohol to clean the old paste off. It wasn’t totally dried out, but it definitely needed to be refreshed.
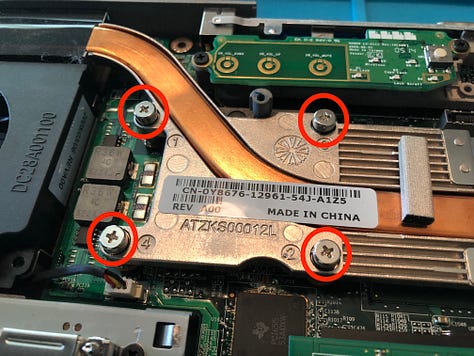
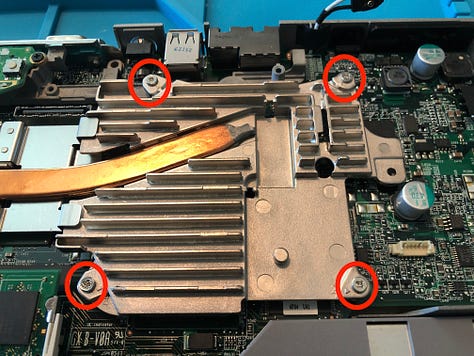
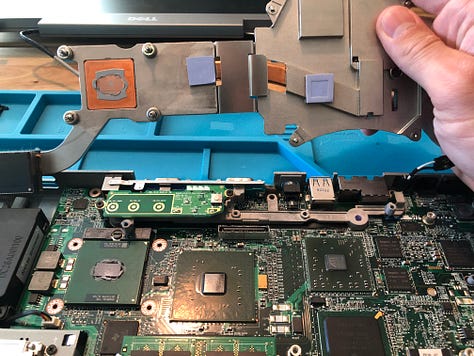
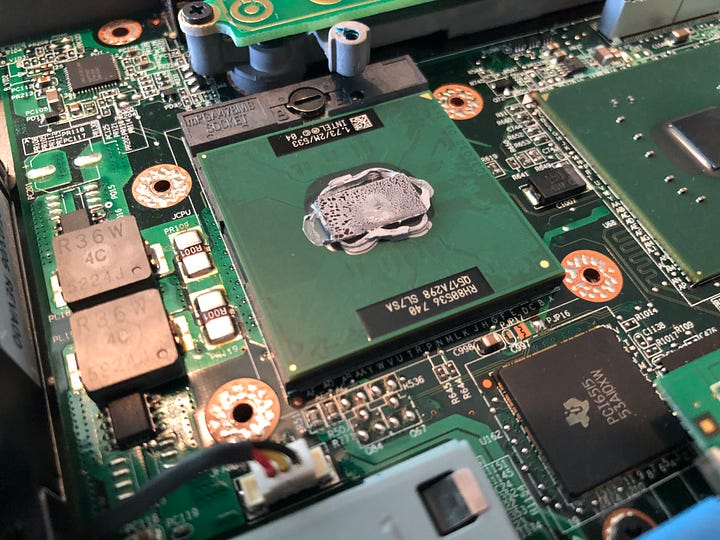
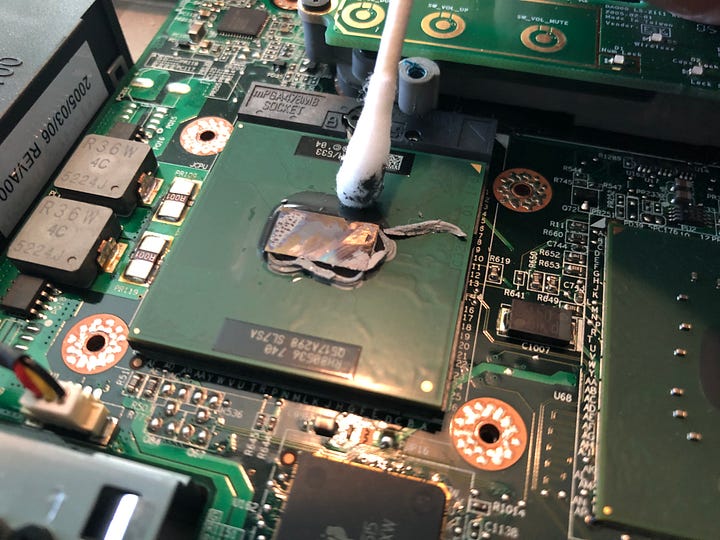
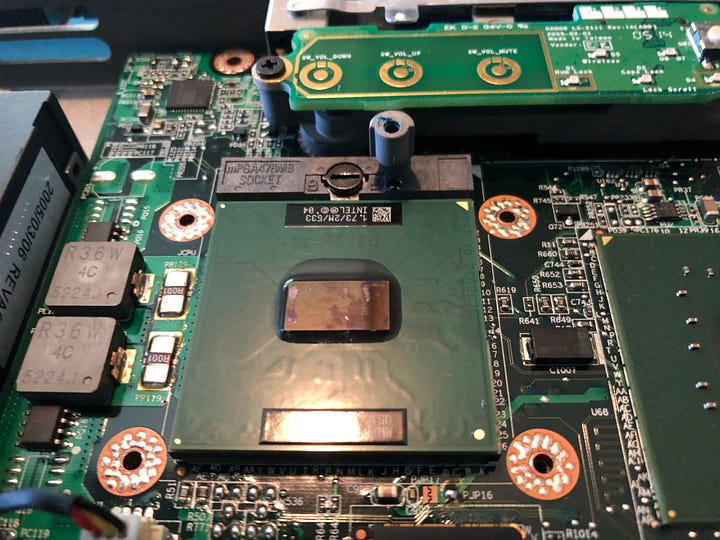
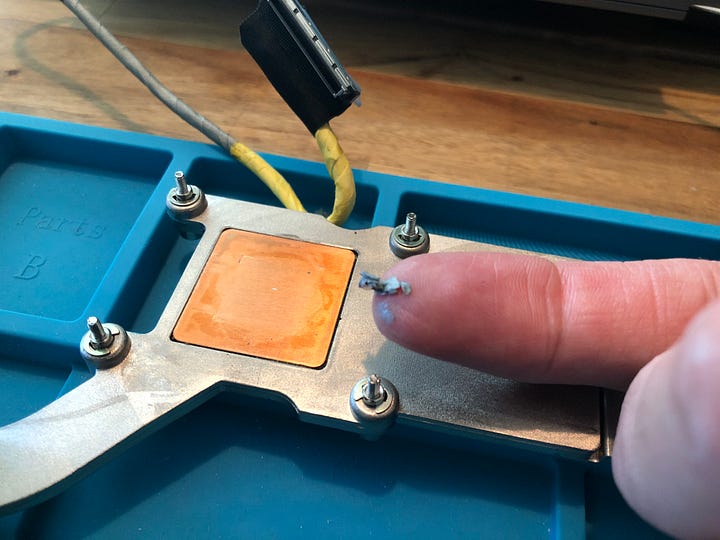
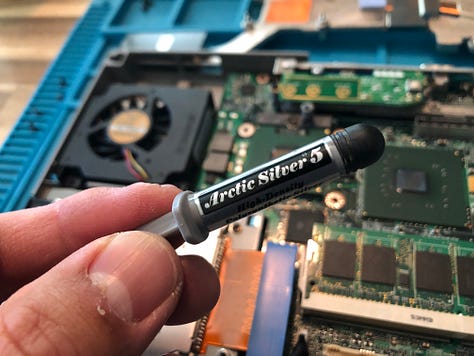
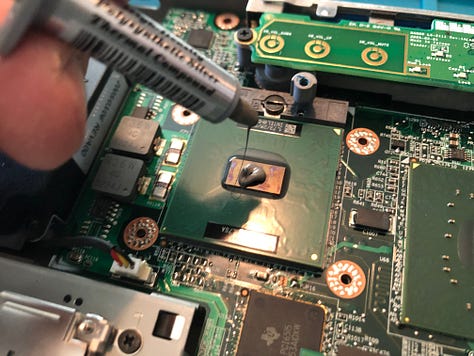
With everything taken apart, I used a bit of Arctic Silver 5 thermal paste and put everything back together.
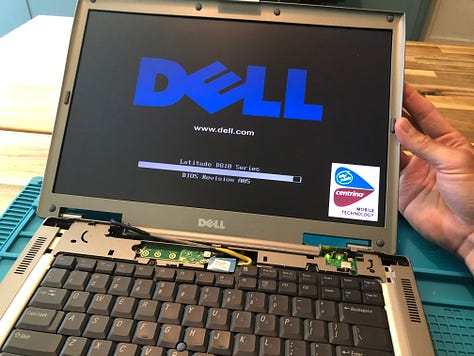
I reconnected the palm rest and the keyboard and tested the LCD before putting it back together completely and the system booted just fine, so I went ahead and finished buttoning it up.
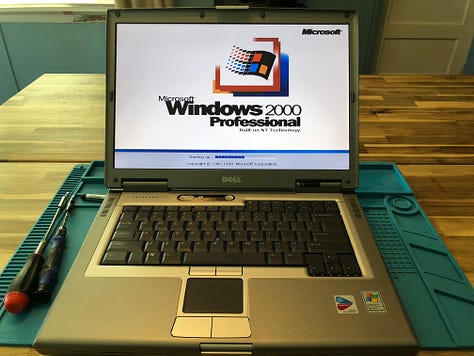
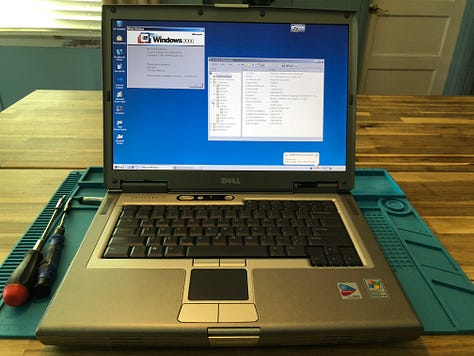
Since applying the new paste I have a noticed a difference in how how it gets. It’s not as cool as a modern laptop, but it’s also a nearly 20-year-old machine with a Pentium inside. Still, I’m glad the work is done and look forward to using it more often as an offline writing and retro gaming machine.


