NOTE: This was going to be a more in depth article, but it ended up being WAY too long so I’ve broken it up into two parts. Stay tuned for the second half in the coming days.
While I am continuing to test out and use Windows Vista for the next little while, this week is BSD Week over at the Lunduke Journal community on Locals; so naturally I wanted to try my hand at it.
I’ve installed OpenBSD once before — about 2 or 3 years ago — but didn’t really know what to do with it afterward so I went back to Linux on that machine. This time around I really wanted to give BSD a solid try, but I wasn’t sure exactly how to go about it. I could go with OpenBSD again, or maybe FreeBSD. I’ve also heard good things about GhostBSD, and of course there’s NetBSD or NomadBSD. I’m sure there are plenty of others out there but those were the ones I knew about. Then I remembered that this obscure project called helloSystem was based on FreeBSD, so why not give it a go?
What is helloSystem?
According to the project’s documentation, helloSystem is “a desktop system for creators with a focus on simplicity, elegance, and usability”. Well that’s not helpful.
To sum up what it is: it is a spin on FreeBSD with the goal of providing a simplified user experience based on older versions of macOS, but we’ll touch more on that later in this article. For now, let’s get started by installing the system.
Installing the System
After flashing the helloSystem ISO to a USB drive and booting from it, we’re greeted by a macOS-inspired FreeBSD splash screen. After a moment the language selector popped up. This requires using the mouse cursor to click on the choice. It’s possible there may be keyboard navigation as well, but it wasn’t done with the arrow keys and just pressing Return/Enter accepts the default French option. NOTE: This language prompt seems to come up every time you boot the system, even after installation.
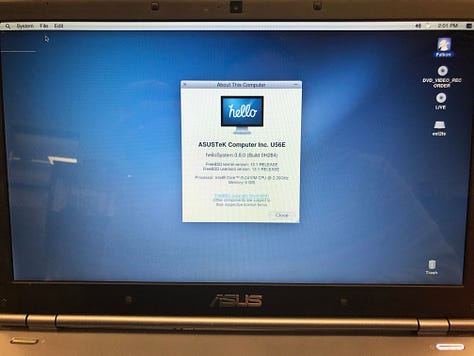
Once into the live environment the desktop is pretty bare. There are a few drive icons on the right side and the menu panel at the top. That’s it. Clicking the icons will open the file manager, known as Filer. I also went into the About this Computer window and it shows my hardware accurately. I am running on an ASUS U56E from 2011. It’s got a 2.3 GHz Core i5 CPU and 6 GB of DDR3 memory. The last thing I wanted to check before installing the system was the wireless, and I was not surprised that it didn’t work.
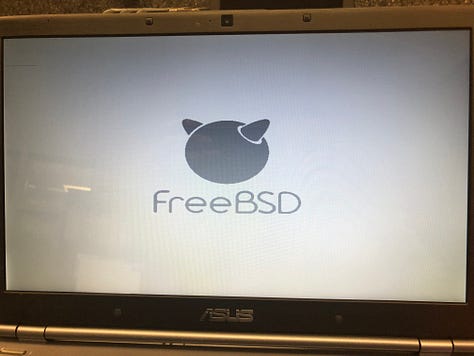
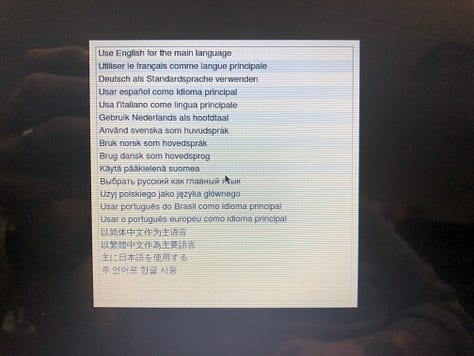
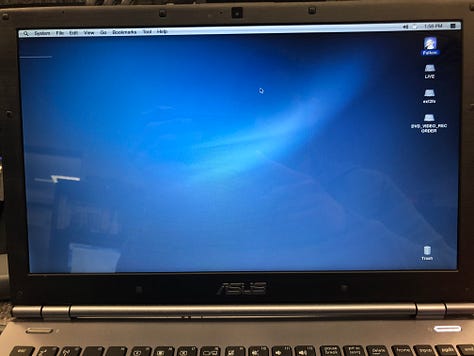
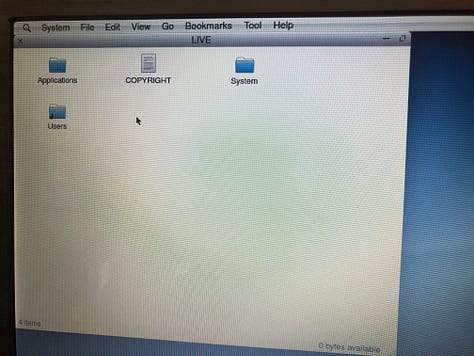
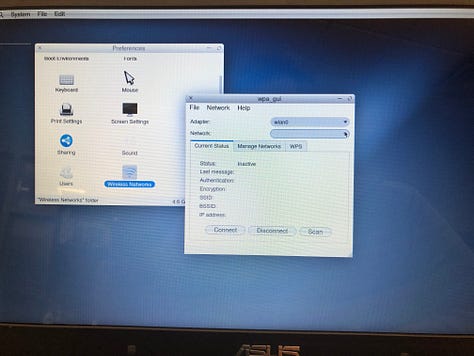
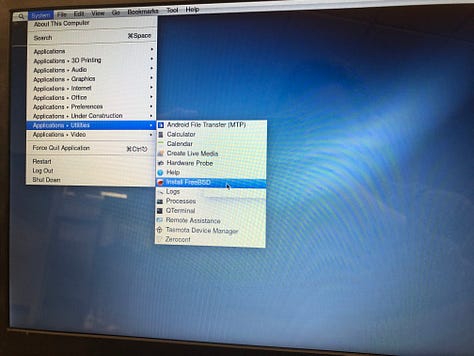
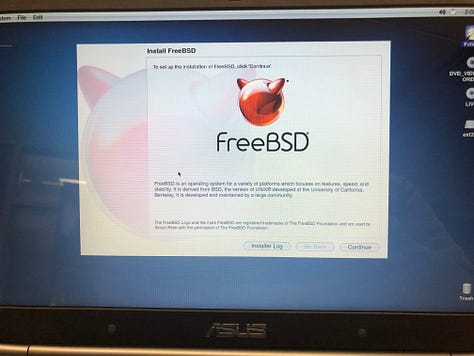
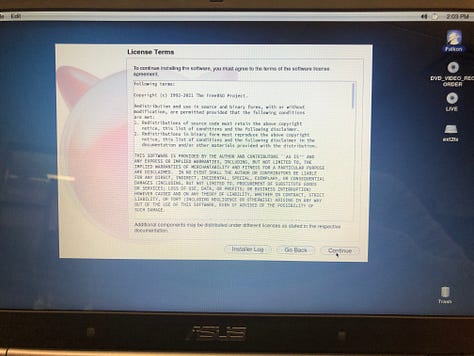
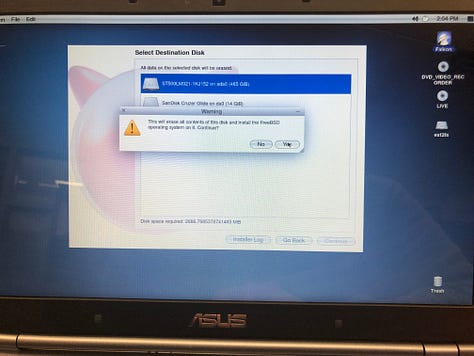
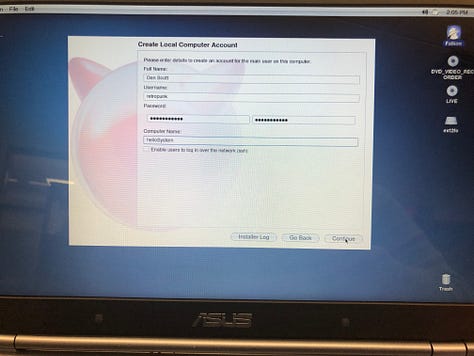
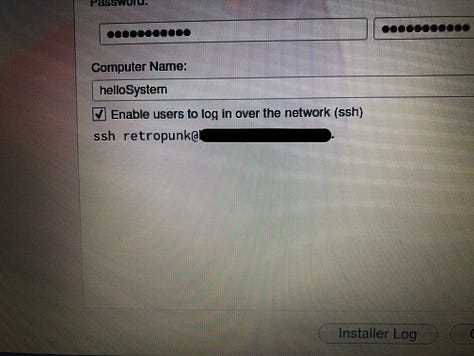
Installing the system was simple and straight forward. From the System menu at the top go to Utilities and then choose Install FreeBSD. Next, just follow the prompts as you’d expect and within a couple of minutes you’ll be all set.
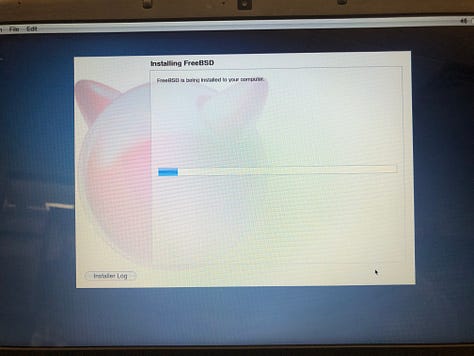
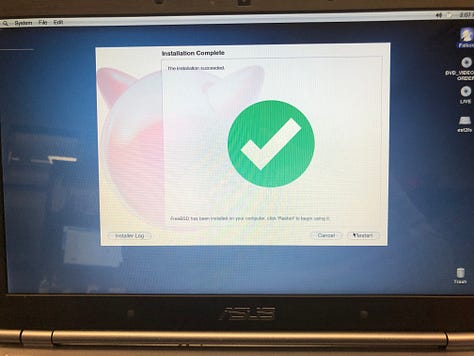
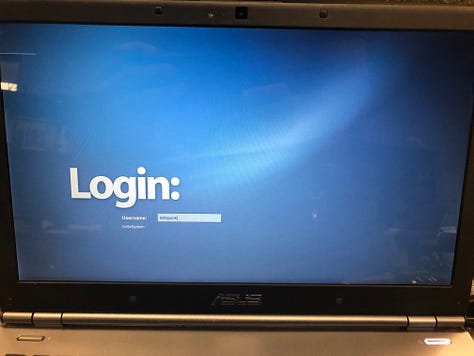
First Boot
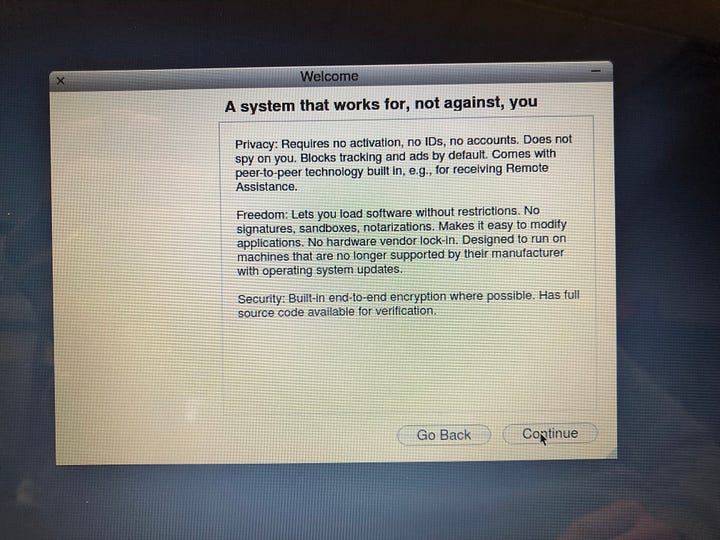
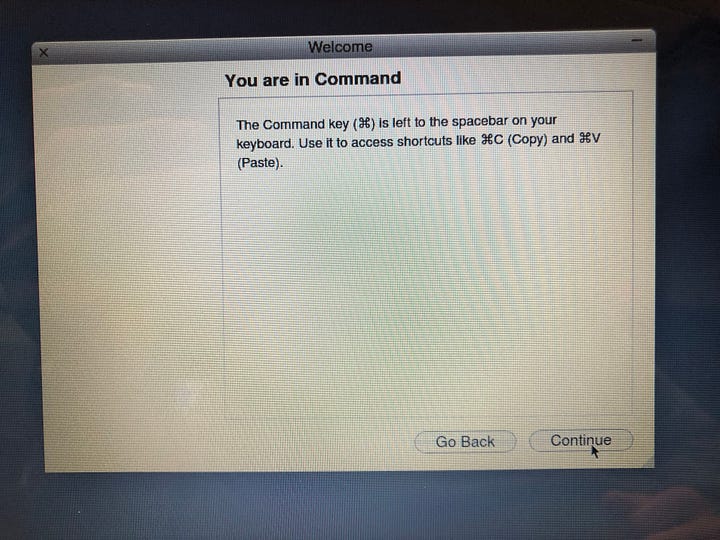
When I first booted the system post-install, I was greeted with the Welcome utility. Here it explained the philosophy of privacy, freedom, and security the developers are using to build helloSystem. It also explains the Command (⌘) key and it follows the way it’s used on a Mac. Using this on a PC did throw me for a little bit of a loop though. Typically if you’re using a PC keyboard on a Mac, the Command key is translated to the Windows/Super key; however on helloSystem the left Alt key is used instead.
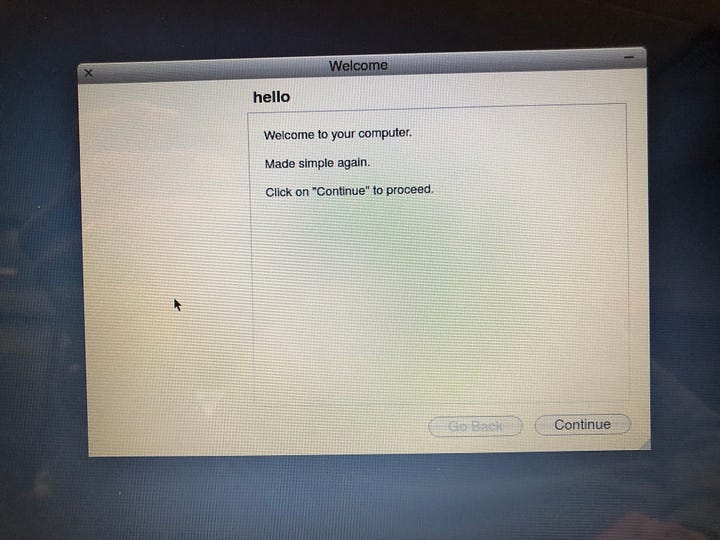
Wallpaper
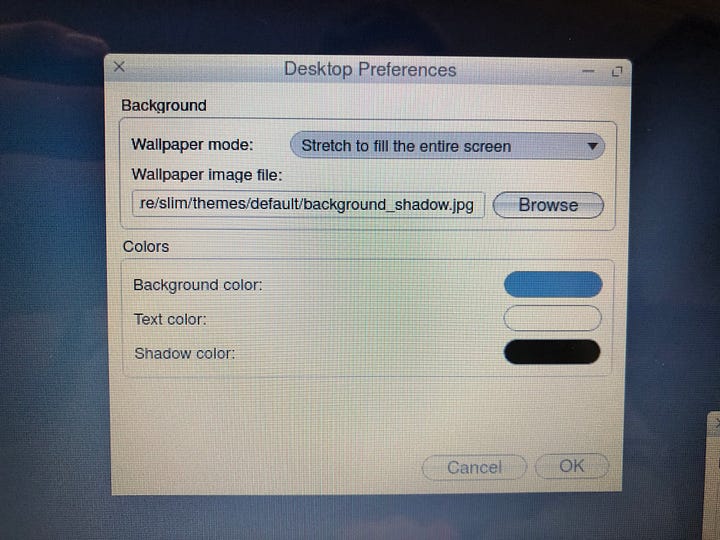
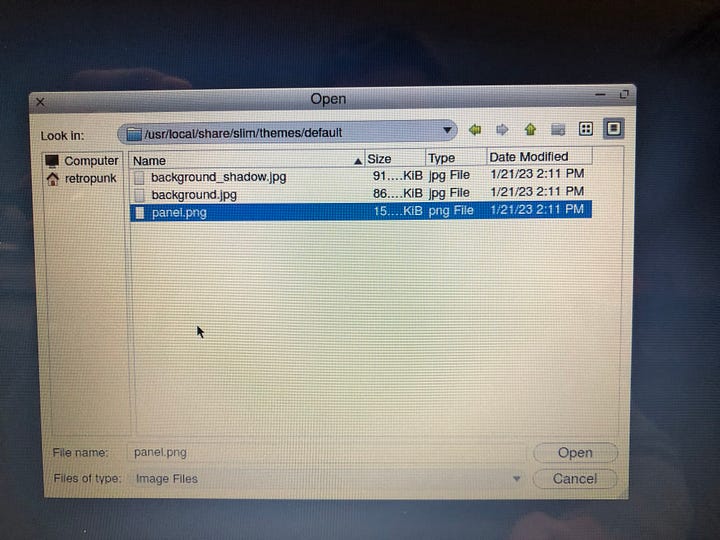
Once on the desktop, the first thing most people want to do is make it their own so I wanted to check the wallpaper selection. There was none. In fact, opening Desktop Preferences, there isn’t even a wallpaper selector. If you want to use a wallpaper image you’ll actually need to browse to it using this window and select it. Navigating to the default wallpaper directory (/usr/local/share/slim/themes/) reveals only one option, so that’s what we’ll go with for now.
Initial Thoughts
Out of the box, helloSystem seems like a pretty bare operating system. As we’ll see later, there are a lot of applications and features but they are either incomplete, or not included on the ISO and need to be downloaded from their repository, and without internet that is troublesome. In part 2 we will look at what we can do to get the system online and to get some software that will allow us to do something with it.


