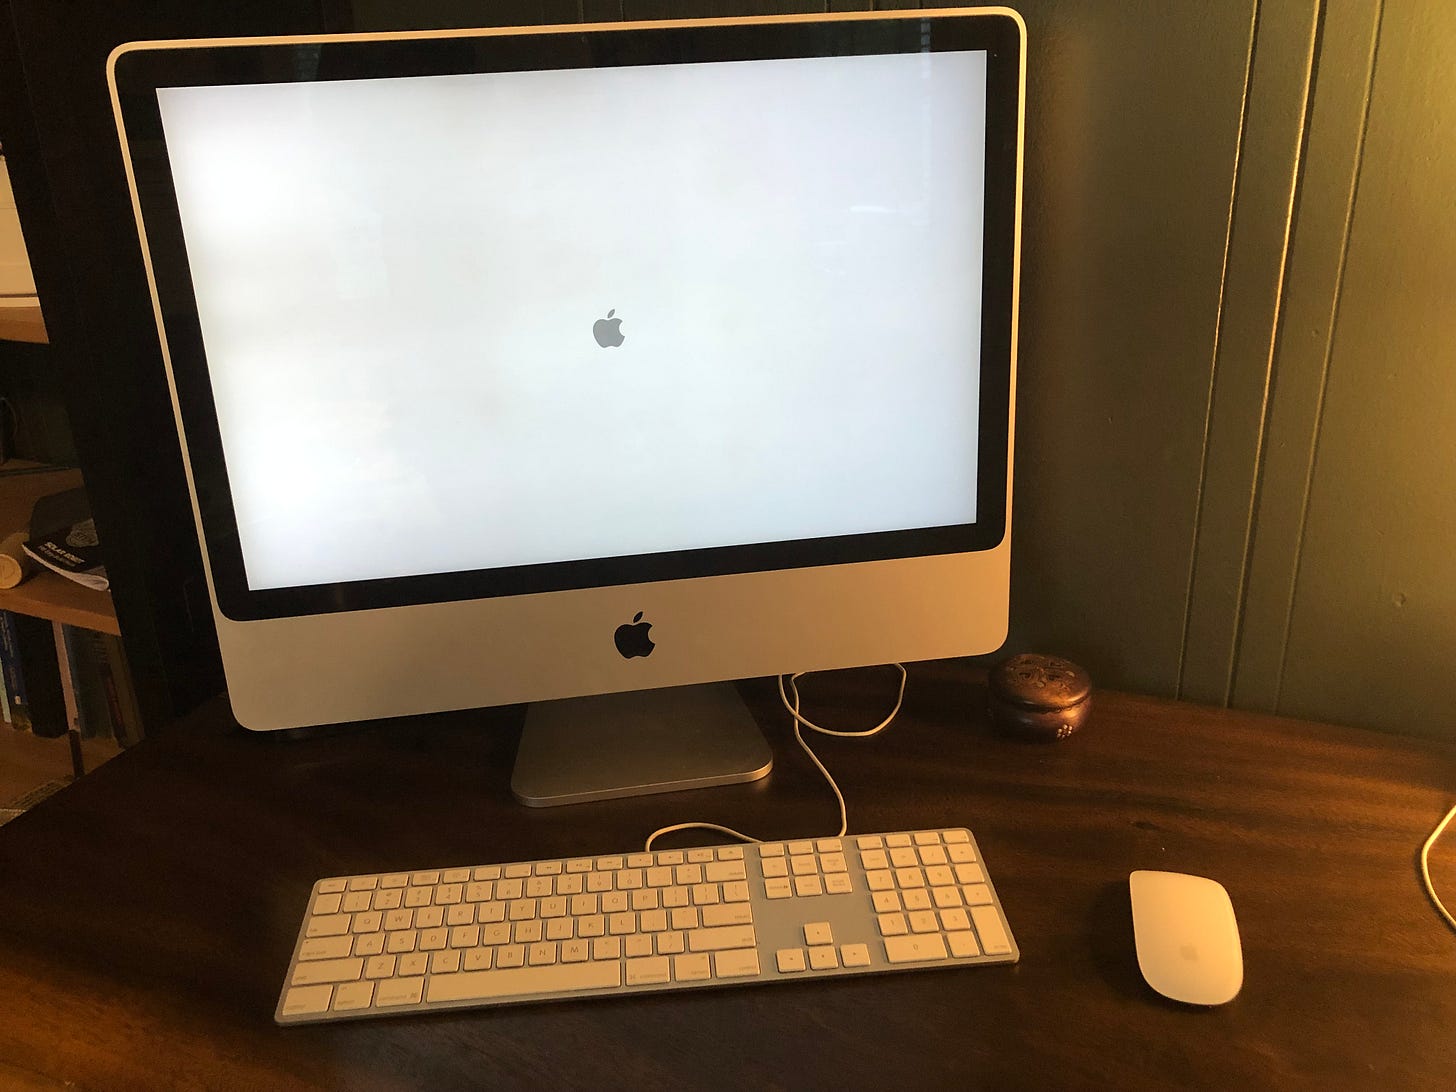
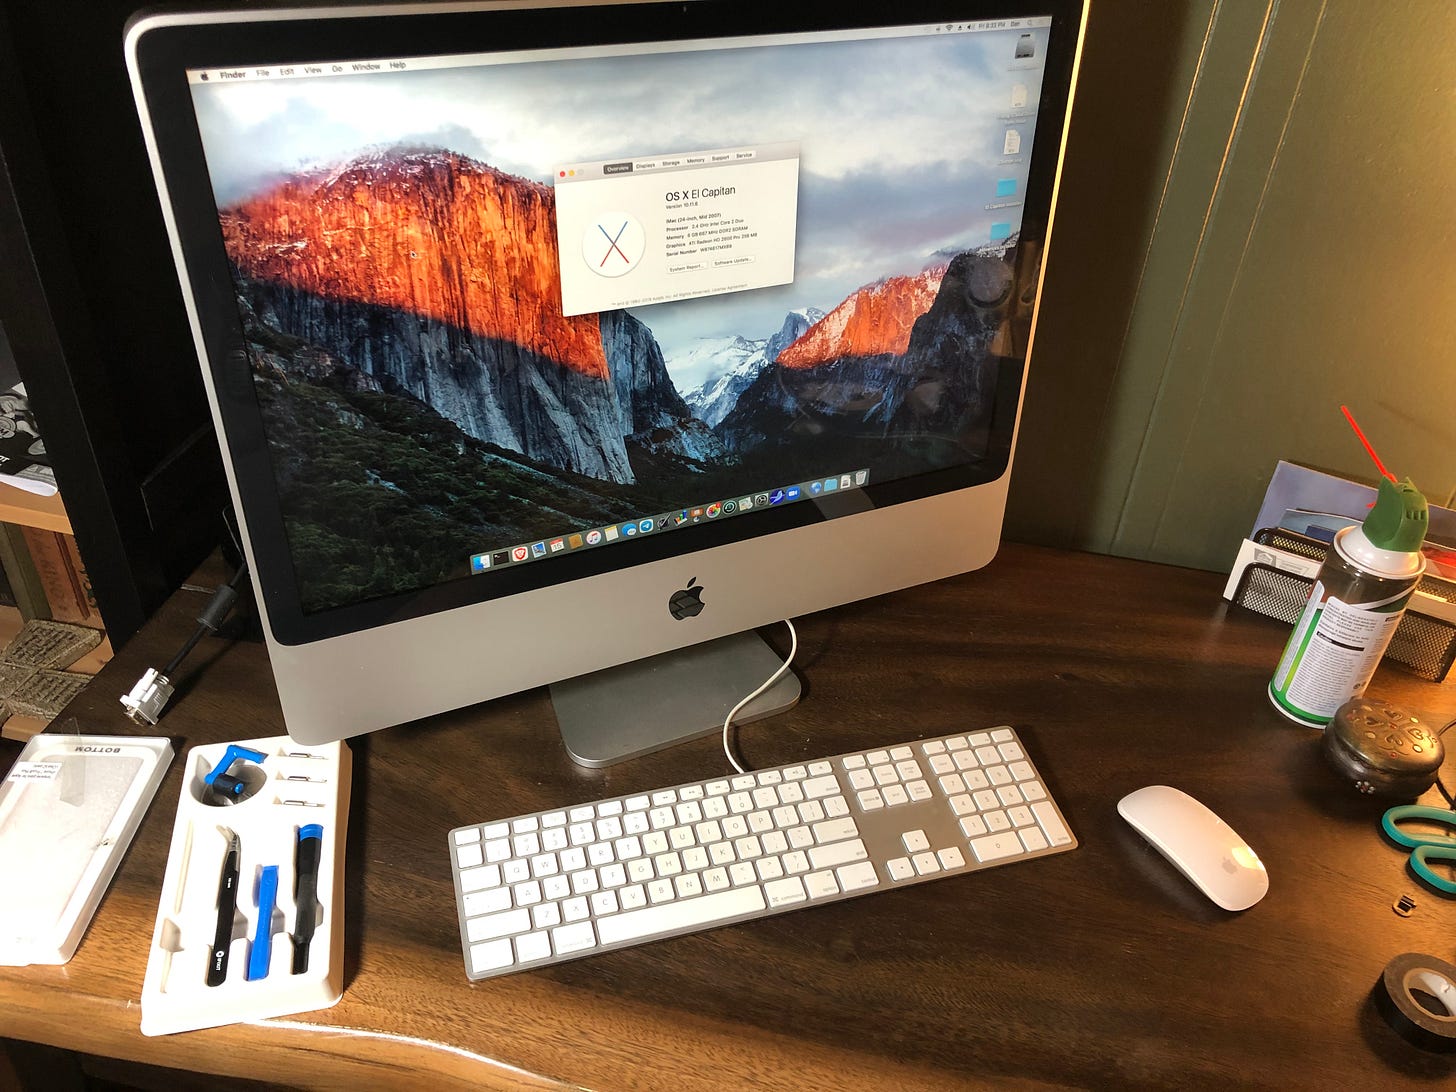
This is my newest daily desktop driver. It’s a mid-2007 24 inch iMac, and let me tell you, it’s a beauty!
It’s one of those cool machines with a design that still holds up today. The backstory of this computer is pretty cool — or at least I think it is. It originally belonged to the COO of my last job and she had been planning to recycle it. While working at that job I’d gained the reputation of the retro guy and it wasn’t long before people just started giving me their old computers, movies, games, etc, and this old girl had been sitting in her garage collecting dust for years so she brought it to me. I actually got it from her in the late summer or early fall of 2021, but at the time I had no reason to use it myself so I upgraded the memory to the maximum 6 GB and upgraded the OS for my wife to use.
When I got the iMac it was running OS X “Snow Leopard” and it ran like a dream. It was dual booting using Boot Camp to run Windows Vista. Needless to say, that wasn’t running like a dream so I just blew away that partition. It was password protected and the previous owner couldn’t remember the password, so a quick trip into single user mode allowed me to wipe the password all together, and I was in!
To make it usable for my wife, I brought the system up to the last supported OS, 10.11 “El Capitan”. Aside from the performance degradation from jumping five OS versions, it ran pretty well. Couple that with an up-to-date version of the Brave Browser and she was able to do most of what she wanted, albeit quite slowly.
Over time she decided to stick with her Chromebook (… I know…) and I took possession of this thing. After about an hour of using it I decided that since I had a couple free hours — the wife and kids were out of town visiting a friend — it was time to breathe new life into this “vintage” Mac.
Cloning the Install
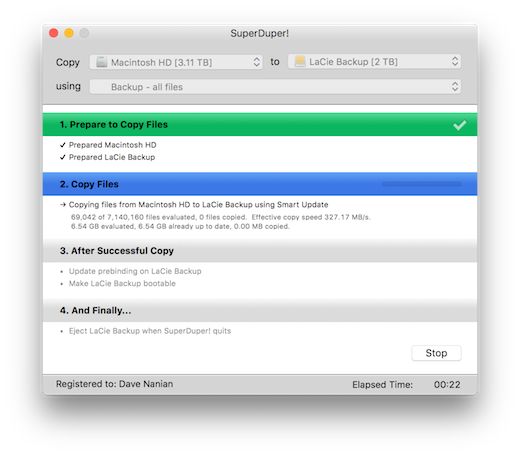
Rather than going with a fresh install, I opted to just clone the existing drive to a run-of-the-mill Kingston SSD. I fired up SuperDuper! which I contend is one of the best disk cloning/backup applications out there. The entire process took a little over an hour and a half to complete.
Disassembly
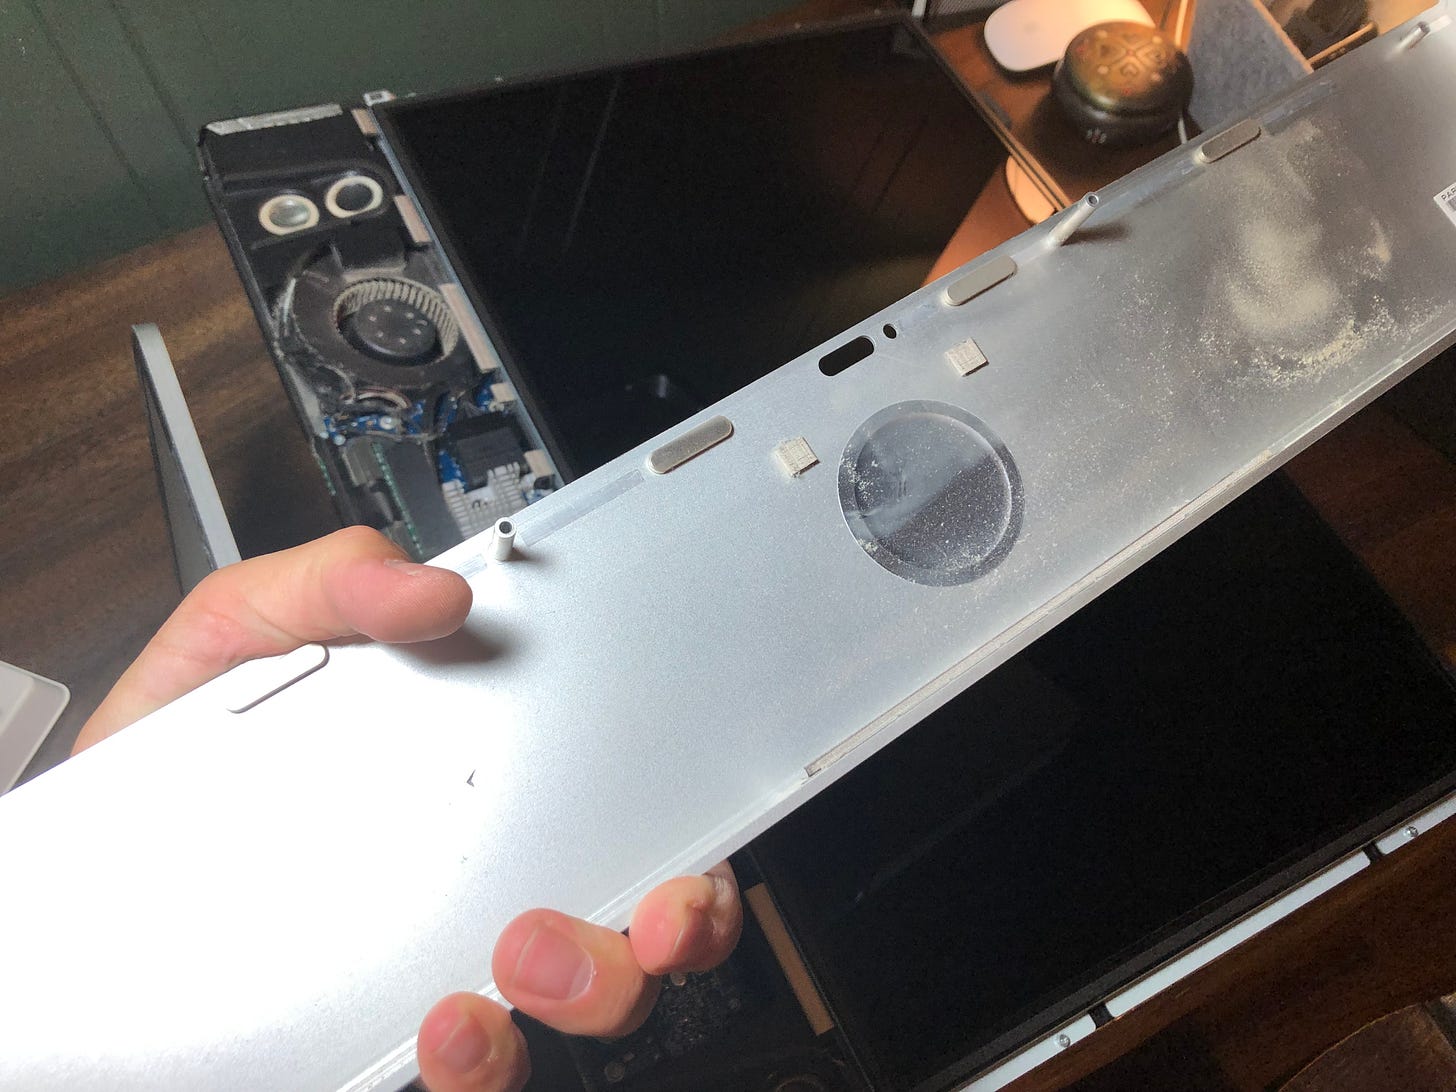
Next it was time to open her up. Now this was my first time taking apart an iMac. I’ve worked on All-in-One computers before, and as a general rule they suck. Everything is cramped, and you have to be careful not to break plastic clips or weak cables. This thing, on the other hand, was actually a lot easier than I thought it was going to be. I started by removing the front glass from the display. I say glass, but I think it’s probably plastic. This panel is held in place by magnets so it’s fairly simple to remove. You could probably pry it apart with your hands, but I happened to have a suction cup from a little iFixIt kit that I was sent when I ordered a part for my iPod. The glass just pops off and can be carefully set aside.
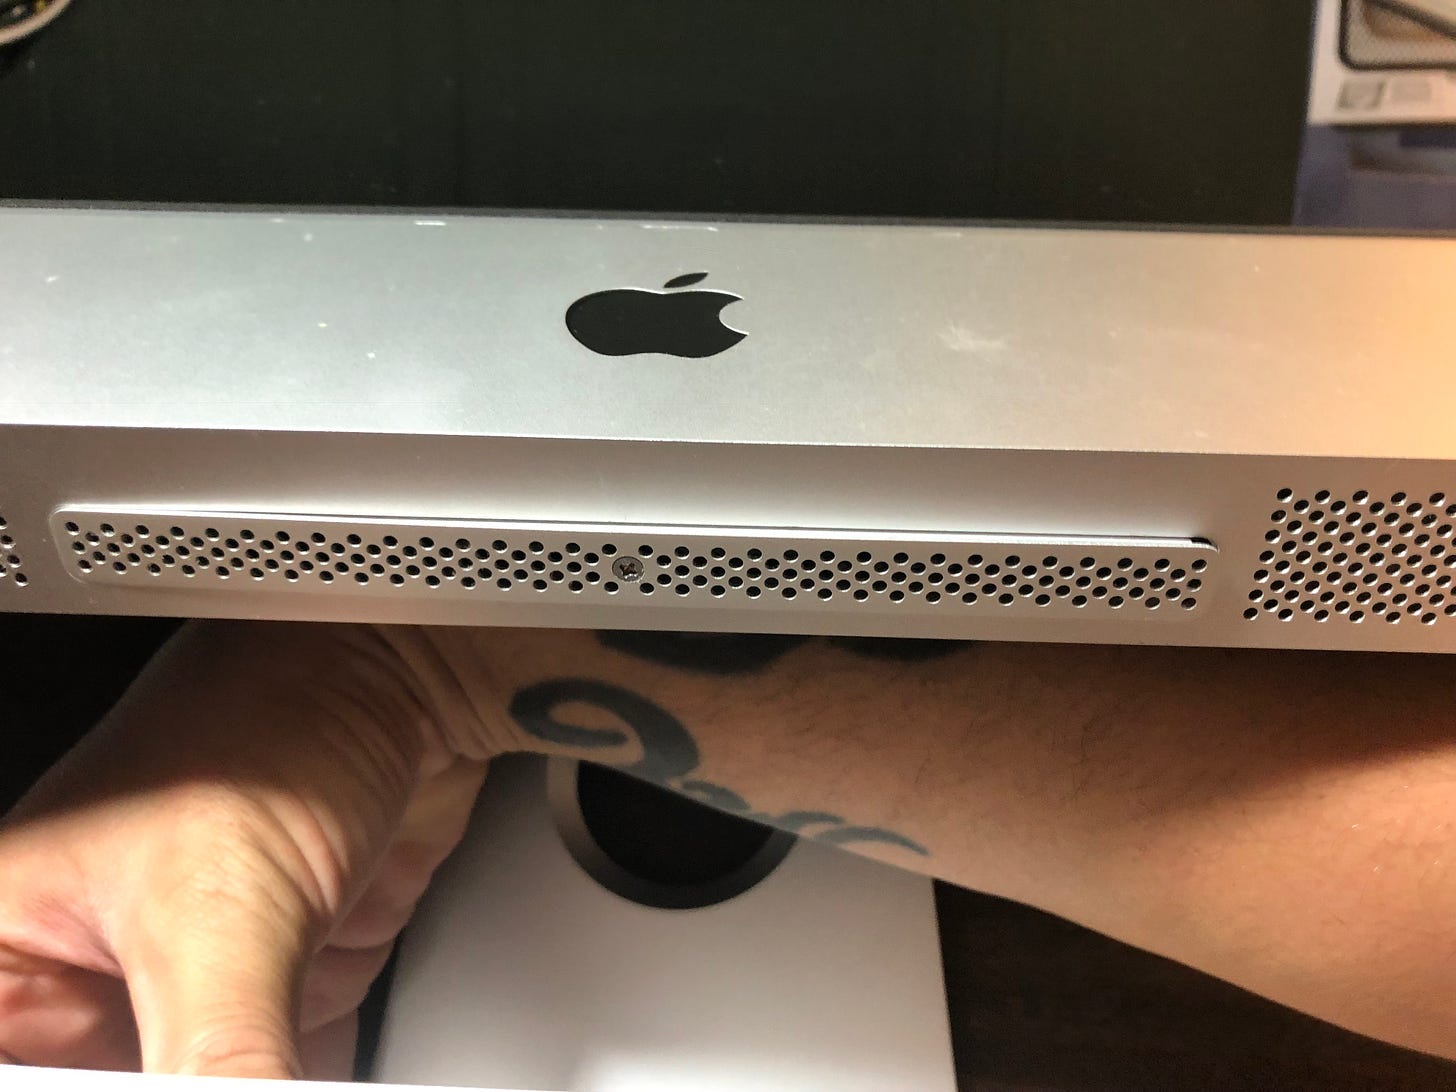
Next up was to remove the RAM cover which is located on the bottom of the “chin” bezel. It’s held in place with a single small philips head screw and just slides out. This needs to be removed to avoid damaging the logic board when the bezel is removed… I think. The only thing that made this any kind of difficult is the way you have to hold up the iMac while you unscrew it as the foot of the stand is in the way, and this thing isn’t exactly light.
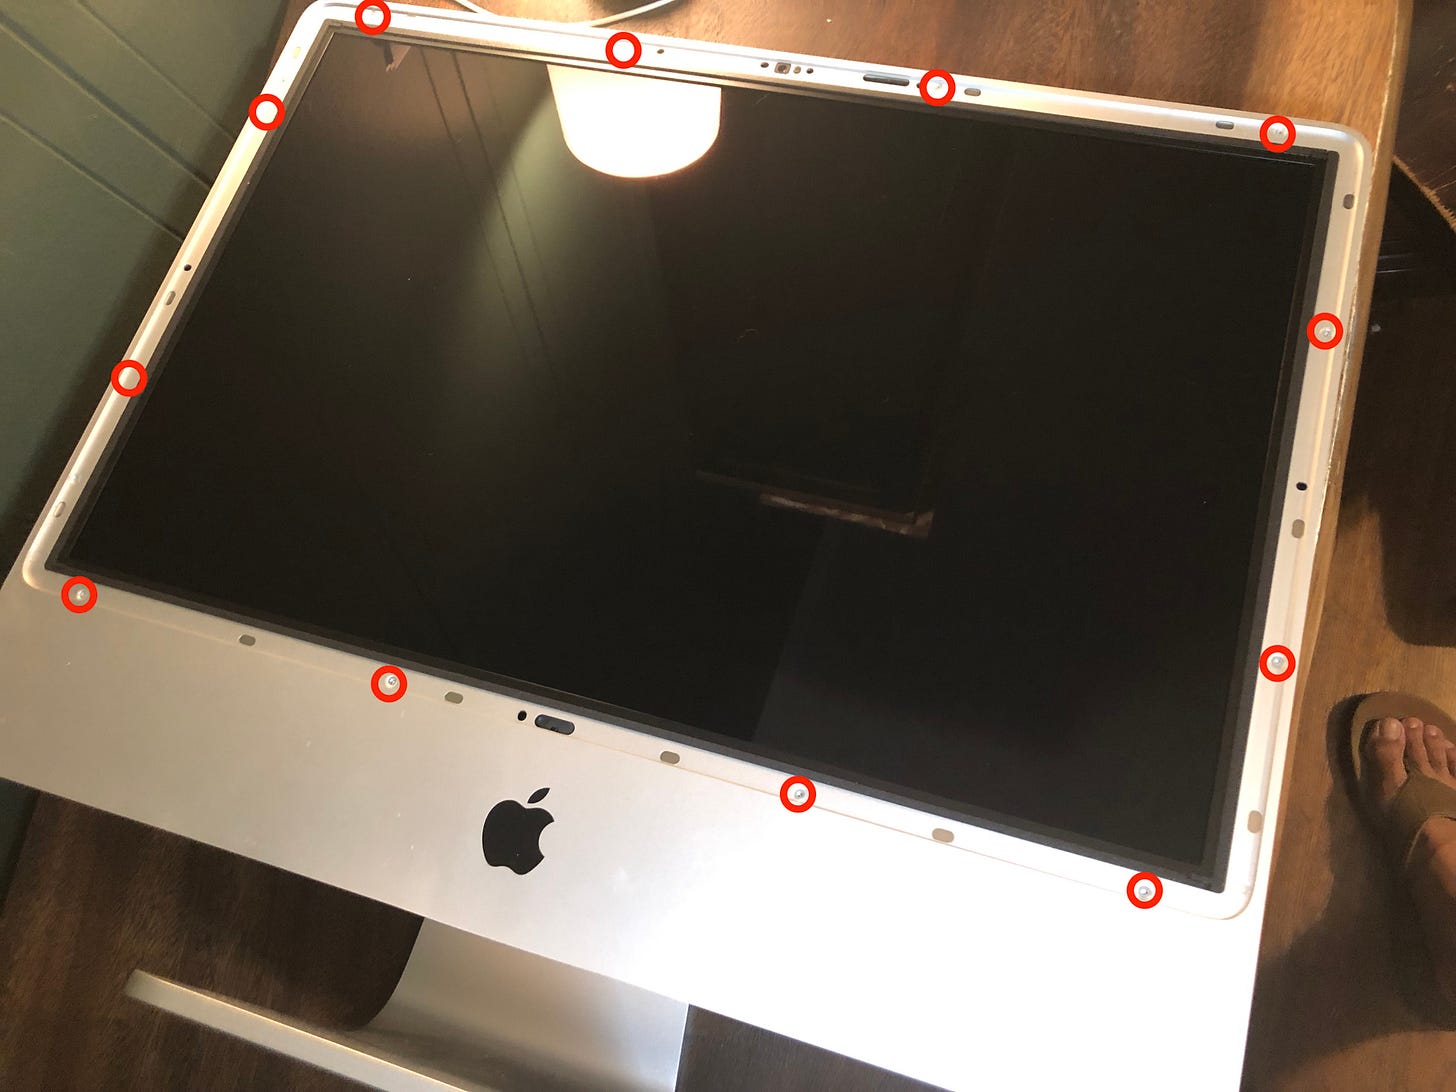
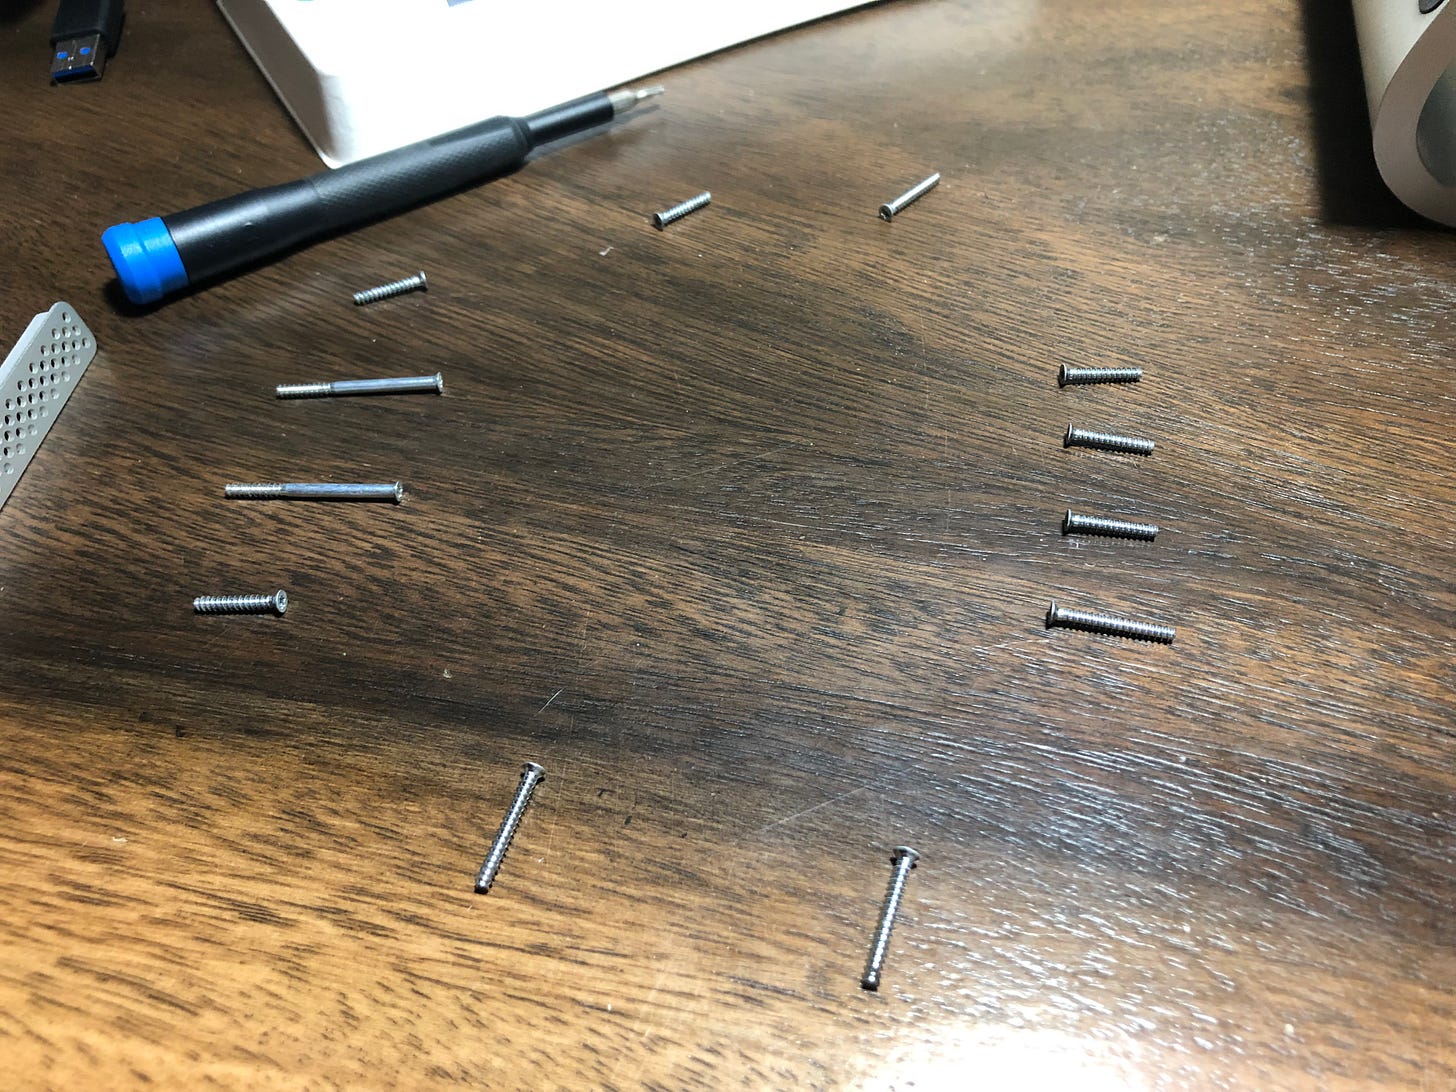
Next I had to remove twelve (12) T10 Torx screws holding the bezel in place, making sure to remember the order they came out as they vary in length. And as I’ve learned from watching Louis Rossmann board repair videos, you don’t want to long screw your logic board.
For me, the easiest way to keep these in order, was to lay them out in the exact position they would go back in.
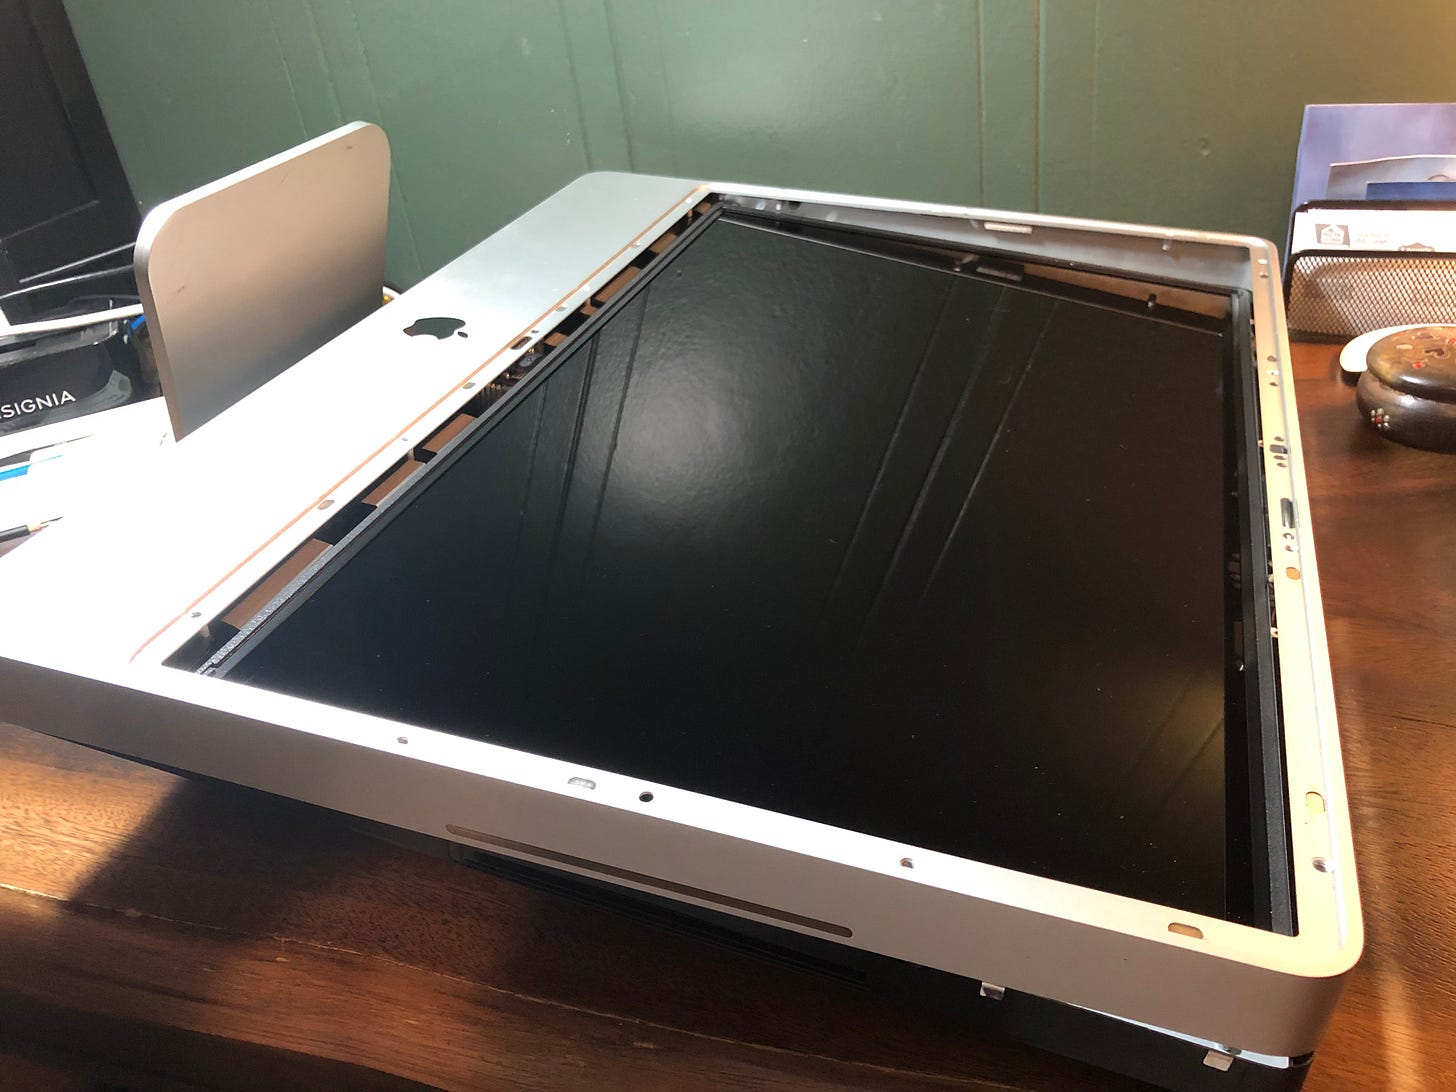
Once the screws were out, it was time to lift off the bezel.
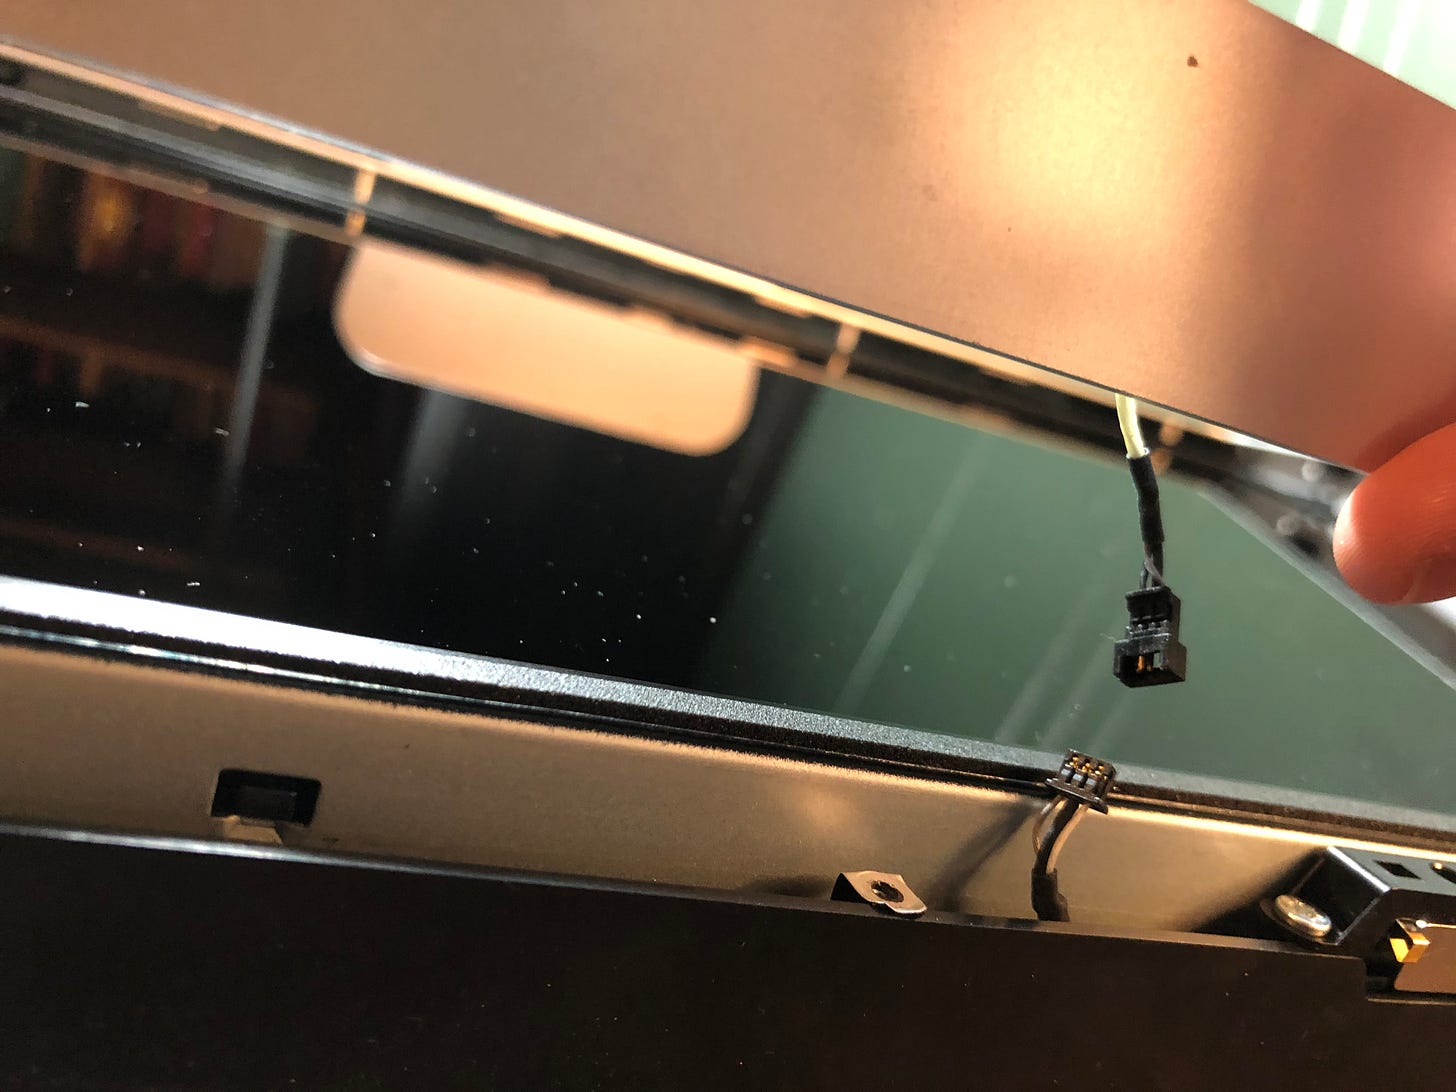
However, before fully removing the bezel I made sure to disconnect the microphone cable.
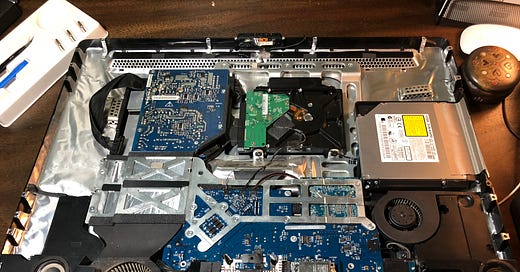
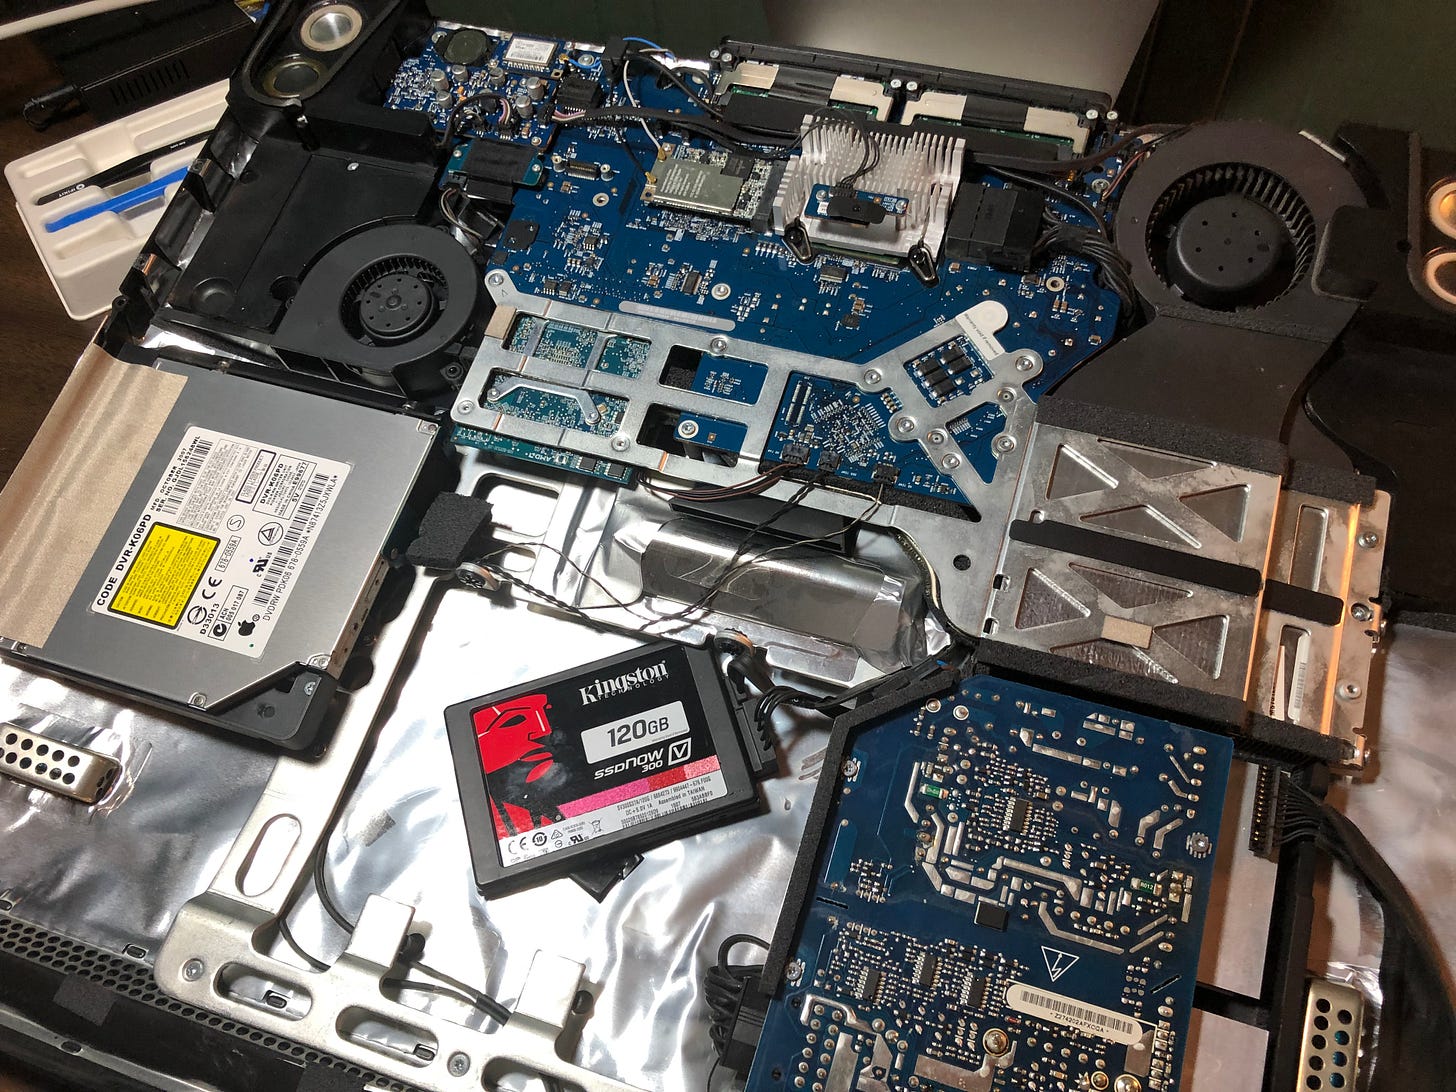
Once the bezel was removed I got my first glimpse of what a 15-year-old iMac looks like on the inside, and it was quite dusty.
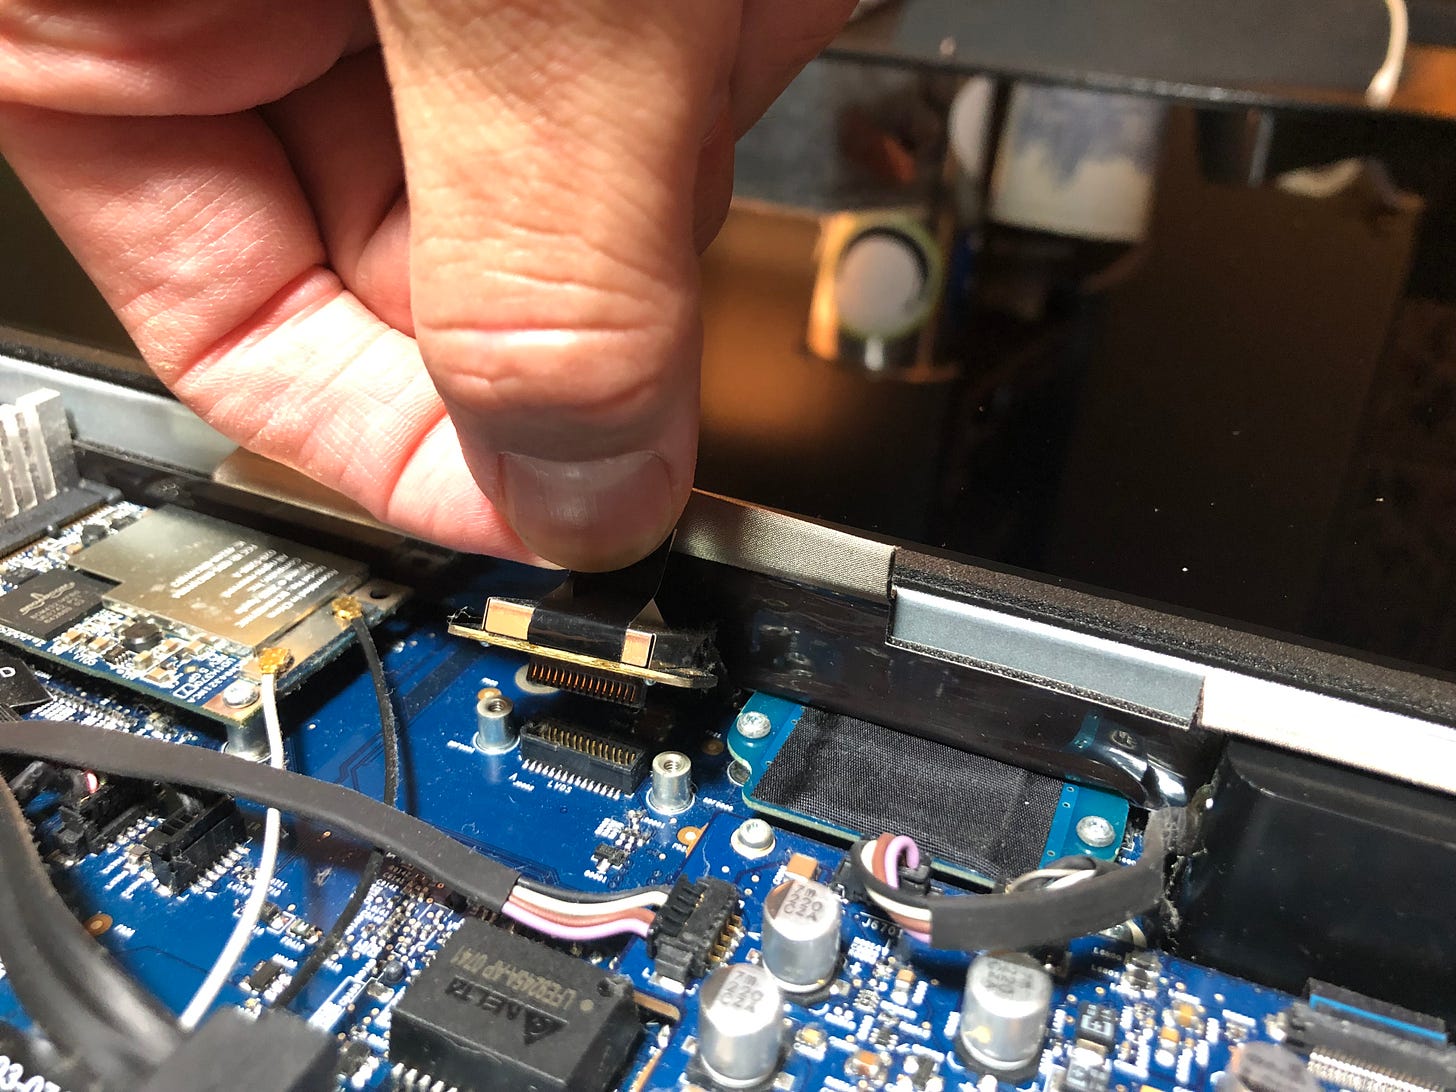
I would go on to clean the machine out a bit later. For now, it was time to disconnect the display cable. This was held in place by two (2) more Torx screws — I think these were T8, but honestly cannot remember.
When the screws were removed I was able to disconnect the cable. It was pretty snug in there and took a bit of force to remove it by pulling on the little black tab on top.
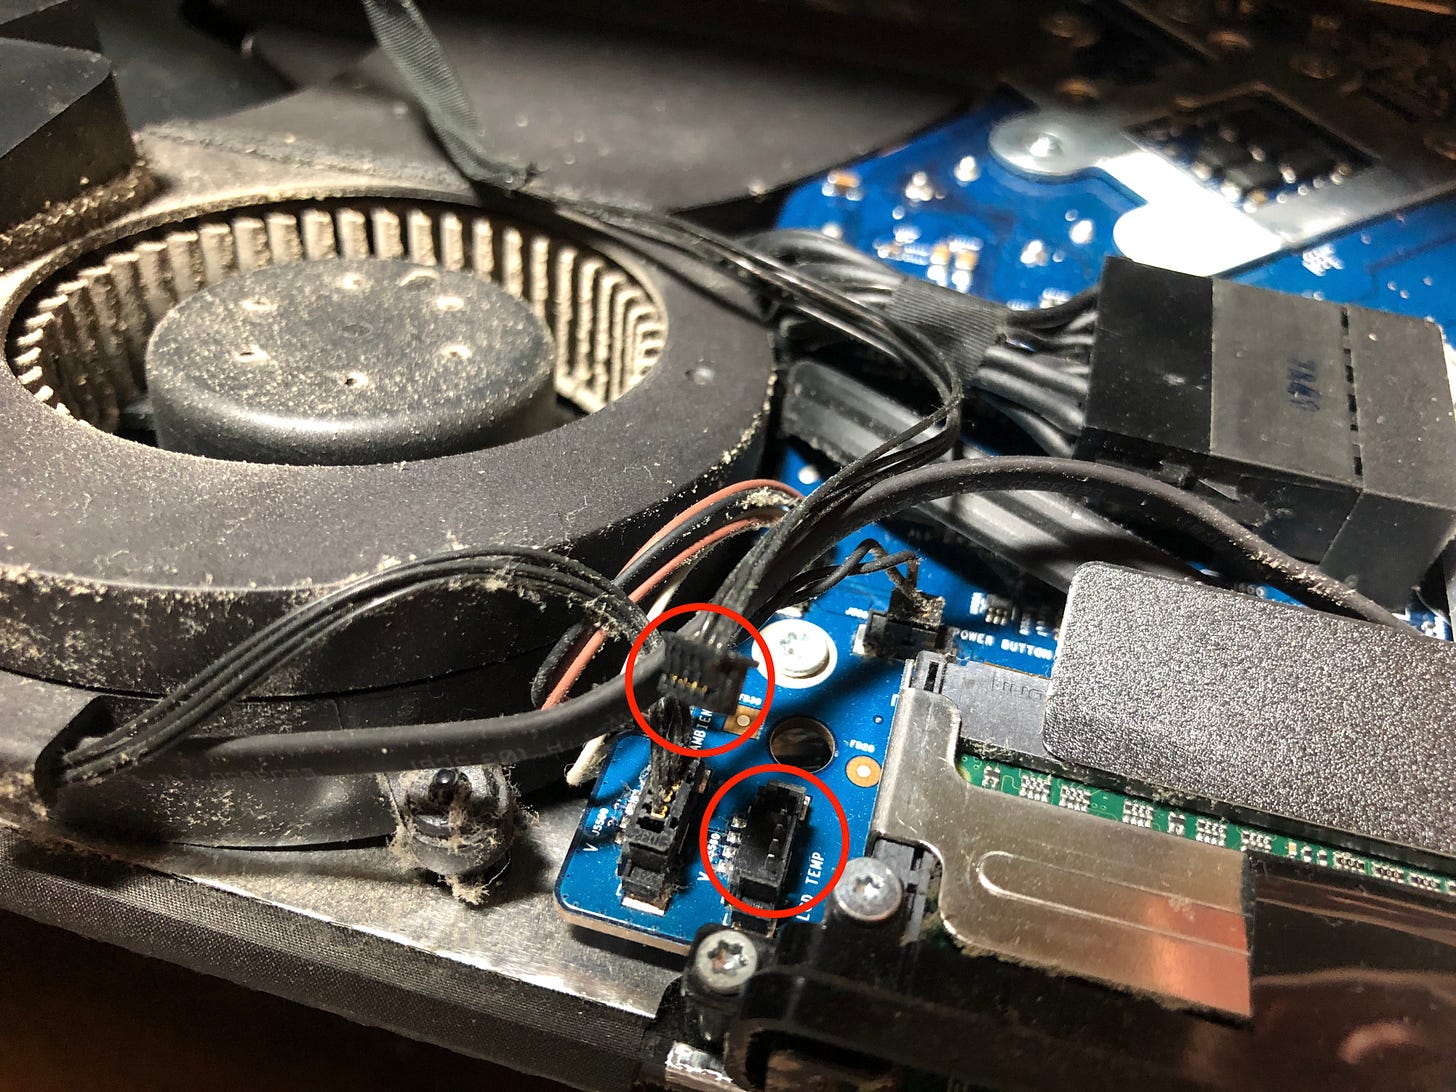
Next I disconnected the LED temperature sensor. The sensor is attached to the back of the LED panel and I believe damaging it would cause the iMac to stop working — I could be wrong on that though.
While I don’t have a picture of this part, there are several T10 screws holding the LED panel in place, so I removed them. Next I carefully removed the panel and set it aside, making sure not to get my fingerprints on the actual panel because getting prints off of those things are a pain the tuchus. Once the panel was out the drive was now accessible.
Drive Swap
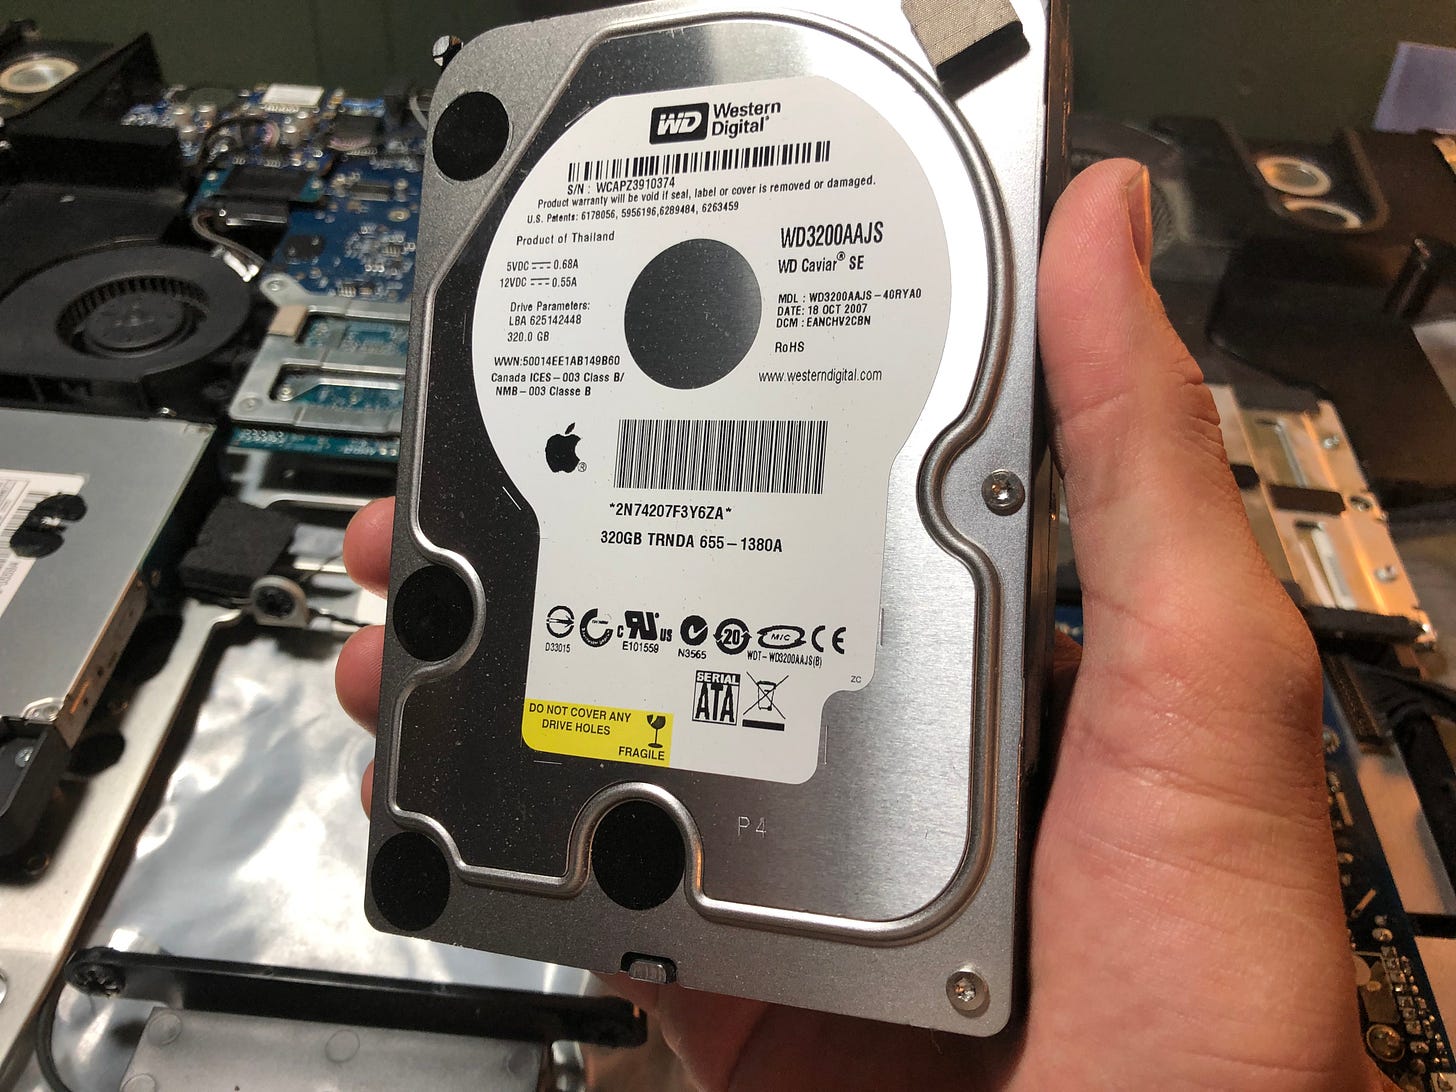
The existing hard drive was a 320 GB full-sized (3.5 inch) 7200 RPM Western DIgital Caviar SE HDD.
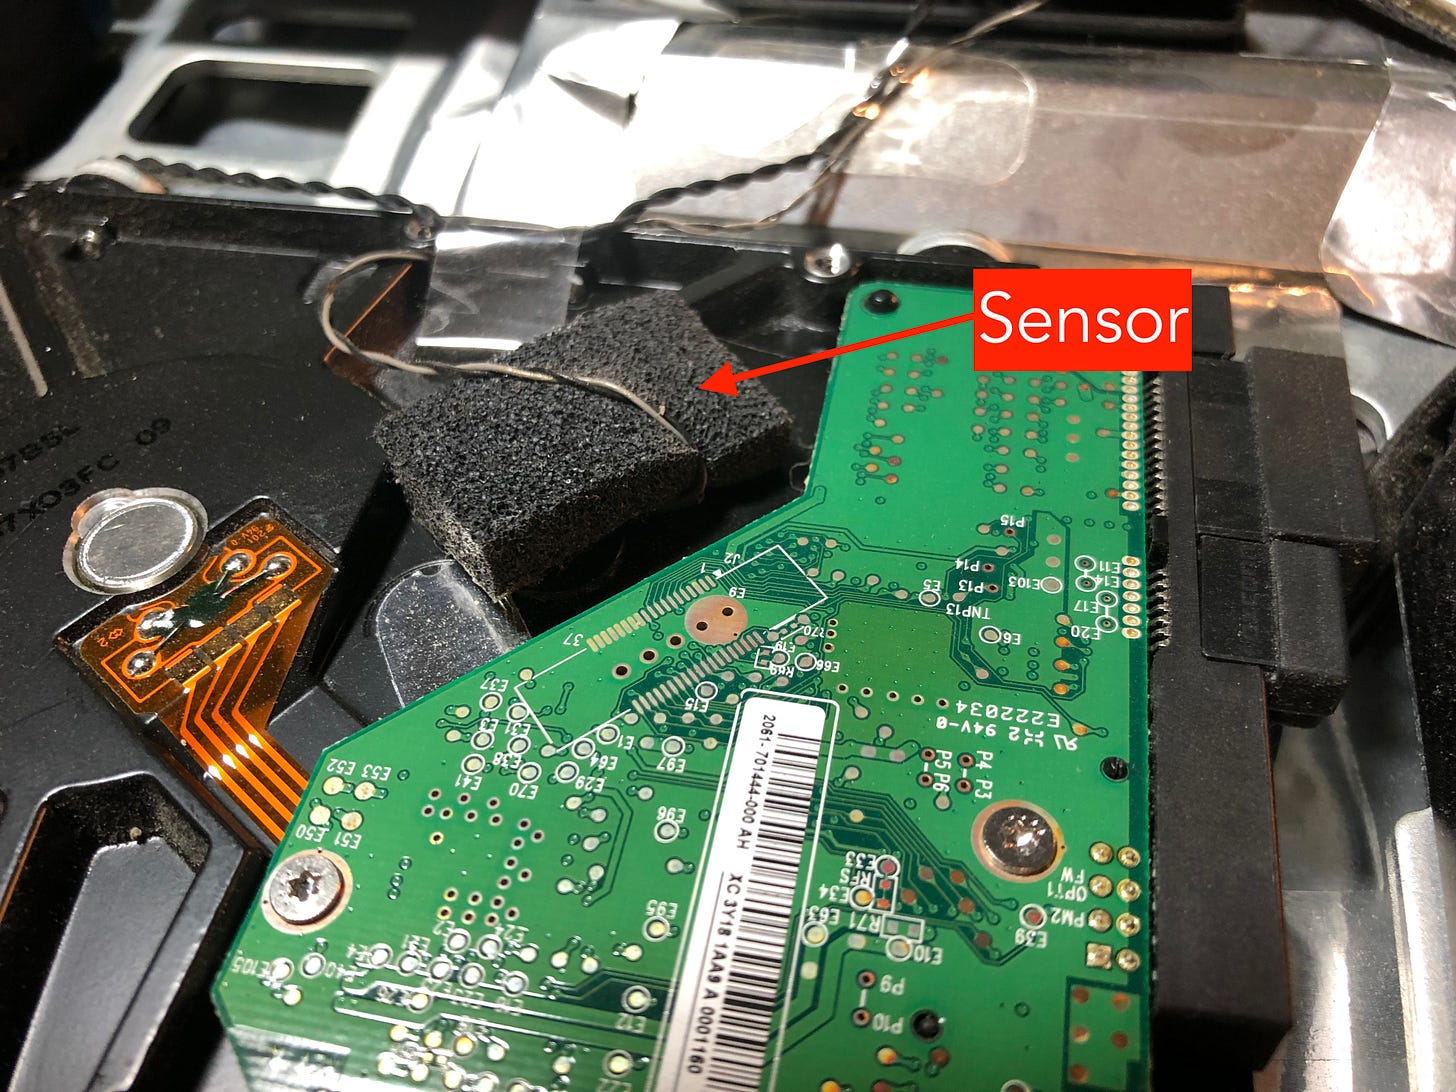
Now fifteen years ago a 7200 RPM drive would have been a quality choice, but in 2022 it just can’t hang anymore; so I decided to replace it with a basic Kensington SSD. Before removing the old drive I made sure to carefully remove the hard drive temperature sensor. If I’m not mistaken this sensor, along with the LED temp sensor are used to help the iMac’s System Management Controller (SMC) regulate the system’s internal temperature.
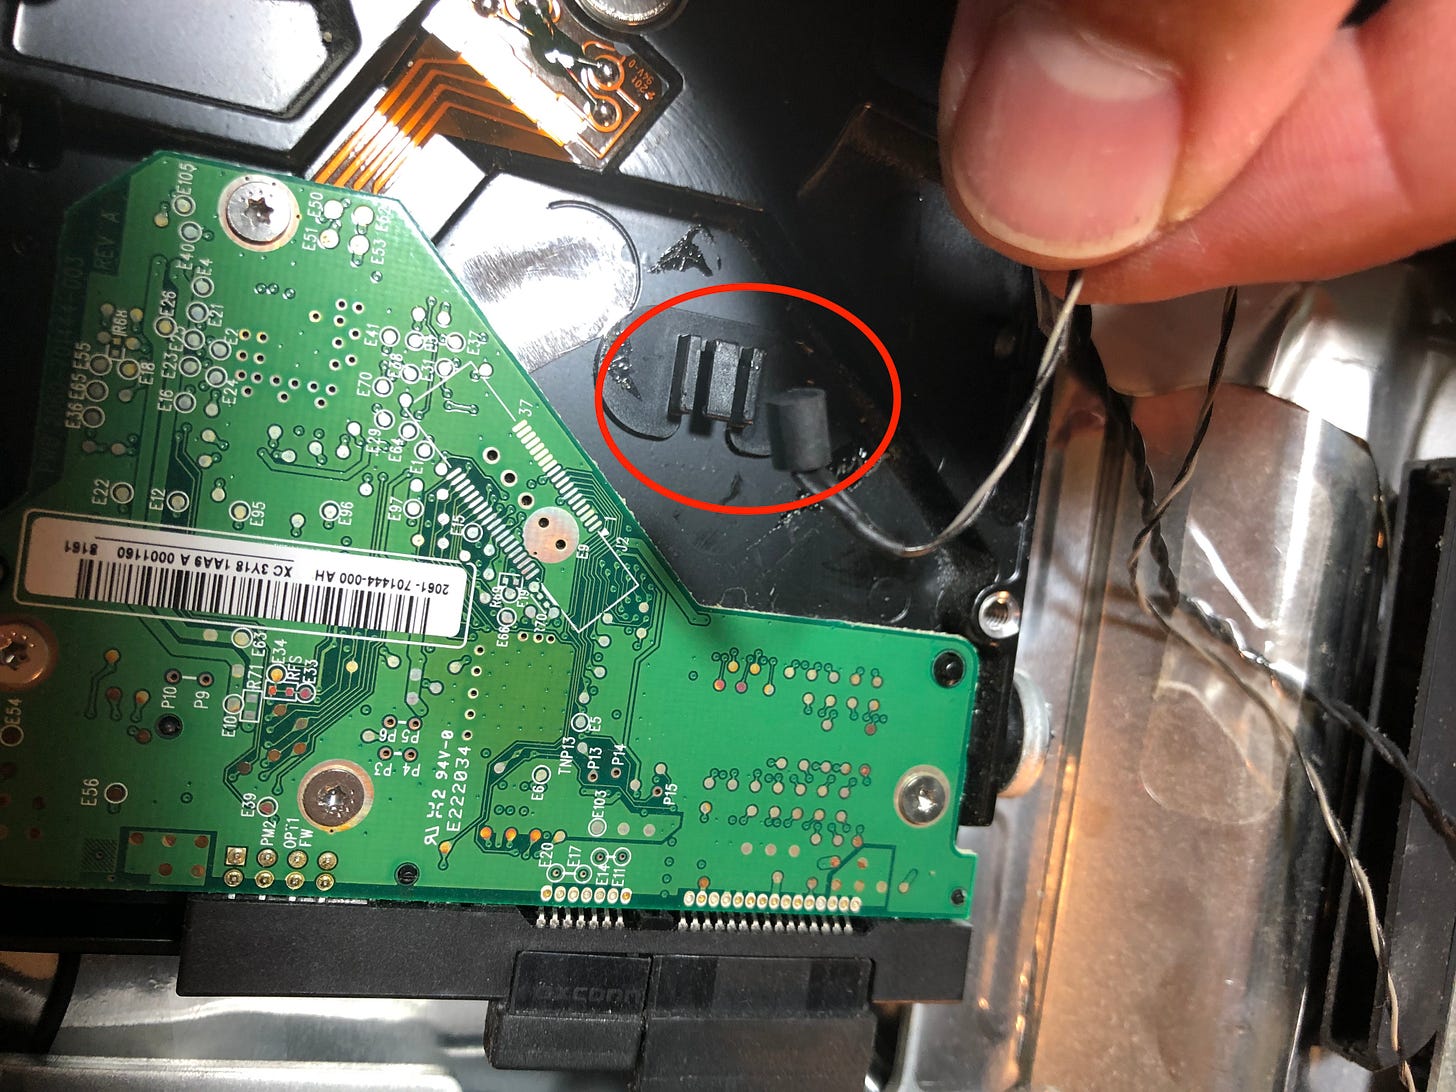
Once the drive was removed, I hooked up the SSD and re-attached the thermal sensor. Unfortunately I didn’t think about needing a 2.5 inch-to-3.5 inch drive bracket and the one I have is in use in another machine. Not to be deterred, I just carefully tucked the SSD into place with the corner under a part of the chassis and used some electrical tape on the back to hold it in place.
It’s not the prettiest job, but it will work nicely.
Cleaning and Inspecting the Internals
Before wrapping up the project I gave everything a nice dusting with the good ol’ can of compressed air and a wipe down with some 91% isopropyl alcohol (IPA). If you’re new to cleaning your electronics, we use IPA to avoid damaging the components or causing shorts. The higher the percentage, the less water is in the bottle which means the faster it will dry. Most drug stores/pharmacies carry 70% which is totally fine, but the higher the percentage, the better off you’ll be.
Once the logic board, fans, chassis, and bezel were all cleaned I gave the entire system a quick look to check for any bulging or leaking capacitors, any blown resistors, or any other signs of damage. Everything looked good so I reversed the process above and put the whole thing back together.
When I put the LED panel back in I noticed it had picked up some dust. Obviously I wouldn’t want that one the display itself so I used the compressed air in small, quick bursts to clear the debris. This avoided leaving any handprints or smudges by wiping it off. I then reattached the front glass which needed a good clean so I got some glass cleaner. I didn’t have a microfiber cloth available so I went with the next best thing: a coffee filter.
Most people I’ve talked to don’t realize that using a coffee filter to clean glass tends not to leave streaks or smudges and get’s the job done quite affordably. Just a little lesson I learned in my barista days.
Testing the New Drive
Now that everything was put back together it was time to test out the new drive to see how much of an improvement we got. Before I started the teardown I had shutdown the iMac and started it back up again. It may not be the most scientific of tests, but it works for our purposes. After the reboot, the system took just under a minute and a half to load to the login screen.
With the new drive in place I booted up the machine — notably from a colder start than before — and saw a threefold improvement, booting up in just 26 seconds!
Final Thoughts
Overall this was a great success! The machine now has it’s maximum allowable memory, a significantly faster storage drive, and has been freshened up a bit on the inside. My only regrets in this project were that I didn’t have a proper bracket for the SSD, and that I did not have time to remove the heatsink from the CPU to give it a fresh bit of thermal paste. I’m sure that the 15-year-old thermal compound is at or nearing the end of it’s life at this point, so that will probably be another project for another time.
I’m really happy with the way this entire thing turned out. The iMac is a beautiful machine and this upgrade made it much more usable in 2022. Now I just need to get “real” internet at the house and I’ll be all set.
I know some of you may be wondering if I’m concerned with the size of the 120 GB SSD. In short, no. Most of what I use this machine for is writing or watching movies with the family, and it’s connected to our file/media server for anything larger. All in all, I think this all came together like a beautifully.








I expect you’d have some fun with the tools created by a buddy of mine. They’re hosted at http://dosdude1.com/ and make it possible to run newer versions of macOS with minimal limitations on older hardware. I’ve been using his macOS Patcher software for years with barely any problems. Of course, even if you can’t run a newer version of macOS Linux is always an option!