Let's Upgrade a 2010 iMac!
Another "vintage" Mac saved from e-waste...
DISCLAIMER: Some of the photos in this article are oddly small. I don’t know why, and I’m not sure what happened in the exporting process, but I didn’t realize this until after I had permanently deleted the originals from my iPhone camera roll. Apologies if some of the images are not as clear as they usually are.
Back in 2022, shortly after I launched The Retro Millennial, I took us on a journey to upgrade a vintage iMac from 2007 that had been given to me by a coworker that was planning to throw it away. We replaced the original hard disk drive with a solid state one, and upgraded the RAM from 2 GB to the maximum of 6 GB. Now, about three years later we have the opportunity to do it again!
The Device
A guy I know here in town had this mid-2010 27 inch iMac donated by an older woman for him to use in his work. I had actually helped him wipe the drive for the woman and restore it to macOS 10.13 High Sierra — the last supported version of the operating system for this iMac. It turns out he never ended up using it and it had just been collecting dust in the garage at his office so he called to see if I wanted it before he took it to the dump. Well, obviously I’m not going to turn down an old iMac, especially not one of the larger models.
This Mac is kind of a mixed bag. Of course, it’s a lovely machine, but it’s clear the original owner valued storage over everything else. While it shipped from the factory with a full 1 TB hard drive (which was a lot for 2010), it’s only got a 3.2 GHz Core i3 CPU and 4 GB of 1333 MHz memory. I’m sure it was fine at first, but by the time this iMac was sunset with High Sierra, it was running slow and hot. Performance aside, the 2560x1440 27-inch display is beautiful and still holds up today.
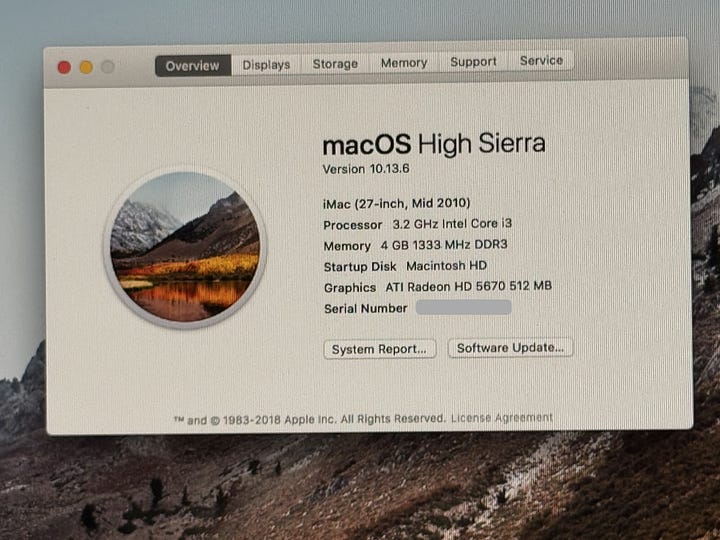
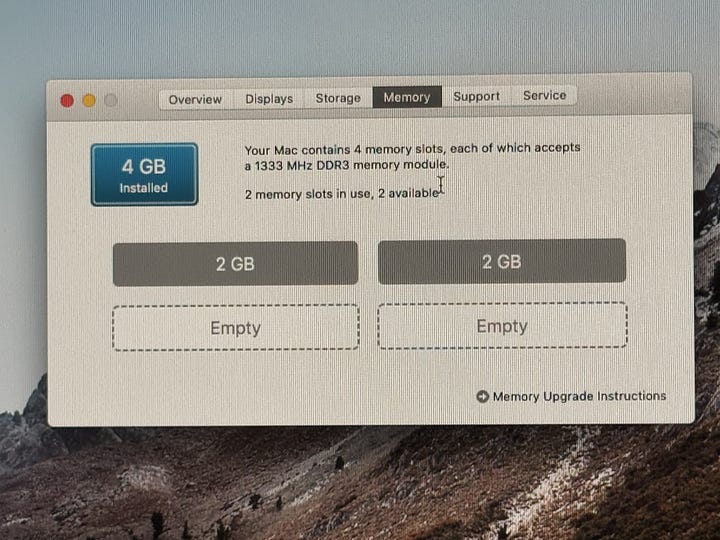
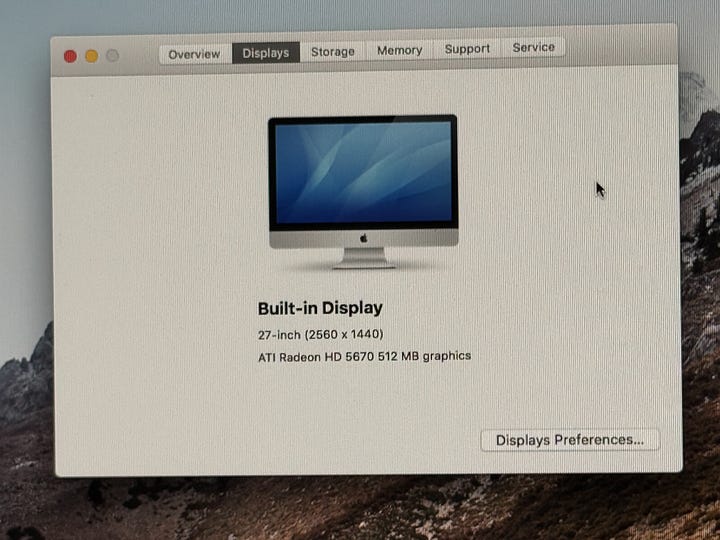
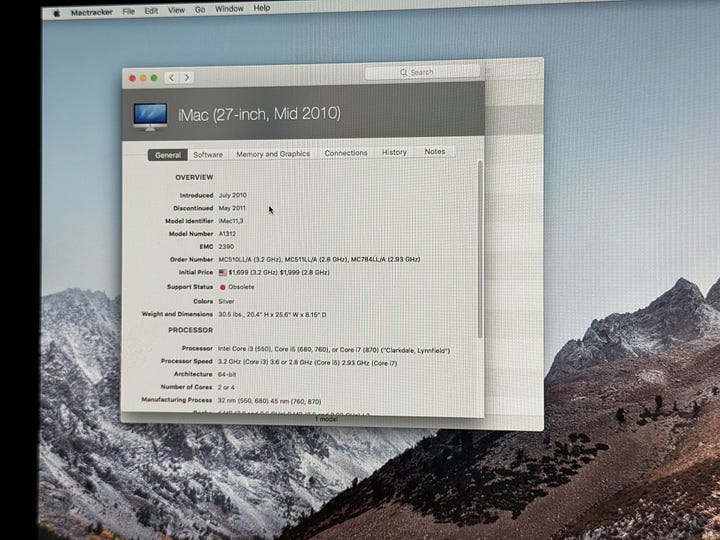
One of the other benefits to these old iMacs is the versatility they provided during this era. They are quite simple to upgrade, have a good selection of ports, include Firewire features like Target Disk and Target Display modes, and still included an optical drive. That, coupled with the screen and really good speakers and these things still make for nice dedicated media center devices.
First Impressions
The first thing that jumped out at me about this iMac was just how filthy it was. I made sure to wipe it down, but didn’t have a Magic Eraser for the more stuck on dirt, so there are still a few spots that still need attention.
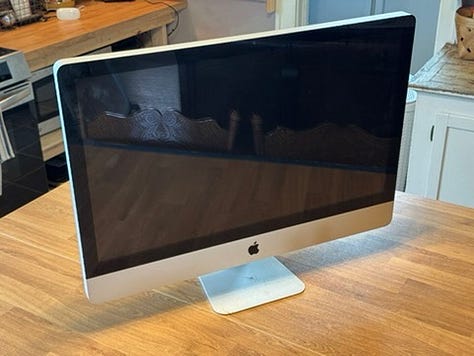
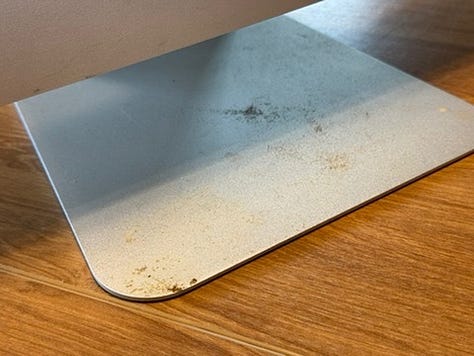
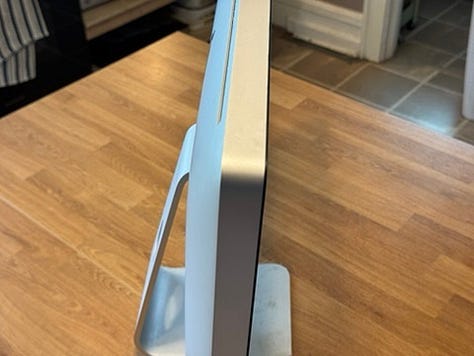
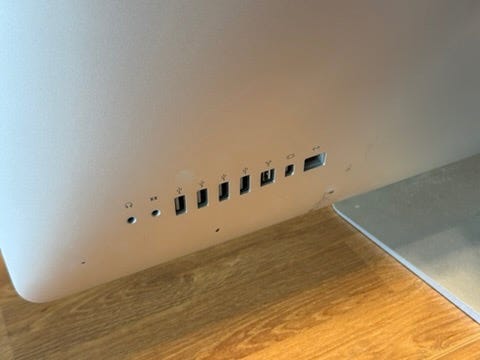

It was also quite slow, even with a clean install of High Sierra. It took over a minute and a half from the time I pressed the power button to the time it reached the login screen.
My plan for this iMac was to get this thing upgraded so that I can use it as a production machine for the podcast and for a dedicated writing and publishing spot for when I need to focus on getting some writing done. Let’s see what we can do to help get it there.
Donor Drive Needed
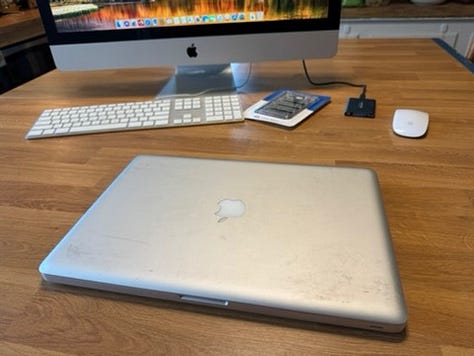
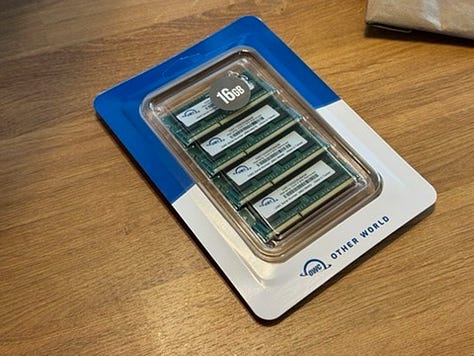
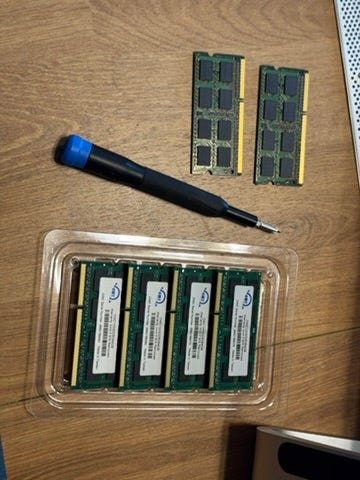
The first thing I needed to do was get the parts for the upgrade. I found a set of RAM on OWC and ordered it which took about a week to arrive. As for the hard drive, I opted to use one of my higher capacity SSDs from my old daily driver: the mid-2012 MacBook Pro.
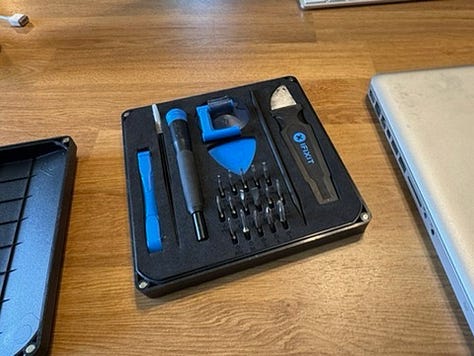
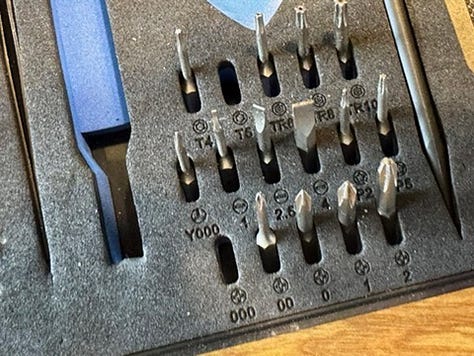
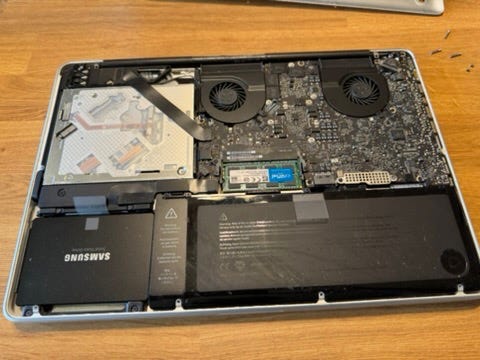
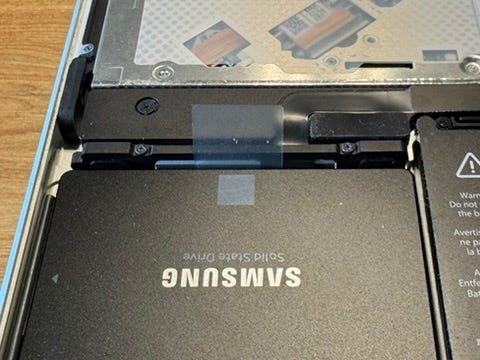
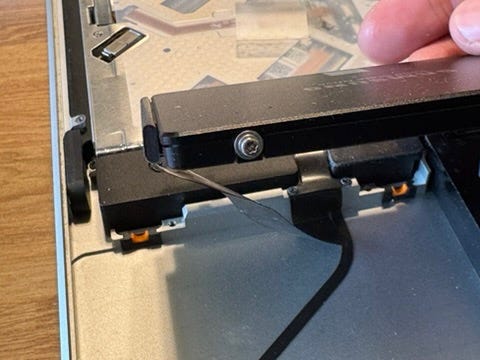
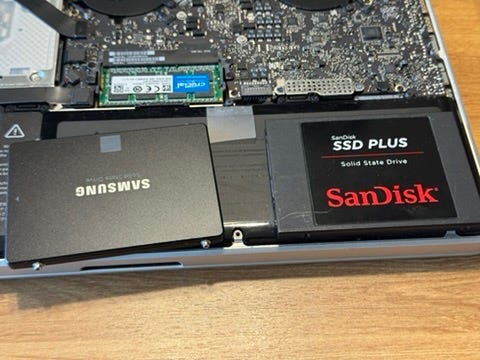
To open this MacBook, you simply remove the seven short and three long 000 Philips screws that hold the bottom panel in place. In my case, most of those screws had fallen out over the years and I only had two of the short screws left, but that is fine. Once inside, there are two more Philips screws securing the retention bar that holds the drive in place. Once removed, carefully lift up the drive, making sure to not damage the flex cable or SATA connector. After drive was out, I figured it was worth having a drive in the MacBook in case I wanted to test something in the future so I moved the mounting Torx screws over to a random SanDisk SSD I had in my closet and put everything back together.
Memory Upgrade
With the donor drive removed I wanted to start this upgrade with the memory. Unlike the 2007 iMac which basically required a full tear down and removal of the RAM before accessing the hard drive, the 2010 is more thoughtful in it’s design so I could go ahead and just knock this part out.
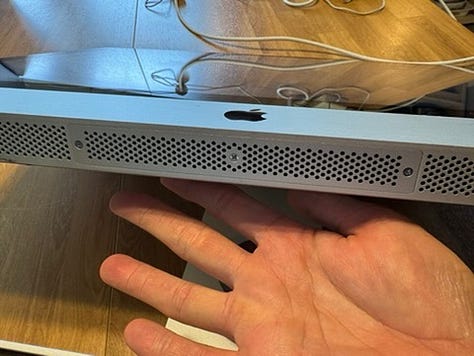
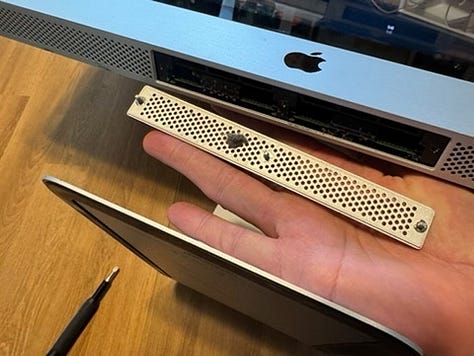
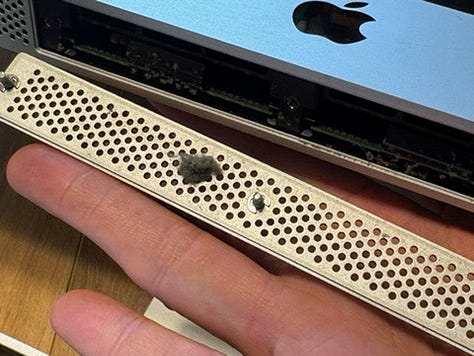
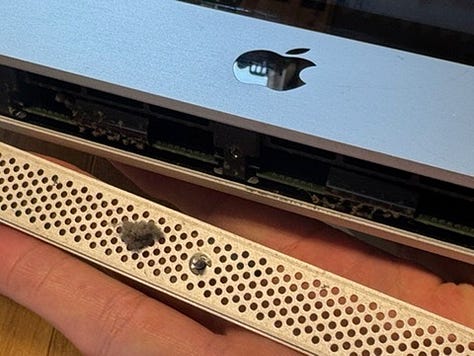
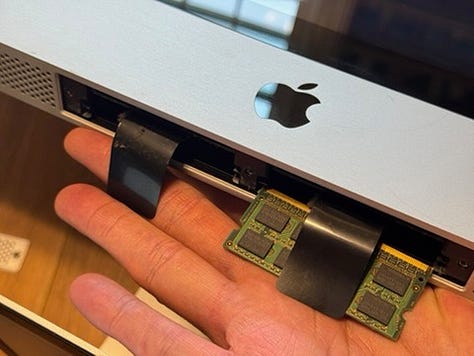
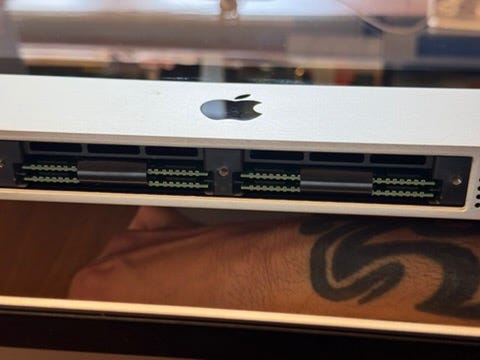
Laying the iMac down on its back, remove the RAM slot cover by loosening the three captive screws securing it and gently pull it off. Next, use your fingernail or screwdriver to lip out the black plastic pull tabs and give them a gentle tug to loosen and remove the old modules. At this point I went ahead and blew out the dust that had collected in the RAM slots and proceeded to install the four new modules.
SSD Upgrade
With the RAM installed, it was time to open up the iMac and perform the drive upgrade. I grabbed a pair of rubber gloves to help avoid fingerprints on the LCD panel as they are a pain in the butt to clean off afterward.
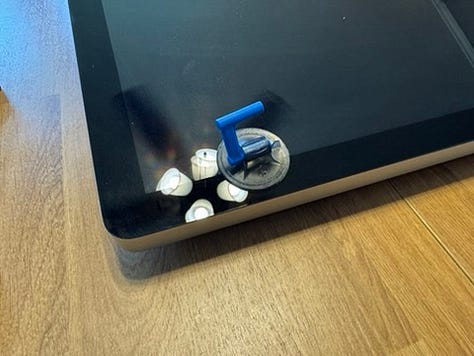
Just like with the 2007 iMac upgrade, this one’s glass is magnetically attached making it super easy to remove. Simply use a suction up if you have one, otherwise you can just slip your fingernail under the glass to detach it.
Now the downside to this magnetic design is that it makes dealing with the LCD screws a little annoying. The big LCD panel is held in place with eight T10 Torx screws (four on each side of the screen) and the magnets want to grab about half of them. It’s not so bad when removing them, but it does make screwing them back in a bit of a headache.
Once unscrewed, carefully lift the panel up a bit. Unlike the 2007 iMac, you don’t actually have to fully remove the panel, which is good because this thing is big, heavy, and prone to collecting dust and smudges. To dislodge the panel I just used my screwdriver to pry it up slightly so I could fit my fingers under it and lifted it up about 3 inches or so. I then propped the LCD up with a small piece of 2x4 on either side so I could work on it, making sure to disconnect the vertical sync cable before proceeding.
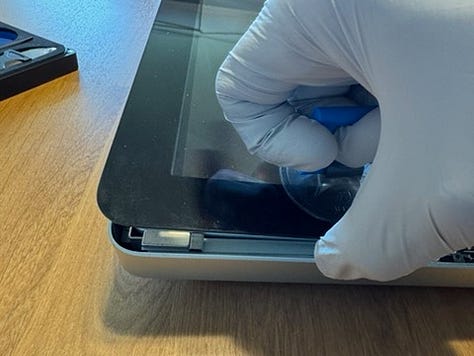
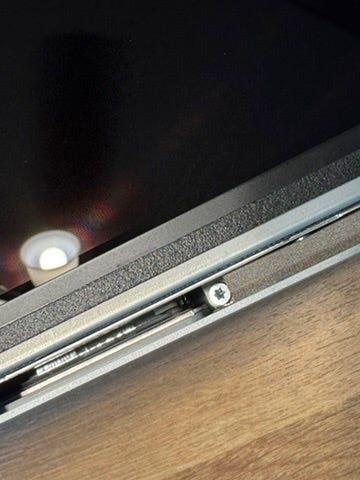
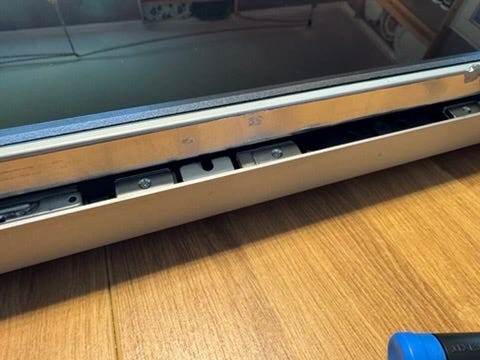
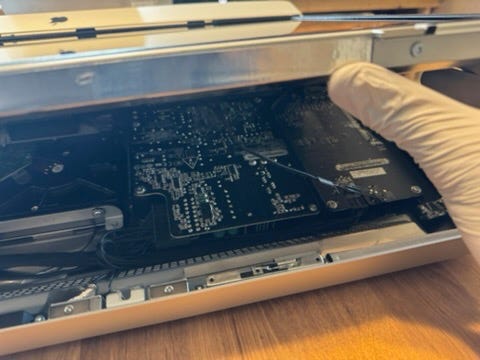
Now, the official iFixIt guide wants you to disconnect a couple other display cables to get the panel out of the way, but you really don’t have to. There is enough play in the cables to lift the display a little higher if needed to get your screwdriver to the T10 Torx hard drive bracket screws. Once unscrewed, disconnect the SATA power and data cables and the HDD sensor cable from the drive and carefully remove it making sure not to hit the other internal components.
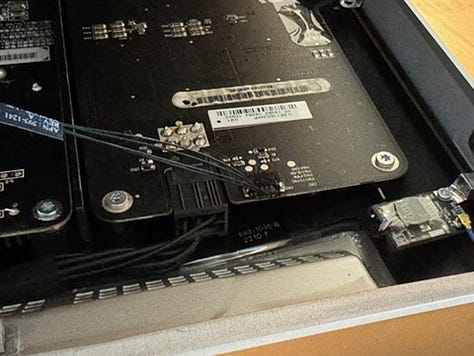
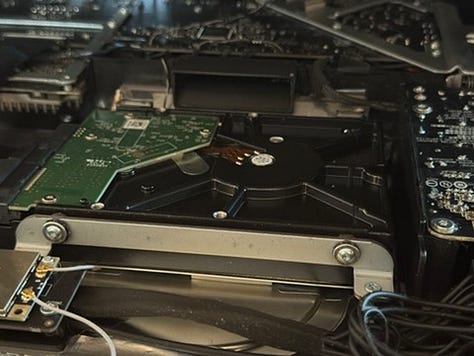
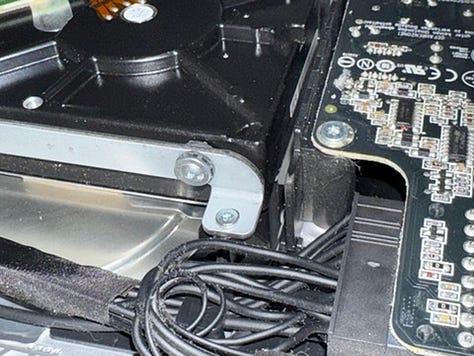
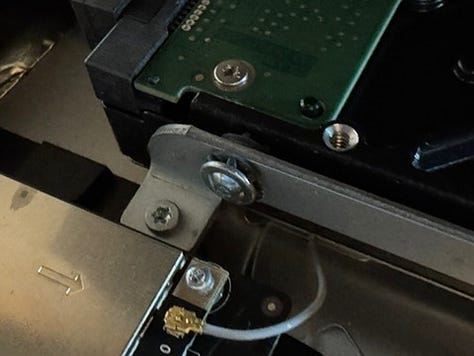
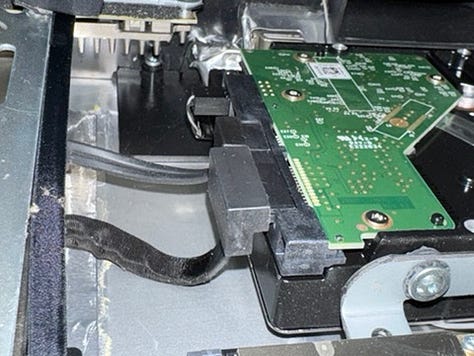
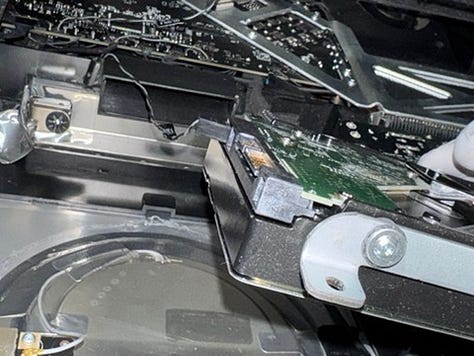
Once the drive is out, simply remove the bracket on the top side and the mounting pegs on the bottom side. Now from here, you could take the short cut of just taping the SSD into place, but I happened to have an extra 2.5 inch to 3.25 inch hard drive adapter laying around so I went ahead and mounted the SSD, pegs, and mounting bracket to it.
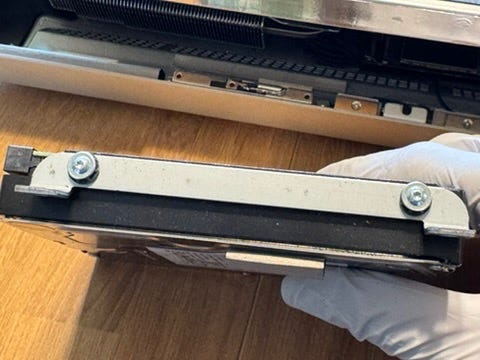
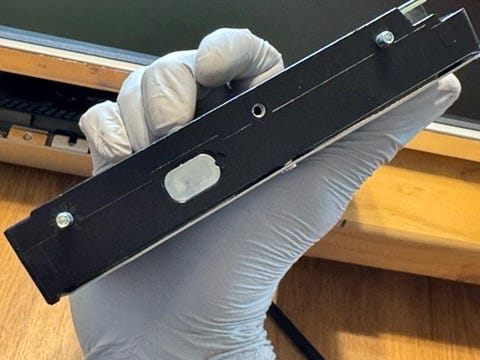
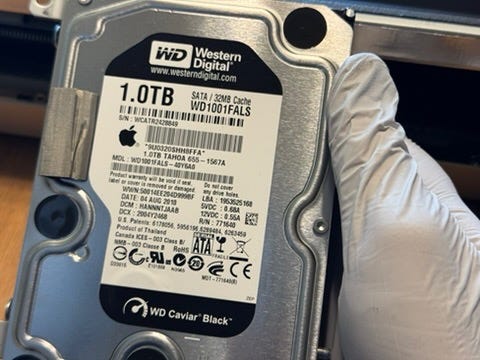
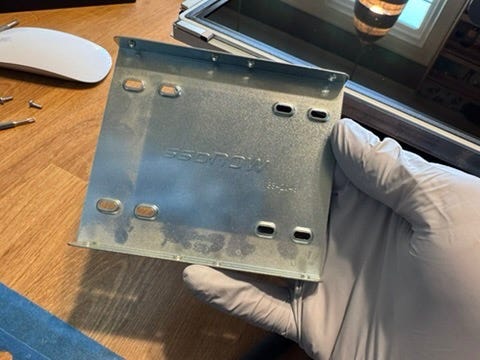
At this point I was feeling a bit of time crunch as I had other stuff I needed to do so I failed to take pictures to document the drive installation and closing everything up, but suffice it to say I just did everything in reverse.
Installing the Operating System
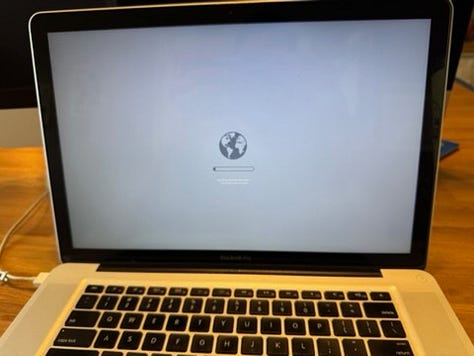
With everything buttoned up I powered the iMac back up and held Option+Command+R to launch Internet Recovery, but the little globe started hanging around 40% of the progress bar. Thankfully this was something I had remembered being an issue when I helped the previous owner reinstall the OS, so I made sure to have a bootable USB copy of High Sierra ready to go.
NOTE: For the keen-eyed among you, yes there is an Open Core partition on this drive. This drive had previously housed my Monterey install that was running on the unsupported MacBook Pro. I did try booting into Monterrey but the pre-Metal GPU in this iMac had tons of graphical issues as a result. I figured that would happen, but I at least wanted to try it.
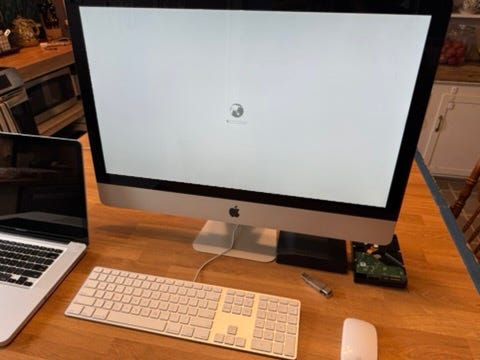
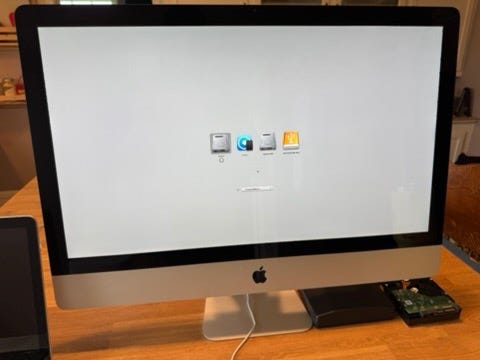
Seeing as we’ve done several macOS installs in previous articles, I won’t take up more time showing it here. Instead, let’s see what was on that SanDisk drive we put into the MacBook Pro.
MacBook Pro SSD Check
Turns out out that was the OS drive from my old Windows 10 desktop.
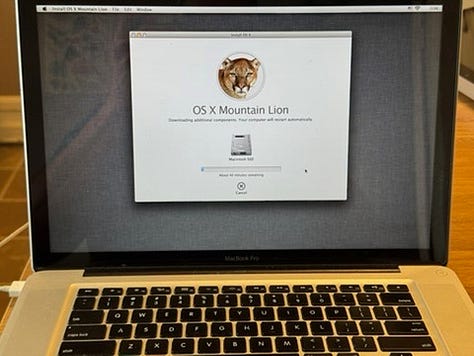
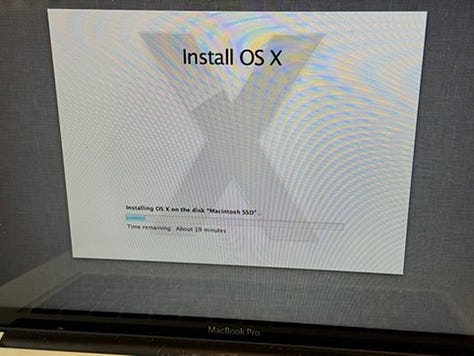
I’d already extracted everything from that drive that I wanted, so I booted back into Internet Recovery and let it do it’s thing. For whatever reason, it decided to reinstall 10.8 Mountain Lion instead of 10.15 Catalina but I didn’t really care so we’re going to go with it.
Upgrade Complete
Now, getting back to the iMac the installation had wrapped up and we were plopped onto the desktop — I must say, High Sierra probably has the best looking default wallpaper of any version of macOS. Checking About This Mac shows the full 16 GB of 1333 MHz DDR3 memory and the 500 GB capacity SSD.
Performance-wise, the change is definitely noticeable. Boot times have dropped from 96 seconds to a far more reasonable 45 seconds. Applications launch in under half the time as well.
Fan Speed Issue
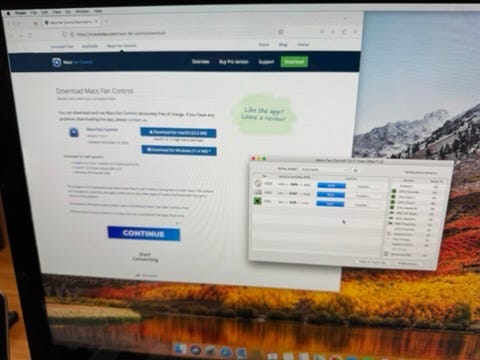
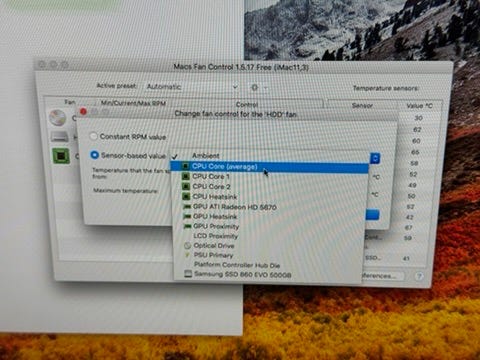
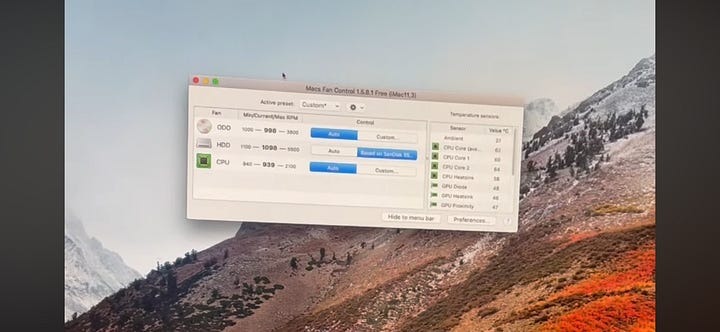
The only problem with doing this upgrade is that SSDs don’t have a place to put the HDD temperature sensor so the fans are running at max all of the time. It’s loud, and it kicks out a ton of heat making the room quite warm. Thankfully, this is a problem that was solved a long time ago with a utility called Macs Fan Control.
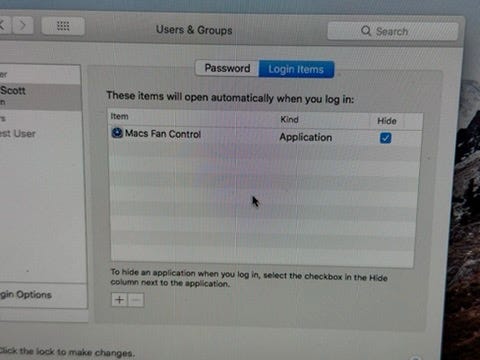
I installed it and proceeded to tie the HDD sensor to the CPU core temperature which has worked quite well at keeping things regulated. I also added it to my Login Items so it launches itself automatically when the system boots up.
Conclusion
All in all, this upgrade went swimmingly! The iMac cleaned up nicely, it’s much faster now, and it’s found a place in my production workflow. Originally my plan was to Open Core it and install a new version of macOS on it — and I may still do that at some point — but for now I’m letting it stay on High Sierra. I have been actively shocked at just how usable it still is with modern and up to date software still supported.
Firefox 115 ESR is still fully supported and allows me to browse the modern web, access Substack and other modern websites, stream music and movies, play YouTube videos, and whatever else I need to do on it.
The App Store still offers some older version of the apps I use normally and defaults to them.
An odd number of third party apps are still supporting macOS going all the way back to High Sierra including my preferred writing and planning app, Scrivener 3.
It’s obviously limited in what it can do on a hardware level, but I have been using it as my main production machine for a little over a month now and it’s pretty solid. I’ve had some trouble getting Garageband to install from the App Store, but the latest builds of Audacity still work just fine.
I guess the moral of the story here is: if someone offers you a really old Macintosh computer, just take it. Odds are pretty good that you can upgrade it for cheap and get a fair bit more life out of it, even 15 years later.


