Replacing an iPad Screen for the First Time
or how to replace the glass on a 7th gen iPad
A while back I got into iPad repairs and took pictures to document my first screen repair. Since then, I’ve done quite a few iPad screen repairs, and while I can and will do these repairs, they are far from my favorite thing to do.
At the end of this article, I will also include a list of parts and tools that I used here, as well as some that I have switched to now along. If you’re looking for any of these, do me a favor and click the affiliate links associated with each to help support my work here.
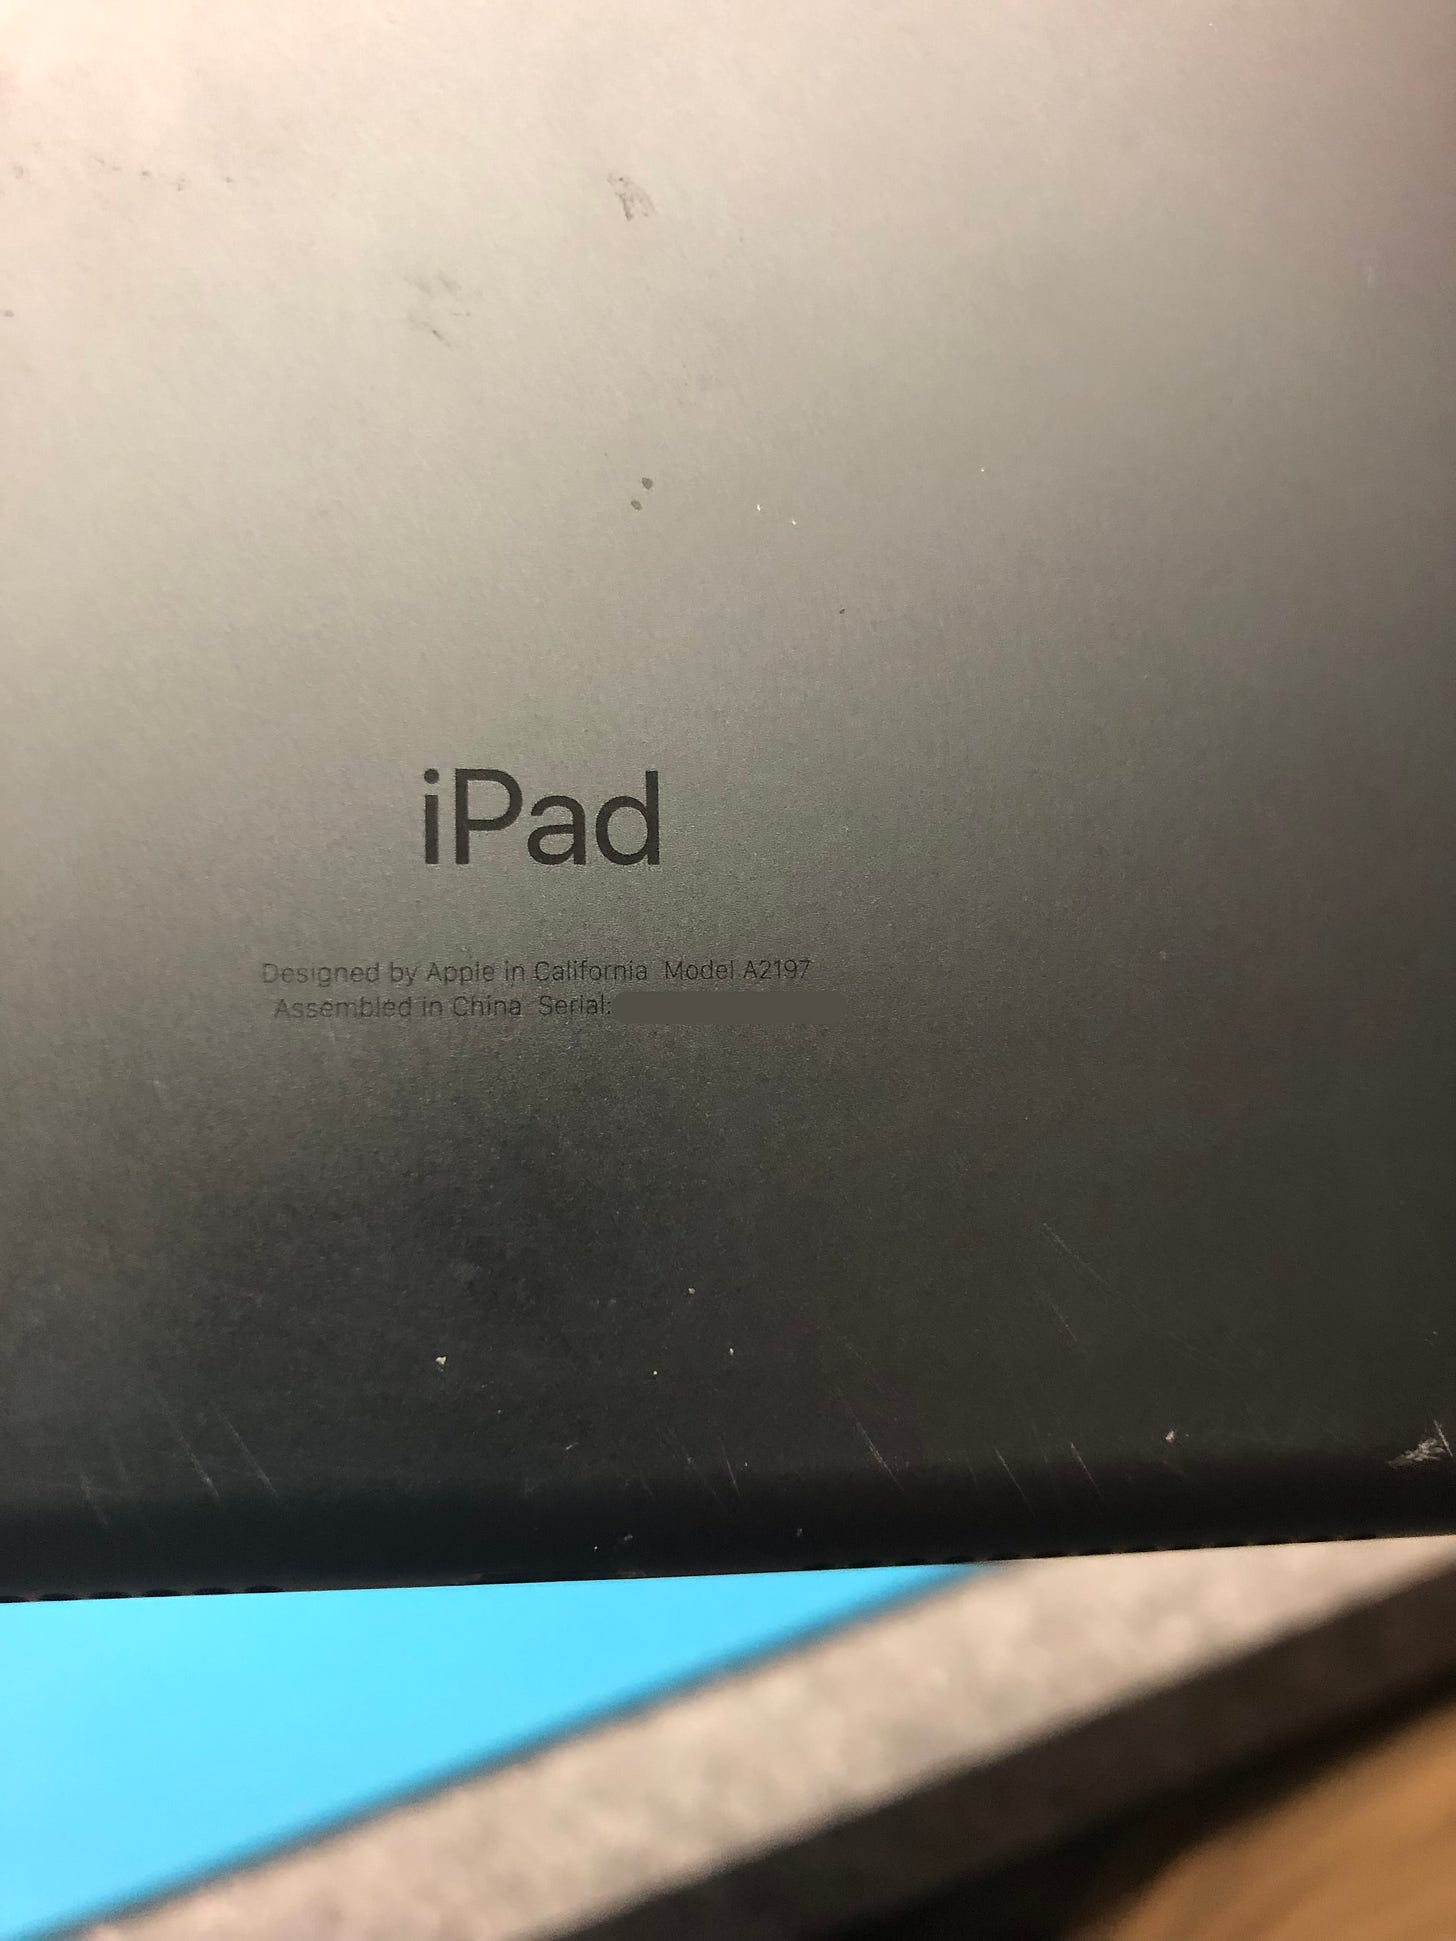
In this article we’re going to attempt to replace a cracked screen and digitizer for a 7th generation iPad; model number A2197. This is the base model iPad with a 10.2 inch display; not an Air, and not a Pro — repairs for those are probably different than what I’m doing here.
The device came to me in pretty rough shape. Despite being in a protective case and having a plastic screen protector the screen shattered when the customer dropped it.
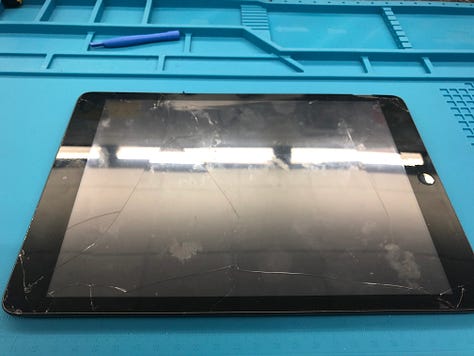
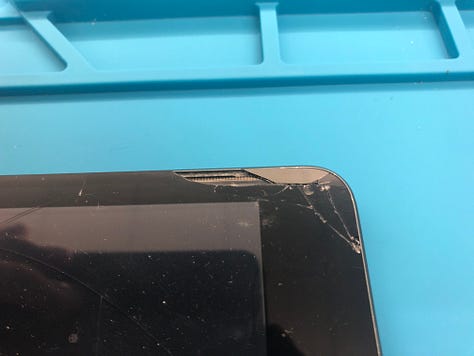
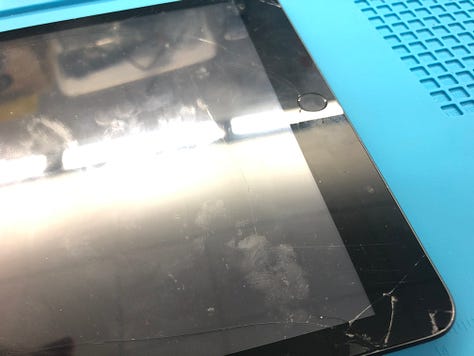
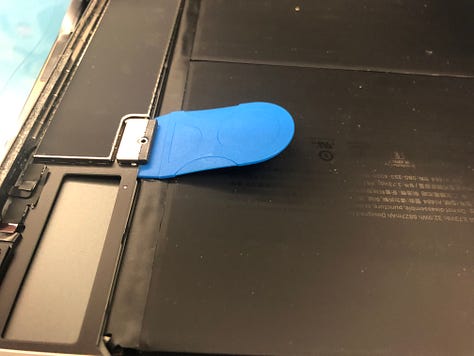
As far as tools go, I was just starting out when I did this repair so my setup was pretty limited. I used a heat gun to soften the adhesive on the screen, a Jimmy-styled opening tool (the knife-looking thing), a screwdriver with size 0 and 000 Phillips bits, and a battery blocker. Also, note the blue nitrile gloves. These helped me avoid glass splinters in m hands and helped to protect against cuts, but just barely. I shredded three pairs throughout the repair and as a result I’ve moved over to a higher quality glove that works much better.
Removing the Glass
The first step is to remove the glass. Do this by applying heat to the edges of the glass. Warming the adhesive tape under it will allow the digitizer to detach from the device. It’s not the easiest process either. Using a heat gun — even a good one like the one I had — takes time and heats the device unevenly causing me to keep reheating different parts of the screen. Since doing this repair I’ve switched to this heating pad from Amazon which works SO much better.
Once the glue is warmed, use the Jimmy tool to start separating the glass. Overall it wasn’t too bad, however because the glass was shattered, it did lead to a good bit of debris on the LCD panel itself as we will see later. Eventually, I was able to swing the glass off of the device. It was at this point that I noticed a lot of the adhesive tape was still stuck on the aluminum. This would need to be removed before the repair would be complete.
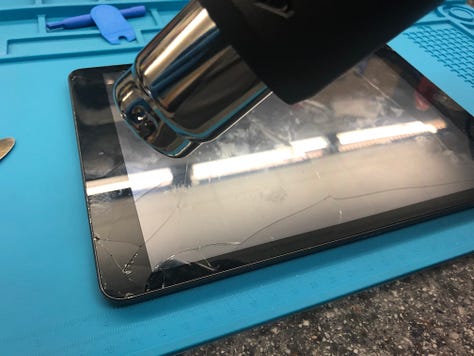
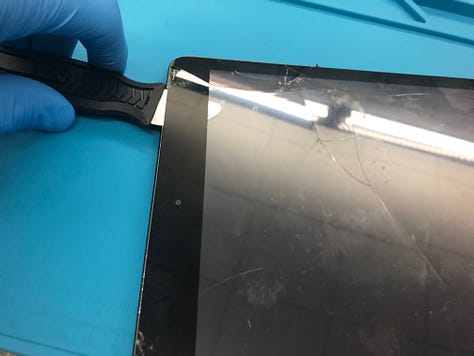
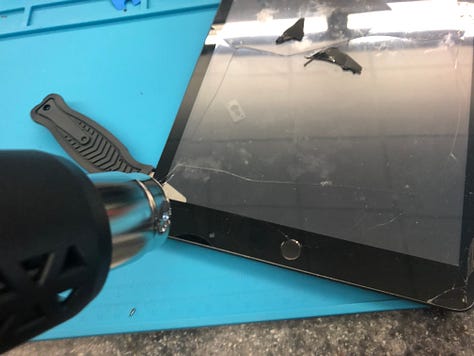
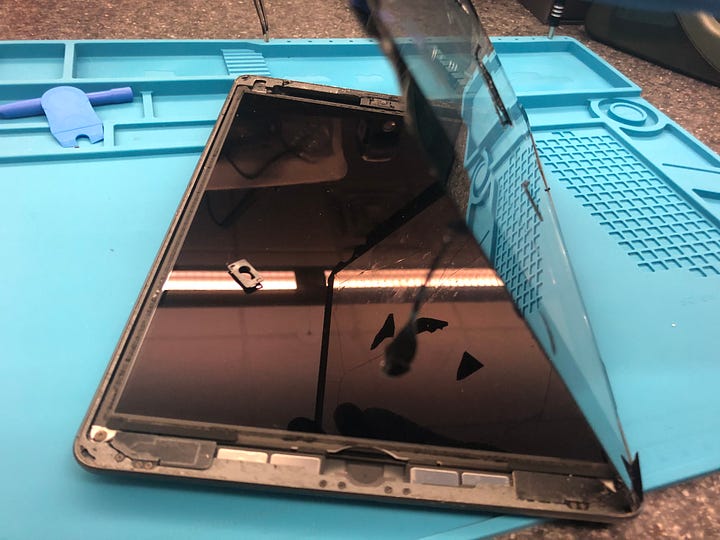
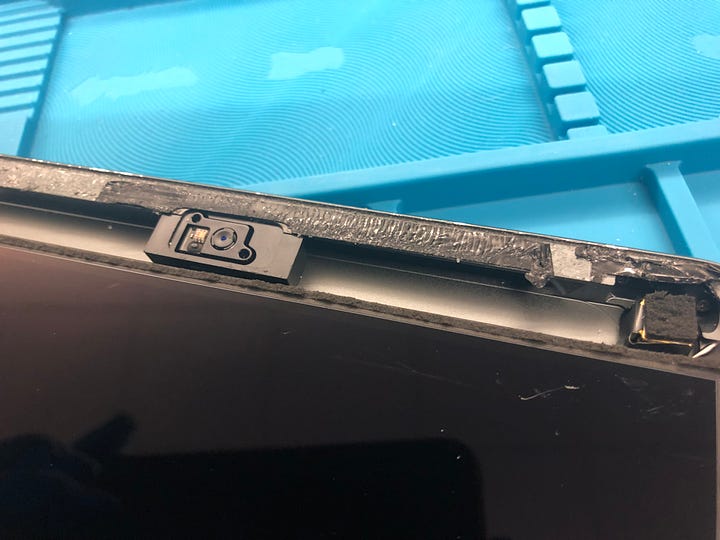
The next step is to remove the LCD itself. There are four screws holding it in place: 2 that are clearly visible on the bottom, and two more that are hidden under some black tape-like material. I’m not sure which size these screws are in terms of which driver bit to use, but I used the size 0 Phillips head and that worked fine.
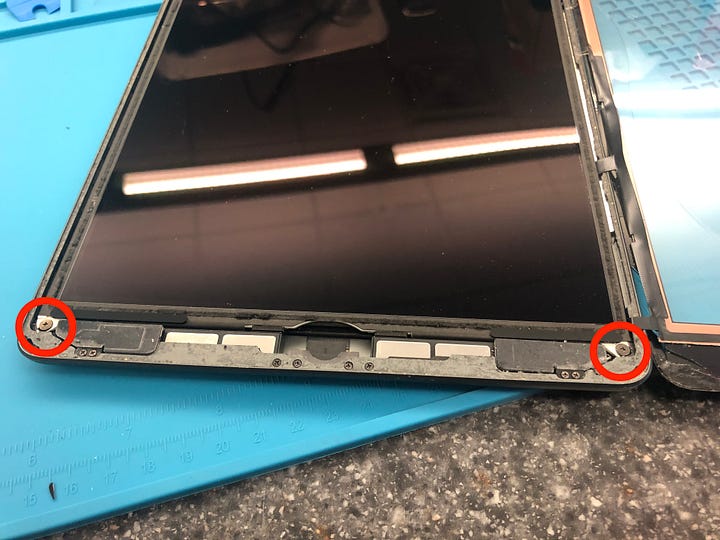
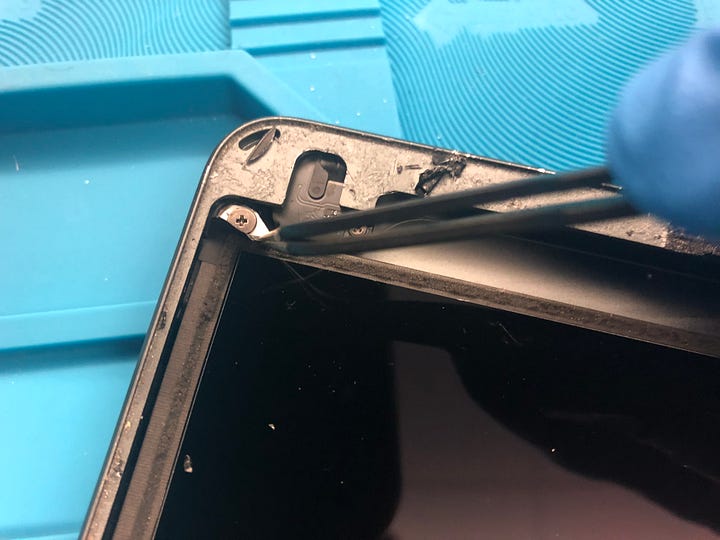
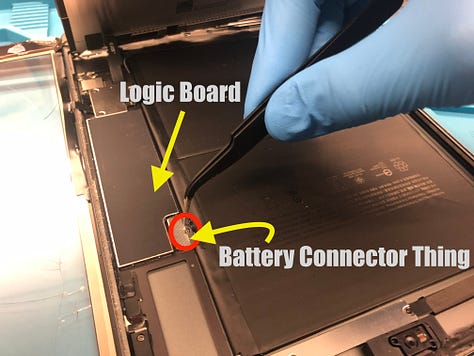
With the LCD unscrewed, remove the tiny screw on the battery connector, and the three other tiny screws on the on the aluminum cover just below the logic board. Next, it’s important to disconnect the power all the way to avoid any… shocking… moments (I’ll see myself out…). To do this use the battery blocker to gently lift the battery connector up and away from the logic board.
Next, remove the aluminum plate to disconnect the digitizer flex cable connectors. You don’t have to be super delicate, but don’t just yank them off either. Likewise, when connecting the new ones, don’t force it on either as you can permanently damage the pins and render the device unusable. When connecting the new ones, line them up. gently press down, and it should snap into place. If it doesn’t, reallign and try again until it does.
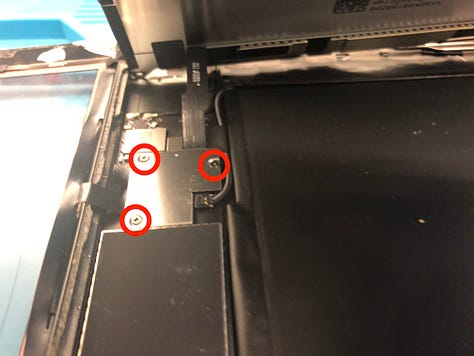
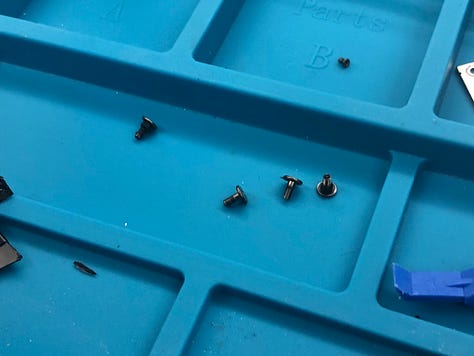
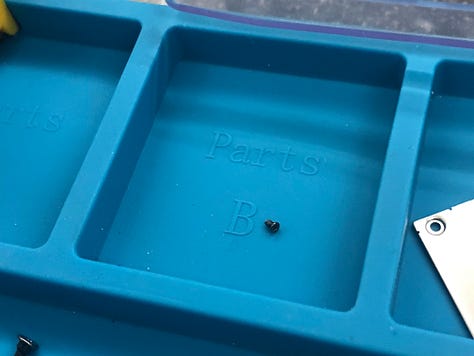
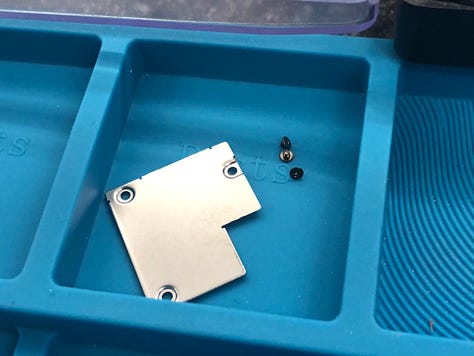
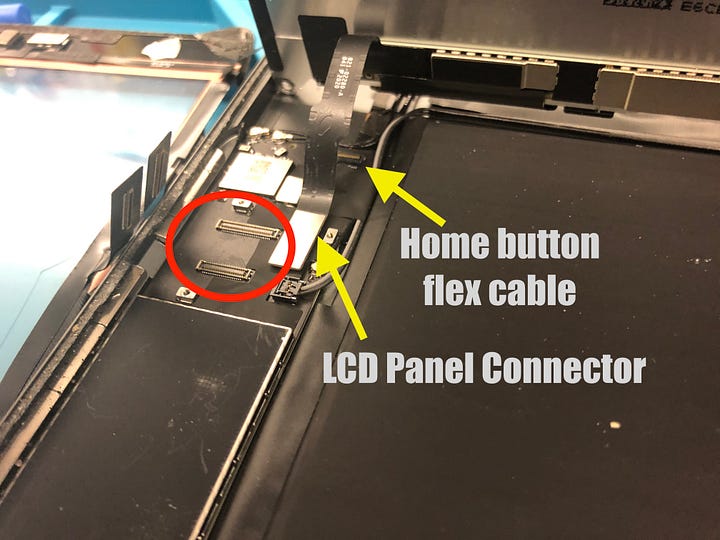
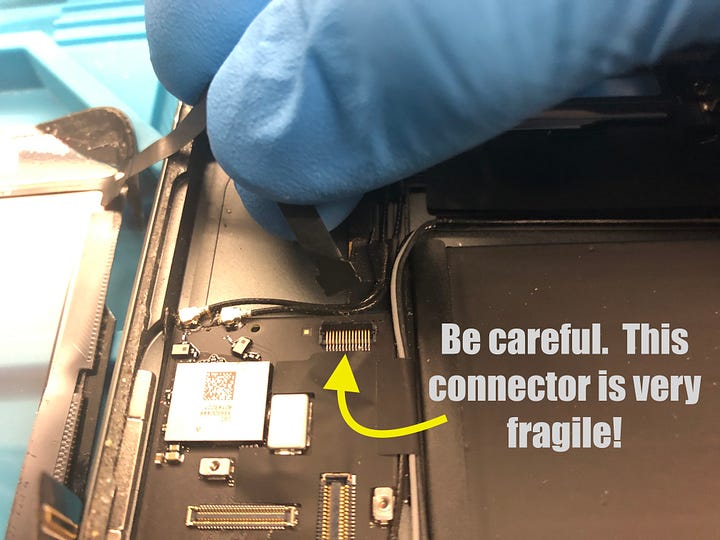
The other thing down there that needs attention is the home button. If the home button on the broken digitizer is still working, it’s worth keeping as the replacement one won’t work with Apple’s Touch ID. To preserve the original home button, heat the part of the glass where the button is and gently press the button until it pops off. Repeat this on the new digitizer if it has the new home button pre-installed, and then put the original button in it’s place. This iPad, however, had it’s home button damaged when it was dropped and isn’t working right so I removed it.
The connector for the flex cable is under a piece of black tape that has to be removed, and be careful. The connector latch is quite delicate and can easily break. If that happens, the remaining bit of the latch won’t be enough apply the pressure needed for the pins to connect and the home button won’t work.
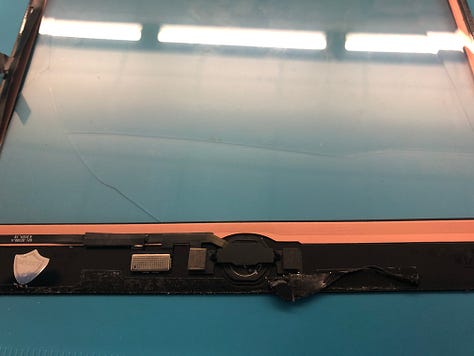
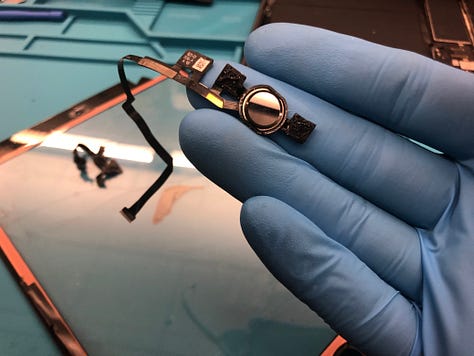
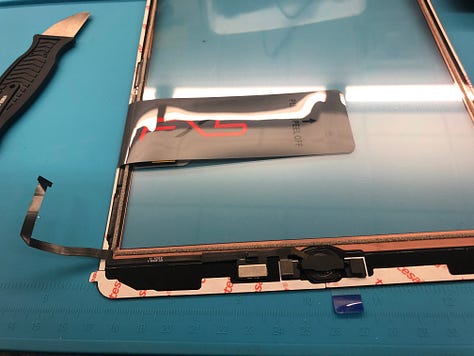
The rest from here is pretty straightforward. Install the new digitizer flex cables and screw the alluminum plate back into place to hold it in place. With the old adhesive removed from the iPad and the edges of the alluminum chassis being cleaned up, put the LCD back in place. Clean any debris off of the panel. This one had a lot of glass shards on it. I was able to get most of it off with some compressed air. Once it’s all ready, remove the paper from the adhesive on the digitizer and the protective plastic on the top and bottom of the glass. Drop it in place and apply pressure to make sure it’s stuck on there good.
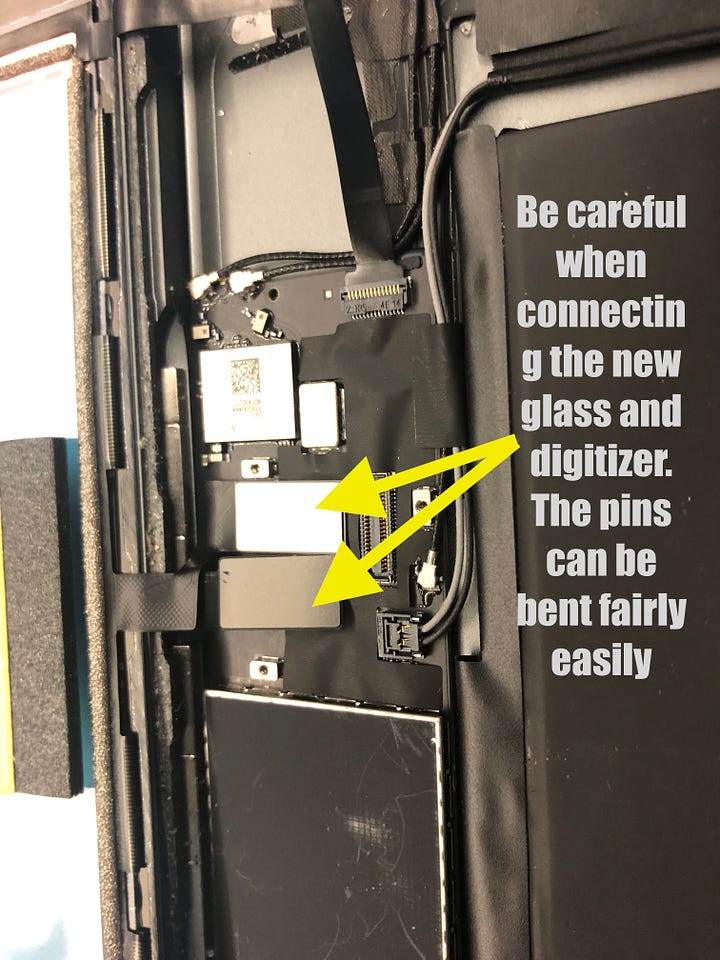
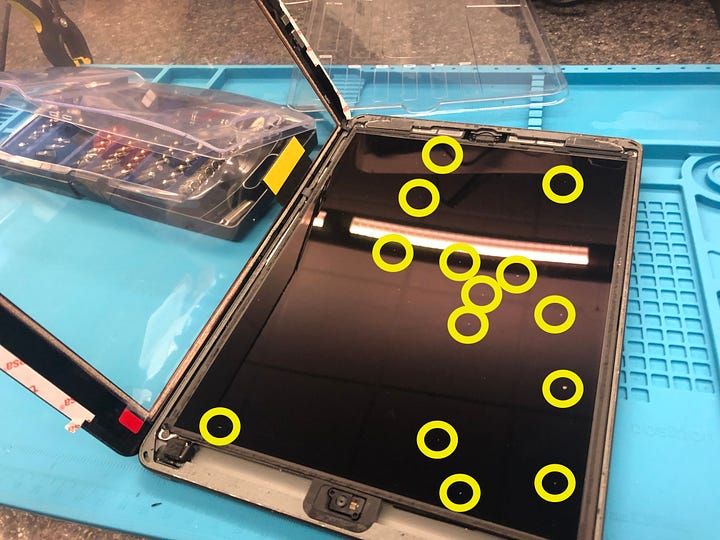
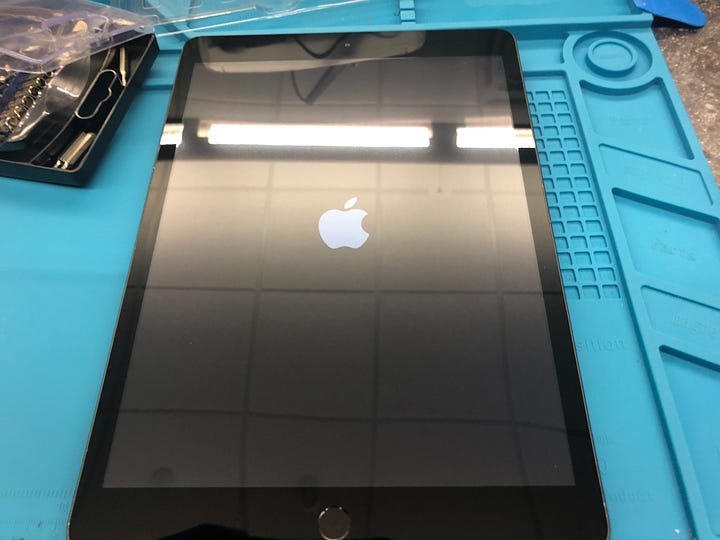
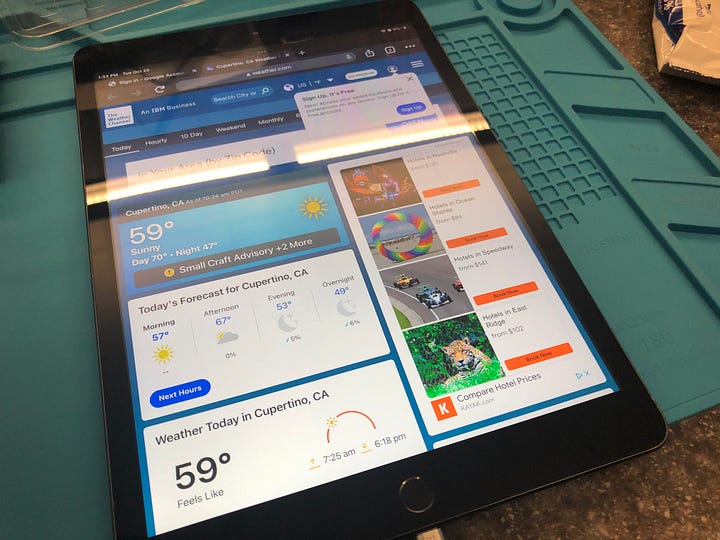
I obviously tested the touchscreen and home button before closing everything up, but here is the final product of the repair.
Shopping list
iFixIt iOpener tool set — https://amzn.to/4azYEDK
Not necessary, but the iOpener is a microwavable gel-filled tube to heat the adhesive one side at a time. There are better heating options on this list, but this kit includes the battery blocker tool.
iFixIt Essential Electronics Toolkit — https://amzn.to/4aqm8eM
My newest toolkit, I usually keep this with me in my work bag for when I’m doing jobs offsite.
Tool hack: If you don’t have a battery blocker, and you don’t want to buy the iOpener kit, you can cut one of the picks in this set to serve the same purpose.
Batavia 2-in-1 Heat Gun — https://amzn.to/3TL31W2
This is the heat gun I used in this repair
CPB Heating Pad — https://amzn.to/43KLGB6
I’ve since switched to using this for iPad repairs
Heavy duty black nitrile gloves — https://amzn.to/3IY2V8d
These are much better than the blue gloves I used here
iPad 7th/8th gen glass digitizer and home button replacement — https://amzn.to/3VEdMM9
Supershieldz (2 pack) 10.2 inch tempered glass screen protector — https://amzn.to/3xjRp4M


