Friendly Reminder
Now through the end of March sign up and SAVE 30% on all paid monthly and annual subscriptions as part of #MARCHintosh 2025!
Monthly:
$5.00$3.50Annual:
$50.00$35.00 (includes 2 FREE months of access)Also, be sure to check out episode 36 of the members show New-Old Stock for the full video tour of the PowerMac G3 B&W!
As I prepared to kick off MARCHintosh 2025, I pulled my PowerMac G3 out of my storage closet and started testing everything out. I hadn’t used it too much over the last couple of years and with this being my first time attempting to use it for anything substantial I wanted to prepare a bit ahead of time. I knew that I was going to want to try a little bit of classic Mac gaming and productivity work, so the first thing I did was prepare some CDs with the software I’d want to use. Yes, I could just mount the ISOs and Toast files using Roxio Toast Titanium, but I thought that might cause issues with multi-disc games later on. Beyond that, I really wanted to try to have as authentic of an experience as I could.
I assumed everything would just work the way it should. It wasn’t the first time I had installed software onto this Mac via compact disc, and I’d never had a problem before. At first, things installed fine. Then, it started taking a fair bit longer to complete while occasionally presenting errors. Running the installer again always fixed the problems and got the software installed so I just chalked it up to old systems being weird sometimes. With that said, the problem truly showed itself when it came to running disc-based games.
I tried to start playing through Starship Titanic, but it struggled to load. It took over a minute to load into the opening of the game and would usually freeze up when trying to look around. I would force quit multiple times and occasionally it would load a bit further into the game, but not much. I thought maybe it was a problem with the disc image I had gotten, so I swapped it out with The Sims. The game loaded fine. It did take a little while to load into the neighborhood, but it was a heck of a lot faster than the last game.
Gameplay-wise it ran okay most of the time. Managing my Sims, building mode, and shopping mode all worked fine with only a bit of lag here and there. Eventually, that lag started getting worse and worse. Starting to force quit and then canceling it did help to kick start it again, but it never truly fixed the problems. One of the times the game locked up, I pulled down the drive cover for the CD-ROM and saw the LED on the front staying illuminated rather than flashing as it does when reading discs. Thankfully, I have plenty of spare drives lying around so it was time to swap it out.
Opening the case
Getting into these PowerMacs couldn’t be simpler. Just pull the latch on the side of the machine up and the side panel will drop down on a hinge. If you are doing this, either unplug everything from the Mac, or make sure have enough slack with the cables as the logicboard is on the cover and the I/O drops down with it.


Removing the drive cover
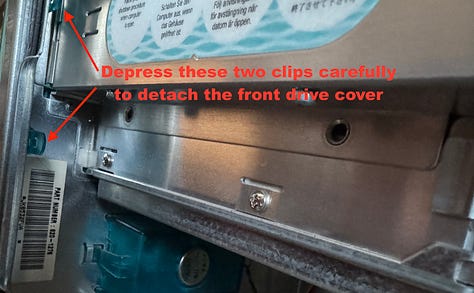
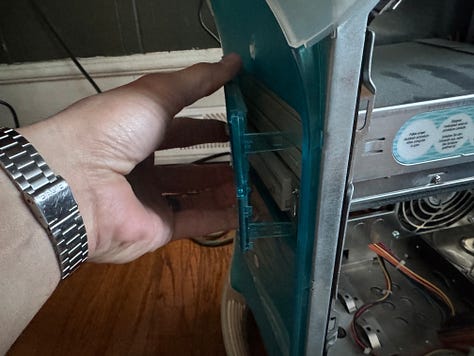
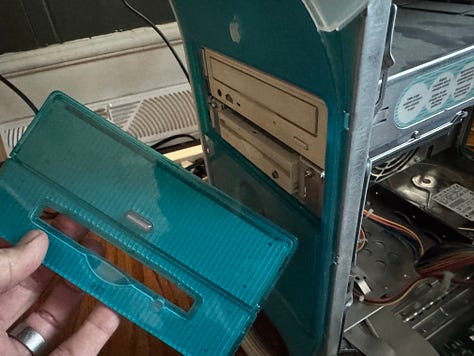
To remove the drive, I had to remove the blue plastic drive cover. Inside the machine, near the front of the drive caddy, there are two blue plastic clips. Depressing them and gently pushing outward, I was able to dislodge them from the case. From the front of the machine, I gently pulled the drive cover outward and then gently rocked the cover up and down to slide it out of place and fully remove it. If you are doing this, I will continue to emphasize the “gently” part. This plastic is over a quarter of a century old at this point and is prone to cracking and breaking.
Removing the drive caddy
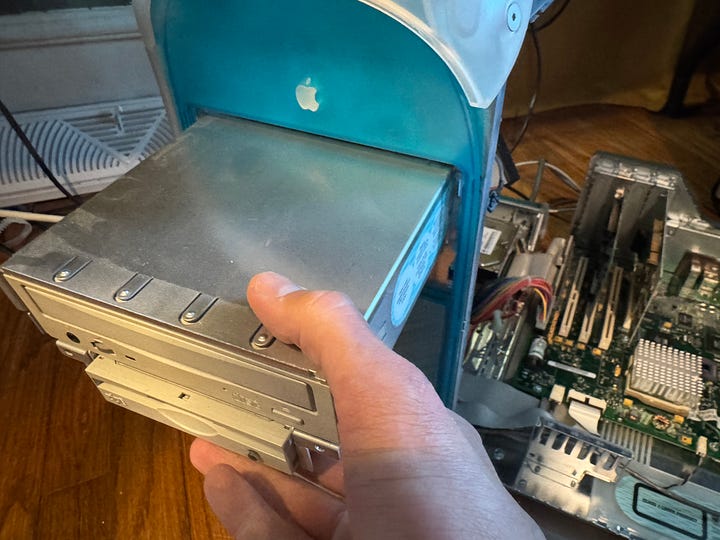
With the cover removed I could now see the front of the drive caddy. I removed the two Philips screws securing the drive caddy and then pulled the caddy forward a bit. This took some finagling on mine as it was stuck in place pretty good. After it was loose, I detached the data ribbon cables and the Molex connectors from the optical drive and the Zip drive to fully remove the drive caddy.

Removing the CD-ROM drive
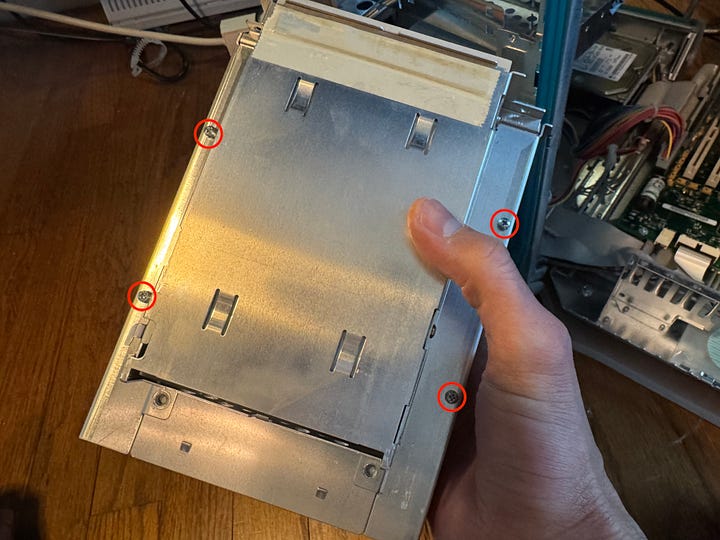
Once the caddy was out, I flipped it over and removed the four Philips screws holding the CD-ROM drive in place. Once the screws were out, I slid it out of the caddy and noted the jumper position. On this Mac, both media drives and the internal hard drive are all set to cable select, so that keeps things simple.

Testing the new drive
For the new optical drive, I had considered using another Apple-branded 24x CD-ROM drive that I had from another old Mac, but I didn’t have access to it at the moment. So instead, I decided to just upgrade the drive altogether with a newer IDE DVD-RW drive. I may swap it out at some point, but for now it works just fine.
With the jumper in the correct position, plugged it into the Mac and powered the machine on for a quick test.
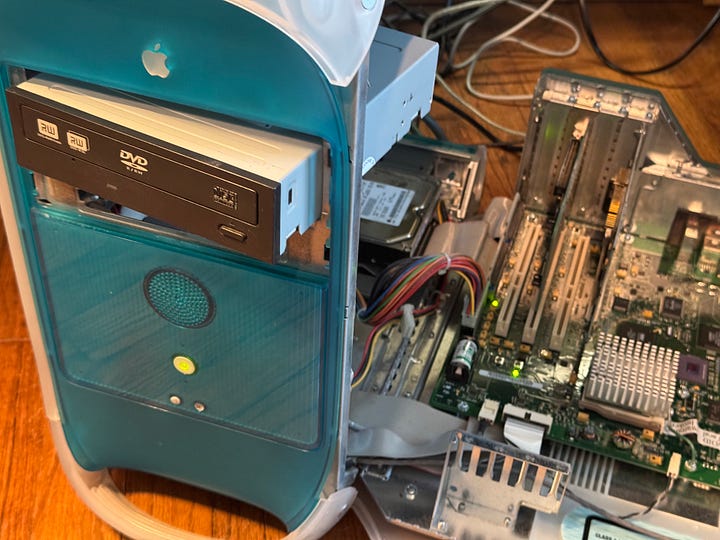

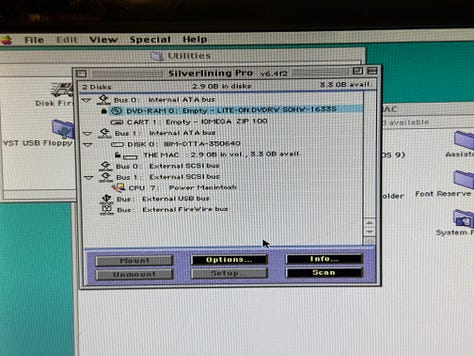
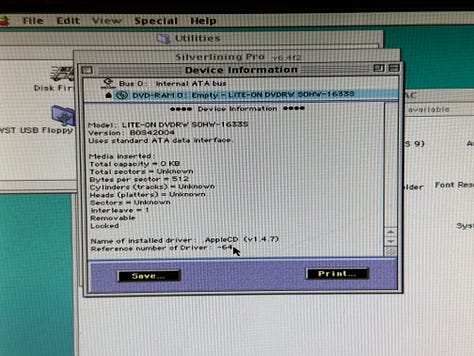
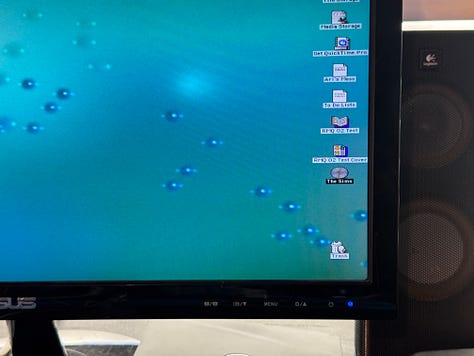
The drive powered on and was recognized by the operating system. I put the CD for The Sims in and it showed up on the desktop. The best part was that the CD icon appeared noticeably faster than it had with the old drive in it. To me, this confirmed that the old drive was starting to die, so I’m glad I caught this before getting too far into my MARCHintosh adventures.
Mount drive to caddy
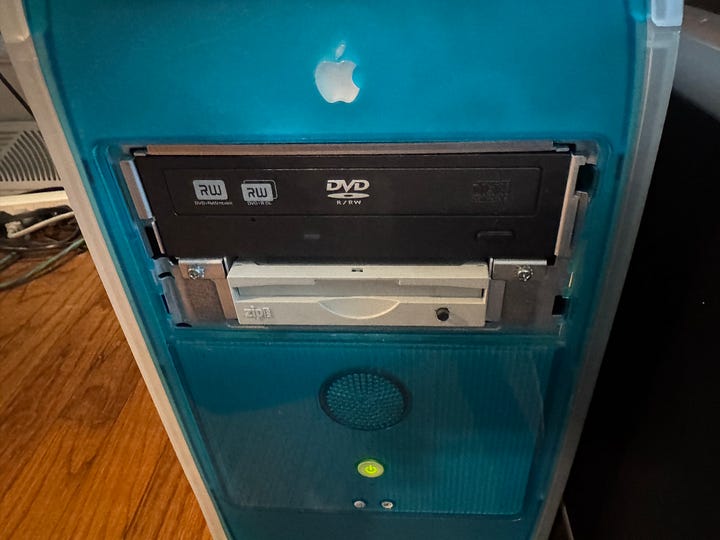
With the new drive confirmed to work, I shut the machine down and unhooked the DVD drive. I reinstalled the drive into the caddy and got everything screwed back into place. It wasn’t until I was reattaching the drive cables that I realized an issue with using this particular drive. Being a newer drive, it was actually a fair bit shorter than the older one. Normally in a PC tower case that would be great because it gives you better airflow and more room to work when you need to. However, these drives sit in the caddy which was designed for that older drive to sit flush with the end. As a result, the new drive was a good two inches inset from the end of the caddy and I had to blindly attempt to get the ribbon and Molex cables hooked up. It took a little while, but I eventually got it squared away along with the Zip drive. What a pain…

Drive cover and rear shielding issue
With the new drive hooked up and the drive caddy screwed back into place I attempted to put the drive cover back on, but it would not sit right so I just left it off until I figured out the problem. In fact, I discovered the problem while recording episode 36 of New-Old Stock and was able to fix it, allowing the drive cover to sit correctly again.
Likewise, I realized that I had forgotten to install the rear drive caddy shield. With as difficult as it was for me to get the DVD drive plugged in, I wasn’t about to unhook it just to put this little piece of metal back on. Instead, I simply left it off and used some masking tape to attach it to the top of the drive caddy so as not to lose it.

All in all, I am really glad I made this upgrade. While I haven’t been able to get DVD playback working yet, I’m quite pleased with how much faster this new one is. It’s made for a much smoother gaming experience and overall it really wasn’t that much work.


