Over the last few months I’ve mentioned a number of themed weeks that I’ve participated in. First up was the venerable DOS week, where I and many other nerds ran DOS in it’s various forms for seven days seeing just how much we could get done running just DOS software. For me, DOS week was pretty uneventful. Mostly just doing a little writing in MS-DOS Editor and MS-DOS 5.5 (download it for free from Microsoft here), and playing a handful of vintage DOS games like Chex Quest, Hitchhikers Guide to the Galaxy, and Oregon Trail.
Last month we spent a week enjoying the many options for command line and text user interfaces (CLI/TUI). For more on these, be sure to check out my articles on some of the apps and games I made use of and share your thoughts!
Well, this past week I joined in the festivities of Haiku Week! If you’re not familiar with the Haiku operating system, it’s really unlike anything you’ve likely seen in the last 20 years. It’s an open source reimplementation of the old Be Operating System from the mid-1990’s. The story of Be is a fascinating one that we can talk about at another time, long story short it was sold to Palm Inc — the people behind those old PDAs that we all wanted back then — in 2001. Haiku picked up where Be left off in 2001 and has been in active development ever since.
Preparing the Install Media
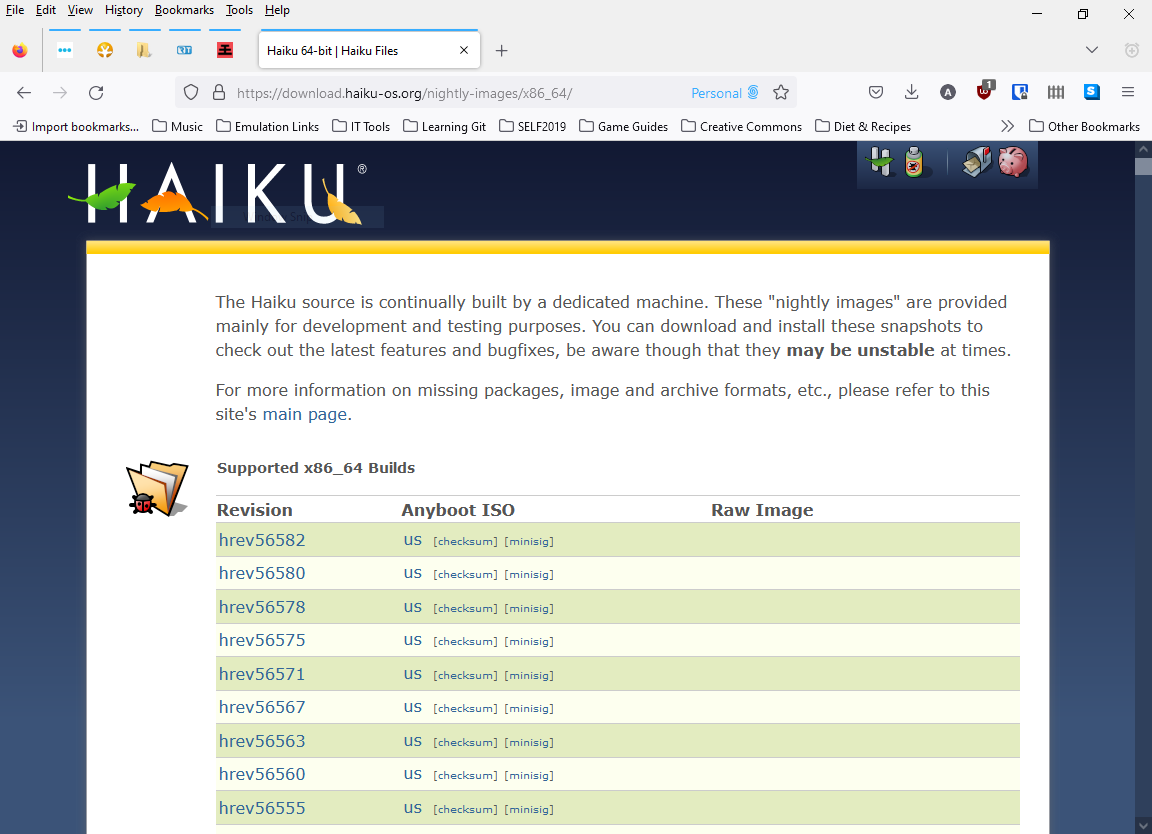
At the time of writing this we are still waiting for the imminent release of Beta 4, but that didn’t stop me from diving in and giving Haiku another go of it! The last time I really used it for any real length of time was back in the summer of 2021 when Beta 3 dropped, so this time I opted for the one of the nightly builds to get the most up-to-date OS.
Once the ISO was downloaded I created a bootable USB stick with it. I was on a Windows PC at the time so I went with good old Rufus. Rufus is a pretty simple little program, but in my experience it’s been much more reliable in making bootable drives than the more popular Balena Etcher.
Installing the System
When it comes to running Haiku, I tend to opt for using virtual machines. This is mostly for the sake of compatibility. Haiku doesn’t always run great on real hardware. In the summer of 2021 I installed Beta 3 onto a mid-2000’s IBM ThinkPad and the experience was pretty rough. It ran great until it didn’t. It would be speeding along just fine and then something would randomly cause the system to stop responding, requiring a reboot. On top of that WiFi wasn’t working, so I was curious to see how it performed on this newer build.
That old ThinkPad is dead now, so I can’t give a 1-to-1 comparison. However, I do have another laptop from that era that I think will be a great candidate for it. Enter the Dell Latitude D810 from 2005.
I featured this laptop in an article a while back when we installed Windows XP on it, and again when we cleaned up and tested my old IBM CRT monitor. It’s in great condition and I was hoping that some of the problems I had previously had to do with some failing hardware bits.
I booted into the boot device menu, selected the USB option, and was greeted by the Haiku splash screen. One thing to note, the colors were nice; sharp and vibrant. They look crummy in the pictures because of the lighting and my phone’s camera not playing nice.


Once the OS loaded it was time to make the language and keyboard selections. Next, Haiku gives us the standard “This is Beta software” warning but since this is a tinkering machine there’s no need to take extra care. When the installer launched it was time to partition the drive. Haiku requires its primary system partition to be formatted in the Be File System.


With the drive now properly formatted, it was time to install Haiku to the laptop’s internal IDE hard drive. I selected the TOSHIBA MK4026GAX - 37.26 GiB drive and clicked Begin. The install process in a virtual machine takes a matter of seconds as Haiku is quite a small system, but on this old laptop it took several minutes to copy everything over — a limitation of the not only the 5400 RPM hard drive, but of the IDE bus itself. Once it was finished we needed to reboot the system.


Following the reboot I was dropped right onto the desktop. Haiku, like DOS or classic Mac OS, is a single user operating system. That means no user accounts and no user account passwords. You are root… don’t break anything!
The desktop is pretty simple starting out. The icons from left to right are your hard drive which will open the file manager to the root of your system. Home which takes you to your home folder, and Trash. It’s the trash can. We all know what that does.
On the opposite side of the screen there are a few little grey boxes. The big one with the blue feather — or is a leaf? — is Haiku’s equivalent to the Windows Start menu or the Apple menu on classic Mac OS. We’ll go through that in another article. Right below that is a box with some icons. This contains a system monitor, a clock, and a few other utilities. Before moving on to my other responsibilities for the day I wanted to check my network connection, and just like with beta 3 the wireless card is not being found by the OS, so for the time being this is going to be an offline machine unless I decide to run an ethernet cable to it.


